5
EN
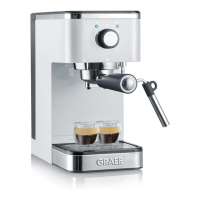
hot water nozzle.
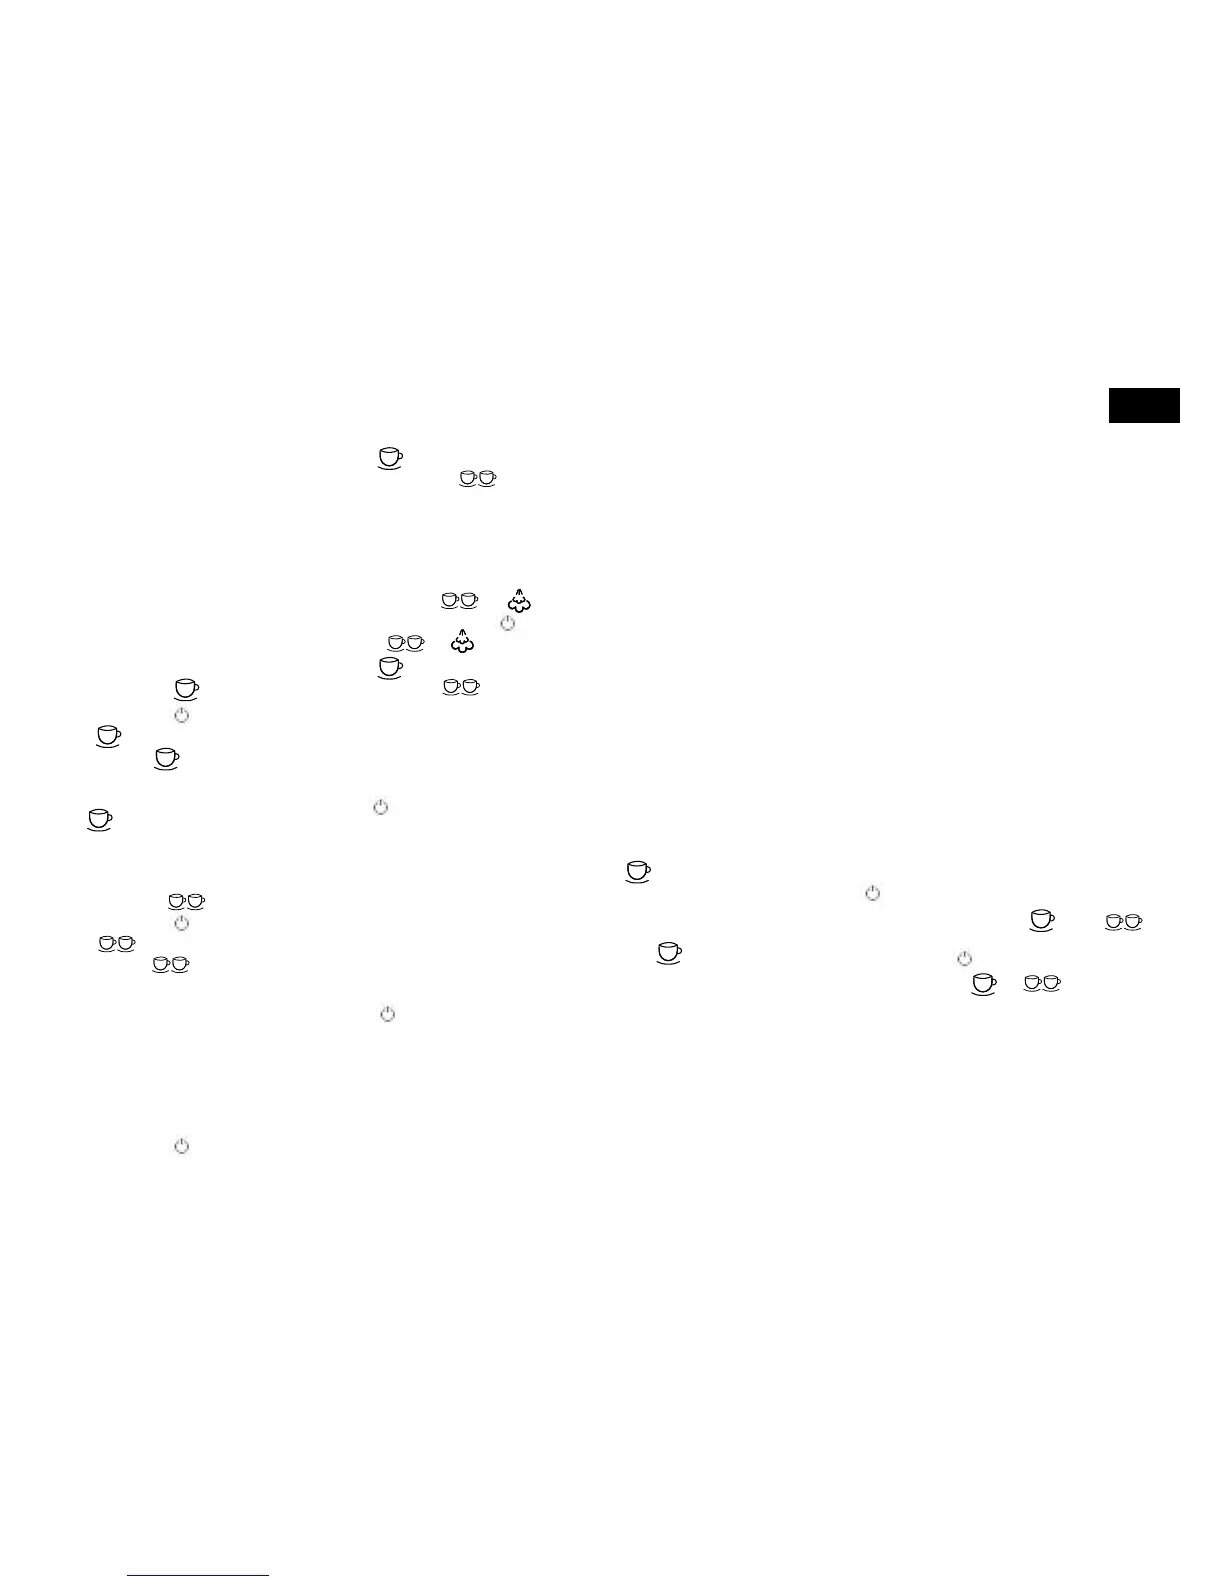
∙Open the control dial.
Programming
This unit comes with the following fac-
tory settings:
Single espresso – 30 ml
Double espresso – 60 ml
In the following section you can also
change them and set them however
you like:
Programming “Single Espresso”
∙Turn the unit off.
∙Press and hold button, then
press and release
button
∙Relase button.
∙After realisng button, brewing
will be started automatically. When
desired coffe volume is achieved, then
press
button again to stop brew-
ing.
Programming “Double Espresso”
∙Turn the unit off.
∙Press and hold button, then
press and release
button.
∙Release button.
∙After releasing button, brewing
will be started automatically. When
desired coffee volume is achieved,
press 2 cups button again to stop
brewing and saving setting.
Programming “Temperature”
Make sure the unit is turned off!
Espresso temperature
∙Press and hold MANUAL button, then
press and release
button.
∙Release MANUAL button.
∙Press button for decreasing the
temperatur. Press
button for in-
creasing the temperature. 3 positiv and
3 negative levels can be set.
∙Press MANUAL button for 3 seconds
to save and leave the program setting.
Steam
∙Press and hold & buttons,
then press and release
button.
∙Release & buttons.
∙Press button for decreasing the
ow rate. Press
button for incre-
asing the ow rate. 3 positive and 3
negative levels can be set
∙Press steam button for 3 seconds to
save and leave the program setting.
Factory setting:
Press
button for 3 seconds.
Decalcication
∙Please ll approx. 1.5 l of water into
the water tank.
∙Put a decalcication tab e.g. the Graef
decalcication tab, art.-no. 145618,
into the water tank and wait for ap-
prox. 5 minutes for the tab to dissolve.
∙Place a big cup under the group hand-
le.
∙Press button and wait for a few
seconds.
∙Press the “MANUAL” button.
∙When the cup is completely lled,
press the “MANUAL” button again to
stop the extraction.
∙Repeat this step approx. 4 times.
∙Please wait for another 15 minutes and
repeat the abovementioned step until
the water tank is empty.
∙Rell the water tank and extract water
5 times.
∙Now, you can proceed to prepare your
espresso as normal.
Decalcication of the milk froth /
hot water jet
∙Please ll approx. 1 l of water into the
water tank.
∙Put a decalcication tab e.g. the Graef
decalcication tab, art.-no. 145618,
into the water tank and wait for ap-
prox. 5 minutes for the tab to dissolve.
∙Place a big cup under the milk froth /
hot water jet.
∙Remove the pannarello and unscrew
the jet.
∙You can put the jet into the cup.
∙Make sure the unit is turned off.
∙Press and hold the “MANUAL” and
”button for 3 seconds. Then,
press and directly release the
button.
∙Now, please release the “MANUAL”
and
button.
∙The water temperature gets reduced.
∙Please open the control dial.
∙Discontinue this step several times, so
that the pump does not get strained
too much.
Cleaning
∙Clean the exterior of the unit with a
soft, moist cloth. If heavily soiled, a
mild detergent can be used.
∙Pull out the drip dish.
∙Remove the drip grate.
∙Empty the drip dish.
∙Clean the drip tray and the grate and
the group handle under running water.
∙Then replace the drip dish together
with the grate.
Cleaningfunction
∙Remove the water tank and dispose of
the old water.
∙Fill with approx. 1 Liter fresh, cold wa-
ter.
∙Put the lter insert for 2 cups into the
group handle.
∙Place the cleaning disk (with the
smooth side facing down) into the l-
ter insert.
∙Also put a cleaning tab e.g. Graef
cleaning tab article no 145614 into the
lter insert.
∙Now insert the group handle.
∙Put a large container underneath the
group handle.
∙Make sure the unit is switched off.
∙Press and hold and but-
tons for 3 seconds, then press and re-
lease
button.
∙Release & buttons
∙Cleaning procedure will be started au-
tomatically.
∙After a while you will hear 4 beeps, it
means cleaning is done.
∙Remove the cleaning disc.
∙Take out the lter insert and clean it
with warm, soapy water.
∙Your unit is now ready for use again.

 Loading...