CONFIGURATION STEPS
Step 1: Upgrade to the Required Firmware
Ensure that the phone is running on the required firmware by 3CX. If the device needs manual upgrading,
download the latest distributed required firmware by 3CX from here. To learn how to check the firmware on
the phone or how to upgrade them, please read this guide: How to manually upgrade Grandstream IP
Phones.
Step 2: Factory Reset the IP Phone
Before provisioning the IP phone, the phone must be reset to its factory default settings to clear the residual
device settings from a previous configuration. To learn how to reset the device, please read our guide
on How to Factory Reset Grandstream phones.
Step 3: Provisioning the Phone
There are two ways to provision a phone:
• Plug & Play - For phones on the local LAN or behind the 3CX SBC.
• RPS - For phones on remote networks that will connect directly to 3CX and use STUN.
Local LAN or SBC: Provision via Plug’n’Play
1. Power on and connect the phone to the network. On boot-up, a PnP request will be sent
automatically to 3CX.
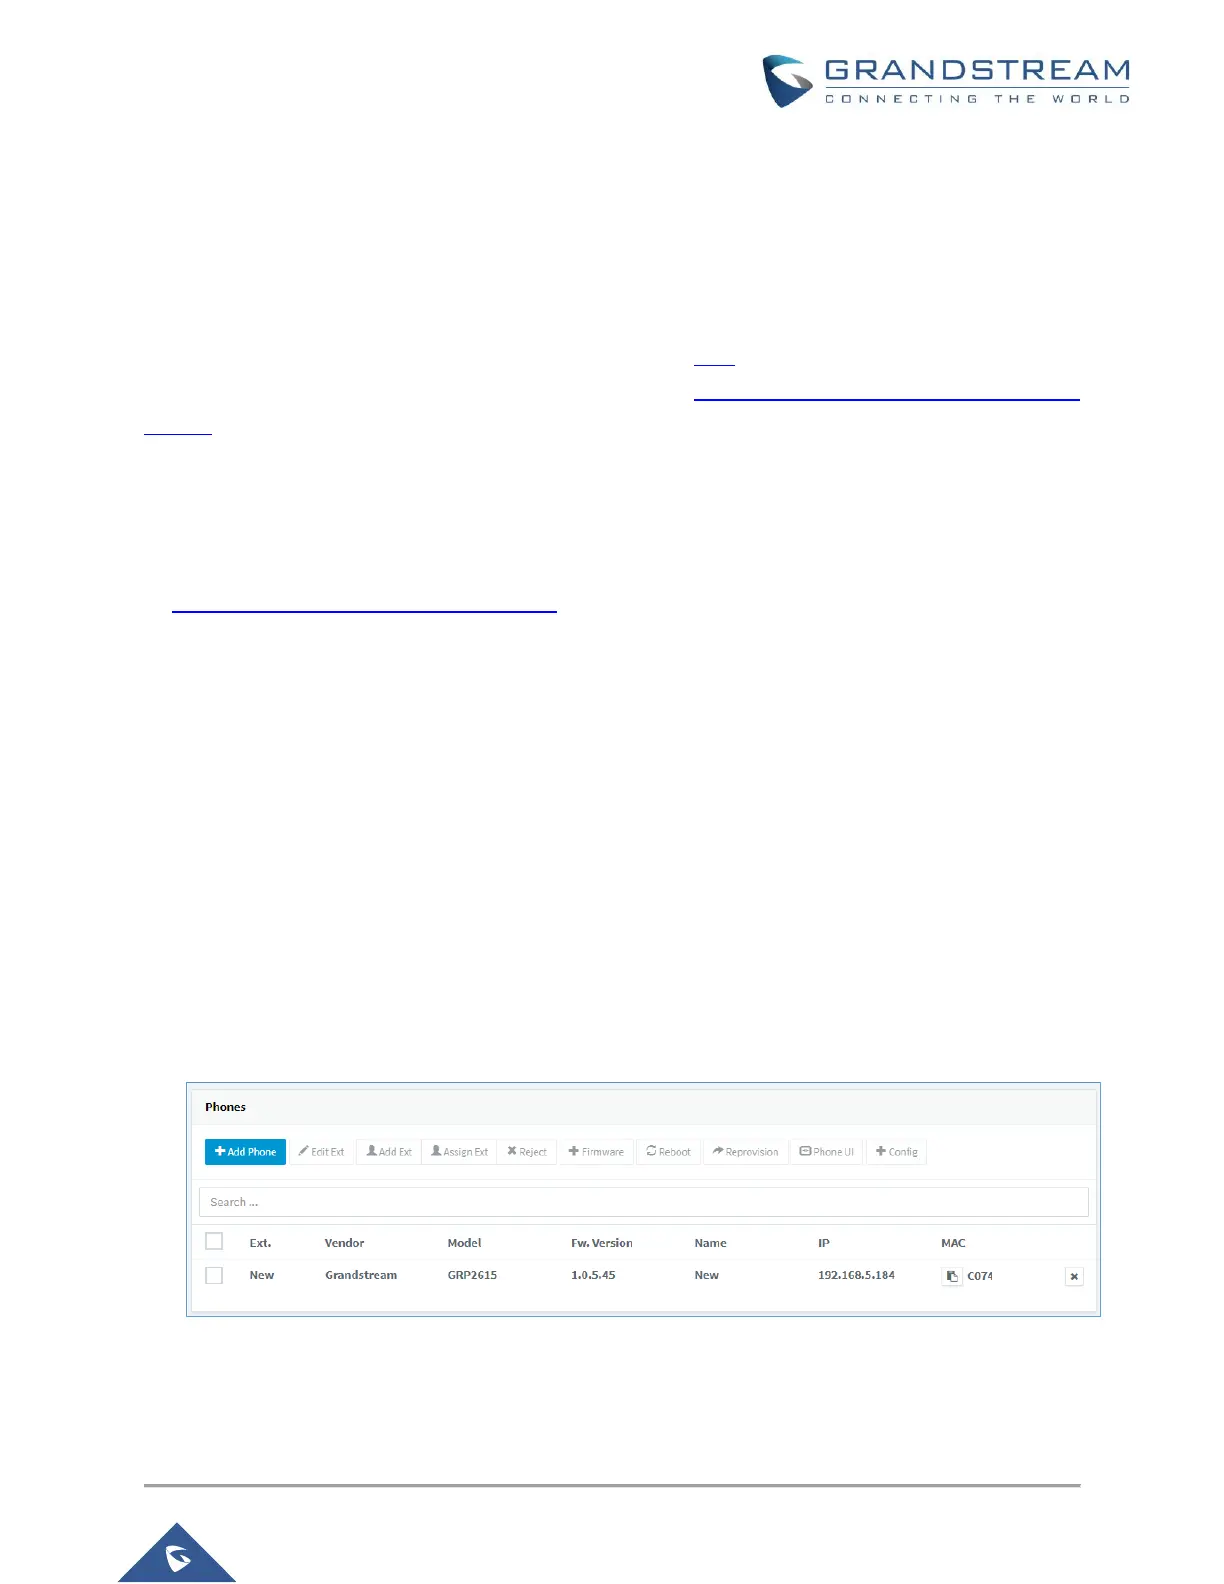
2. Go to the “Phones” page on the 3CX Management Console. The new phone will be marked in
bold.
Figure 1: 3CX Phones List
 Loading...