Enter the e-mail address associated with this Extension. This e-mail address will receive
all system notification messages. Example: john.smith@bicomsystems.com
Auto Provisioning
■
Set to Yes.
MAC Address
■
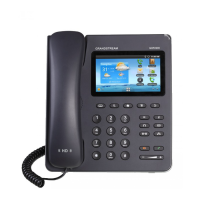
Enter the Grandstream phone's MAC address. Example: 000B82123456. The MAC
address can be found at the back of the phone.
Click the Save button.
■
Registering Phone
This section describes how to register the Grandstream phone using DHCP, TFTP, or HTTP &
HTTPS.
The following topics are covered:
DHCP
■
TFTP or HTTP & HTTPS
■
DHCP
Configure DHCP
Make sure that your DHCP router is configured to use option 66 to automatically instruct
■
phones with the URL for Auto provisioning. For more information, please refer to your router
documentation or contact your network administrator.
Phone's first boot or user initiated reboot
The Auto provisioning process will start during the phone's first boot or after the reboot
■
process has been initiated by the user. The DHCP server will instruct the phone from where to
pick up an appropriate configuration file. If everything is done as described above, you should
have successfully registered your phone to PBXware.
Dial *123 to verify registration.
TFTP or HTTP
Open a new browser window and enter your phone's IP address, e.g. http://192.168.1.22.
■
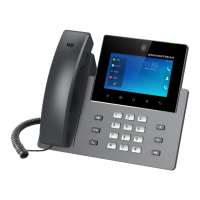
Enter username and password and press the Confirm button. NOTE: The factory default
■
login details are as follows: username is admin and password is given at the back of the
phone.
Click Maintenance in the left hand navigation menu.
■
Click Upgrade link in the left hand navigation menu.
■
Click Config File at the top navigation menu.
■
 Loading...