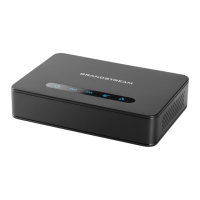
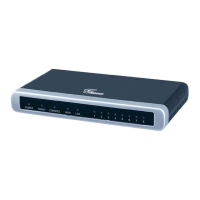
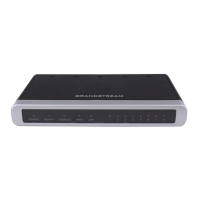
HT841/HT881 Supported ports
Connecting HT841/HT881
The HT841/HT881 is designed for easy configuration and easy installation. To connect your HT841/HT881, please follow the steps below:
Connecting HT841/HT881 using WAN
When connecting HT841/HT881 using the NET1 port, it will act as a simple DHCP Client.
1. Insert a standard RJ11 telephone cable into the FXS port and connect the other end of the telephone cable to a standard touch-tone analog
telephone.
2. Connect the NET 1/ NET 2 port of the HT841/HT881 to a router, switch, or modem using an Ethernet cable.
3. Insert the power adapter into the HT841/HT881 and connect it to a wall outlet and make sure to respect the technical specifications of the
power adapter used.
4. Power, NET1/NET2, FXO, and FXS LED will be solidly lit when the HT841/HT881 is ready for use.
Connecting HT841/HT881 using LAN
When connecting the HT841/HT881 using the NET2 port, it will act as a router and DHCP serving addresses, the devices connected with
HT841/HT881 LAN will pull DHCP addresses from your HT841/HT881.
1. Insert a standard RJ11 telephone cable into the FXS port and connect the other end of the telephone cable to a standard touch-tone analog
telephone.
2. Connect a computer or switch to the NET1/NET2 port of the HT841/HT881 using an Ethernet Cable.
3. Insert the power adapter into the HT841/HT881 and connect it to a wall outlet and make sure to respect the technical specifications of the
power adapter used. If the PoE switch is used in step 2, this step could be skipped.
4. Power, NET1/NET2 and FXS, and FXO LED will be solidly lit when the HT841/HT881 is ready for use.
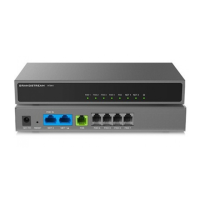
● Used to connect HT841/HT881 to your router or gateway using an Ethernet RJ45 cable.List Item 2
POE IN PoE supported port.
FXS FXS port to connect analog phone / fax machine to HT841/HT881 using RJ11 telephone cable.
FXO 1...4
FXO 1....8
FXO ports to be connected to physical PSTN line from a traditional PSTN PBX or PSTN Central Oce.
HT841 supports 4 FXO ports and HT881 supports 8 FXO Ports.
Reset
Factory reset button. Press for 7 seconds to reset to factory default settings. Quick press will only reboot the
unit.
Note
HT841/HT881 supports switching the working mode of NET1 and NET2 on the Web User interface.
The default Device Mode for the HT841/881 is bridge. NET1 and NET2 ports function almost identically in bridge mode.
Note
The default Device Mode for the HT841/881 is bridge. NET1 and NET2 ports function almost identically in bridge mode.
Please make sure to enable NAT Router under Web GUI 🡪 Basic Settings 🡪 NAT/DHCP Server Information & Configuration 🡪 Device Mode.
 Loading...