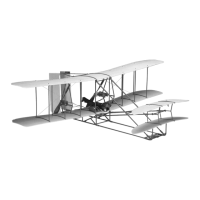
❏ 5. The LE of the stab needs to be aligned with the LE of
the stab saddle.
❏ 6. The stab needs to be parallel with the wing.
❏ 7. After achieving all three alignment processes, glue the
tail to the fuse with medium CA.
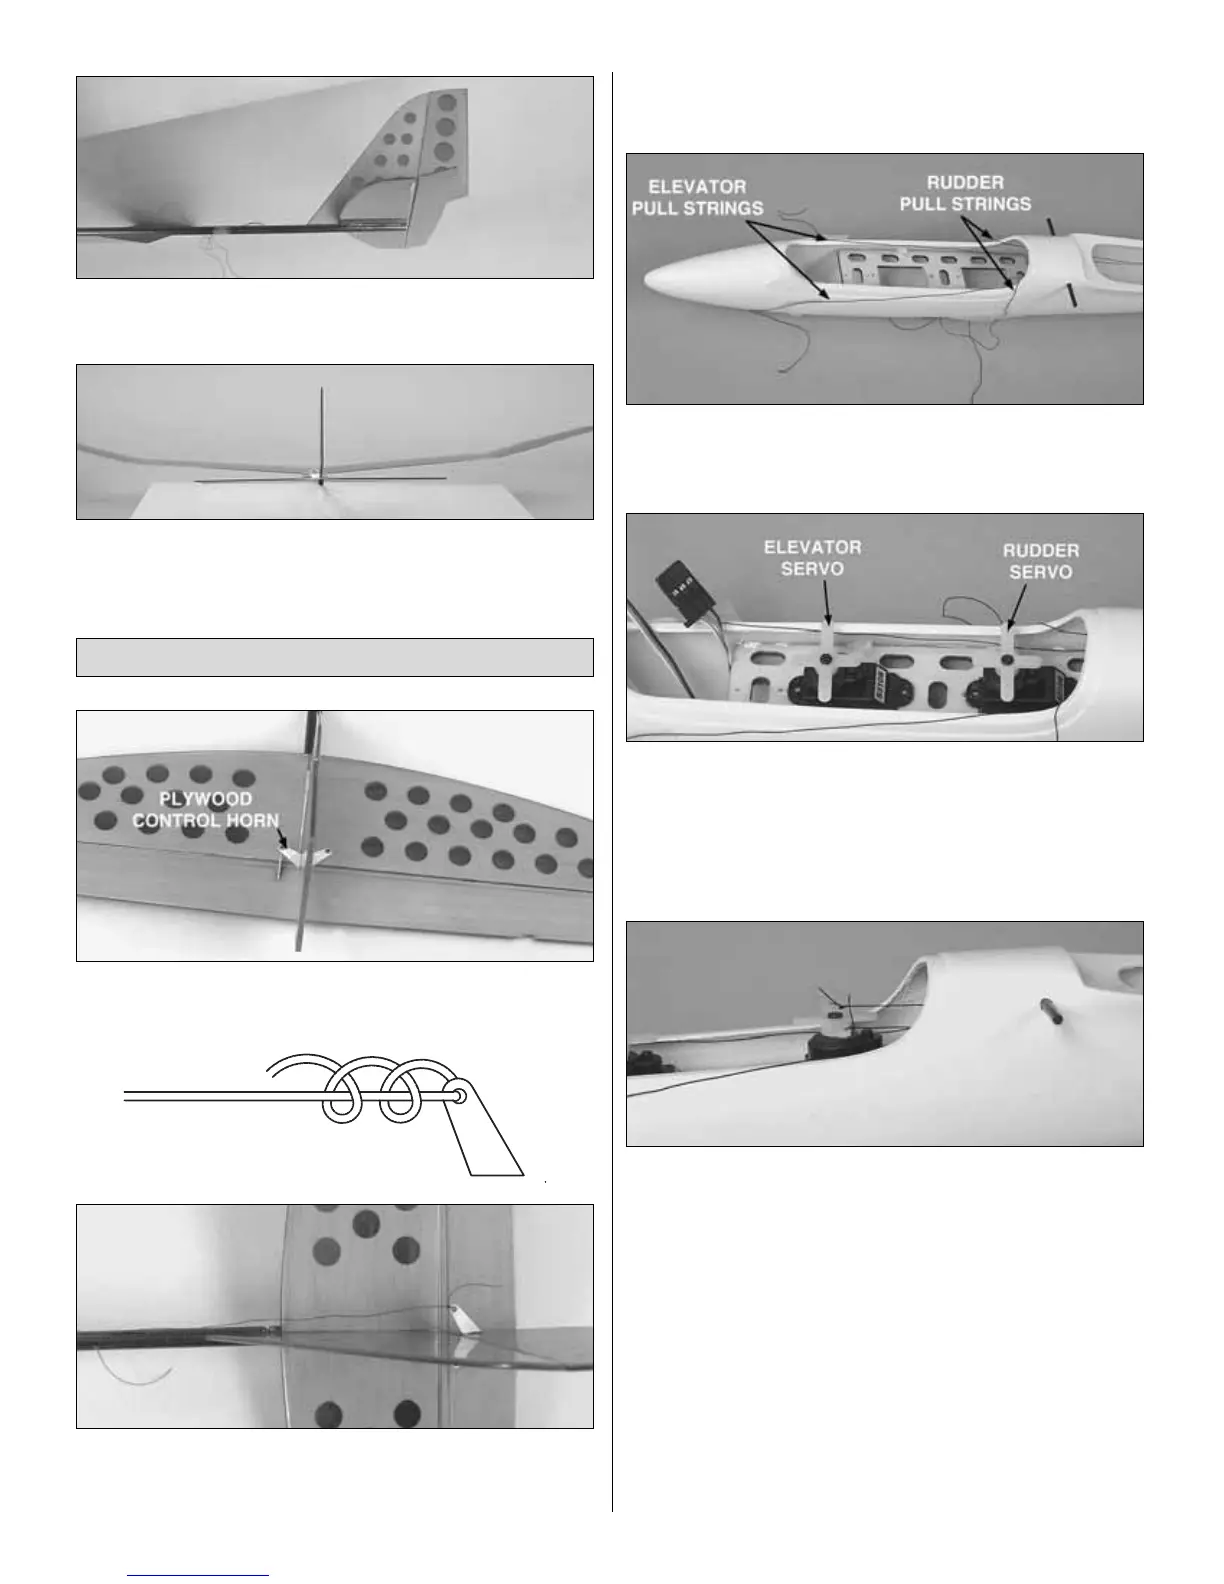
❏ 1. Slide the plywood control horns into the rudder and
elevator, center, then glue with thin CA.
❏ 2. Tie the pushrod string from the pushrod exit on the
right side of the fuselage to the right side of the rudder
control horn as shown in the sketch.
❏ 3. Tie the other three strings to the control horns in the
same way.
❏ 4. Pull on each string to see what control surface it moves.
Tape the four strings to the fuse side as shown. Note: Take your
time to make sure the strings don’t interfere with each other.
❏ 5. Mount the servos to the servo tray. Optional: To keep
the weight low, use a drop of medium CA through each
servo screw hole instead of the servo screws.
❏ 6. Plug the servos and battery into your receiver.Turn on
the transmitter to center the servos.
❏ 7.Tie the rudder pushrod strings to rudder servo arm.Tie
a single knot first.
❏ ❏ 8. Repeat step 7 for the elevator pull strings.
❏ 9. Confirm the elevator throw is between 7/16" [11mm]
and 9/16" [14mm].
❏ 10. Confirm the rudder throw is between 11/16" [17mm]
and 13/16" [20mm].
❏ 11.Then, after the tension and center have been checked,
tie the second loop of the knot.
❏ 12. Cut the excess string 1/4" [8mm] from the servo arm.
Install the Servos
8