Air-to-water Heat Pump
73
MONOBLOC
TYPE
Note: rstly please cut o the power supply and discharge refrigerant out of the unit.
Operation Procedure Illustration
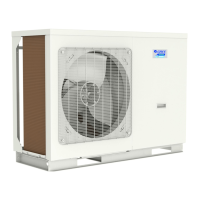
GRS-CQ8.0Pd/NhG3-E, GRS-CQ10Pd/NhG3-E, GRS-CQ12Pd/NhG3-E, GRS-CQ14Pd/NhG3-E, GRS-CQ16Pd/NhG3-E
GRS-CQ8.0Pd/NhG4-E, GRS-CQ10Pd/NhG4-E, GRS-CQ12Pd/NhG4-E, GRS-CQ14Pd/NhG4-E, GRS-CQ16Pd/NhG4-E
GRS-CQ8.0Pd/NhG3-M, GRS-CQ10Pd/NhG3-M, GRS-CQ12Pd/NhG3-M, GRS-CQ14Pd/NhG3-M, GRS-CQ16Pd/NhG3-M
GRS-CQ8.0Pd/NhG4-M, GRS-CQ10Pd/NhG4-M, GRS-CQ12Pd/NhG4-M, GRS-CQ14Pd/NhG4-M, GRS-CQ16Pd/NhG4-M
Remove the xing bolts at the motor and tting nuts at the
motor support, and then remove the motor and the motor
support.
Seperate the condenser from the base by removing xing
bolts at them.
Note: rstly please cut o the power supply and discharge refrigerant out of the unit.
Operation Procedure Illustration
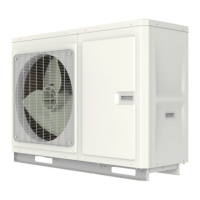
GRS-CQ4.0Pd/NhG3-E, GRS-CQ6.0Pd/NhG3-E, GRS-CQ4.0Pd/NhG4-E, GRS-CQ6.0Pd/NhG4-E
Remove the xing bolts, top cover, front panel and right
panel.
 Loading...