5
BEFORE FIRST USE
1. Place your Air Fry Oven on a flat,
level surface.
2. Move oven 2 to 4 inches away from the wall
or any objects on the countertop. Do not use
on or near heat-sensitive surfaces.
OPERATION
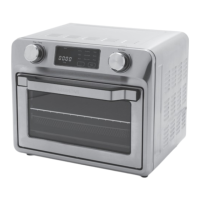
This multi-functional Air Fry Oven is equipped
with all the options of a full-size oven in a
countertop appliance; it can use for air fry, bake,
broil, proof, toast, dehydrate, warm, slow cook,
and cook pizza.
NOTE: Initial startup operation may result in
minimal smell and smoke (about 15 min.),
this is normal.
Knobs and Control Panel/Display Screen
1. Rotate the Function knob to select the function,
related function light will flash.
2. Rotate the Timer/Temp knob to set the
temperature (the temperature shown on display
screen will flash). Press the Timer/Temp knob
down, then rotate the knob to set the timer; the
time shown on display panel will flash). If you
need to change temperature, press this knob
down again, until the temperature shown on
display screen flashes.
3. Tap-touch Start key to start the toaster oven.
The function light will be solid, and oven light
will be ON. The timer starts to count down,
except for Bake and Pizza mode since there is
a Preheat function first cooking (Note: There is
no timer shown for Toast function.)
4. If need, tap-touch the Stop/Cancel key shortly
to pause the cooking, or tap-touch and hold
the Stop/Cancel key to stop the cooking
manually. While cooking is paused, tap-touch
Start key to resume cooking.
5. When the timer expires, the unit will stop
cooking automatically.
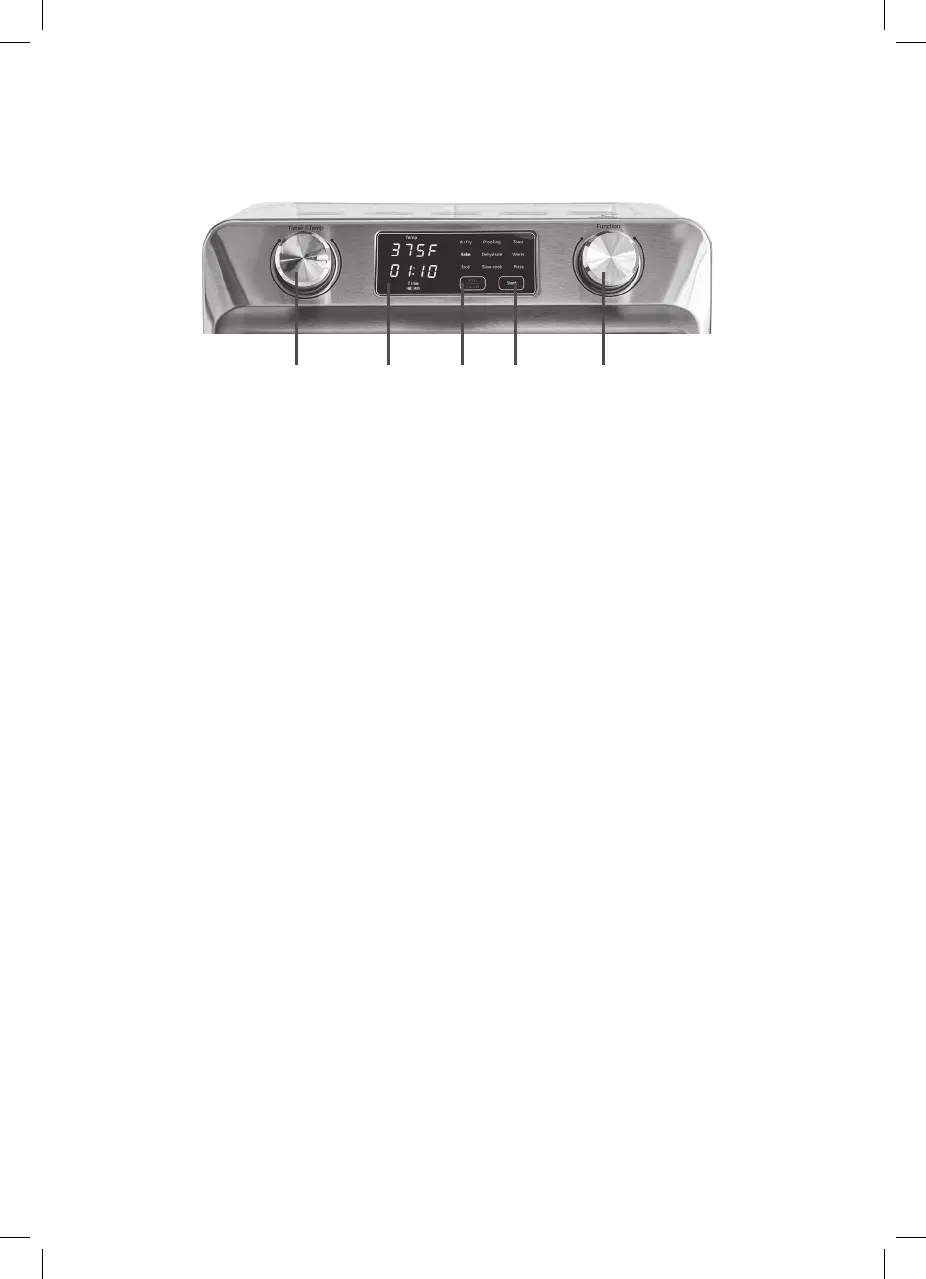
CONTROL PANEL
A. Start Button
Use to start cooking.
B. Stop/Cancel Button
Use to stop or pause cooking.
C. Function Dial
Turn Function Dial to scroll through the
functions on the LED screen. Function dial is
for Air Fry, Bake, Broil, Proofing, Dehydrate,
Slow Cook, Toast, Warm or Pizza.
D. Time/Temperature Dial
Depress Time/Temperature Dial to select TIME
or Temperature mode; then turn the dial scroll
through the selections.
E. LED Screen
Displays cooking functions, time,
and temperature.
A.B. C.D. E.