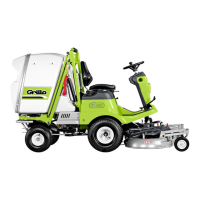
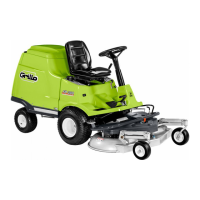
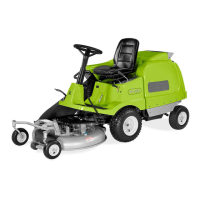
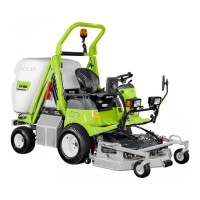
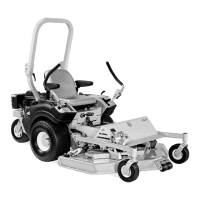
FD450/ Translation of the original instructions
STARTING WORK
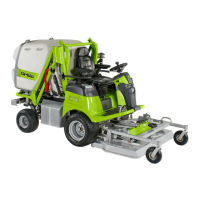
Speed up the engine by pushing the throttle half-way (fig. 3, n. 8), then engage the PTO switch (fig.
2, n.3). Adjust the cutting height using the button (fig.2 n.4). The button (fig. 5, n. 11) is used to
raise the mower deck. During work the mower deck must be set in the floating position (“FLOAT”).
CAUTION: Do not engage the cutting blades with the engine running at maximum r.p.m, engage
them only at half speed and outside the area to be cut.
FRONT HEADLIGHT
To switch on the headlight, put the ignition key in the second position (fig. 4, no. 15). IMPORTANT:
Only use the headlight with the engine running to avoid battery discharge.
IMPORTANT
1) Adjust the forward speed in order to avoid overloading the deck when at work and alwayscut
with the engine at maximum r.p.m..
2) Always keep the blades sharp. In case of wear sharpen or replace them as required.
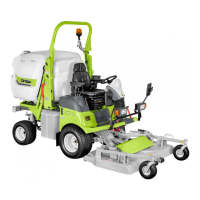
Gently press the forward pedal (fig.1, n.1) and start work. Push the pedal to position A to travel
forward and to position B to travel in reverse. If the pedal is released, the machine immediately
stops. Lever (fig.3, n.7) is the parking brake; in the “P” position (fig. 2) the parking brake is
engaged. When the grass-catcher is full the blades automatically disengage. The grass-catcher is
equipped with an inner sensor that automatically disengages the blades when the grass-catcher is
full (fig.38, A). The grass-catcher has therefore to be emptied. It can be emptied directly from the
driver's seat using the buttons (fig. 5, n.12 to raise the grass-catcher and n.13 to empty the grass-
catcher). The grass-catcher door opens automatically. The grid inside the grass-catcher must
always be kept clean to improve grass collection and to prevent clogging (fig. 7, B). During summer
and in very dusty environment it is recommended to fit the plastic protection plate (fig. 7A, A) inside
the grass-catcher. This plate and the necessary screws are delivered with the machine.
CLOSING OF THE GRASS-CATCHER
The grass-catcher can be checked opening the door (fig. 8, A). The closing can be regulated (fig.
8, B). The grass-catcher door opens automatically when the operator uses the button from the
driver's seat. To keep the grass catcher door open use the rod (fig. 7, A). CAUTION: Do not
engage the blades when the grass catcher door is open.
TIPS FOR EFFICIENT USE
1. Check the ground condition before mowing. Make sure there are no stones, sticks or other
foreign objects.
2. When mowing, keep the engine at full revs and adjust the speed to suit the height of the
grass. Take care when you come to thick clumps of tall grass; slow down if necessary.
3. Sharpen the mower blades frequently; the cut will be better and the engine will be under less
strain.
4. Engage the blades a few metres outside the area to be cut.
5. Always keep the engine at full r.p.m. when mowing; if the engine revs drop, slow down for a
moment to allow the engine to recover its r.p.m.
6. For the best lawn appearance, alternate one longitudinal and one transverse cut, both at the
same height.
7. If the duct tends to become clogged with grass, reduce the forward speed as it may be too
high for the lawn condition. If the problem persist, probable causes are blunt blades, dented
fins profile, slack belt or a clogged grass catcher grid.
8. If the grass is very long, it is best to cut in two passes, the first with the blades at the highest
level, perhaps working on reduced width, and the second at the final height required.
9. Take great care when cutting close to bushes and low kerbs which might damage the edge of
the back and the blades.
10. Engage the parking brake once work is finished (fig.3, n.7).
CUTTING POSITION
To adjust the cutting height, use the button (fig. 2 n.4). On rough or uneven ground, always work