Do you have a question about the Grundig GTN 482617 GCH and is the answer not in the manual?
| Appliance placement | Freestanding |
|---|---|
| Loading type | Front load |
| Drying system | Heat pump |
| Rated capacity | 8 kg |
| Drying class | B |
| Noise level | 65 dB |
| Energy efficiency class | A++ |
| Width | 597 mm |
| Depth | 654 mm |
| Height | 846 mm |
Explains the meaning of symbols used throughout the user manual.
Provides essential safety information for operating the dryer and general precautions.
Details crucial safety measures related to electrical connections, grounding, and usage.
Outlines safety warnings specific to the dryer's operation, materials, and potential fire hazards.
Instructions for safely installing the dryer on top of a washing machine, including weight considerations.
Specifies the proper and intended domestic usage of the drying machine and its limitations.
Key precautions to ensure the safety of children around the appliance, including packaging and operation.
Information on complying with waste electrical and electronic equipment regulations and proper disposal.
Confirms the product's compliance with restrictions on hazardous substances as per EU directive.
Details regarding the packaging materials, their recyclability, and disposal recommendations.
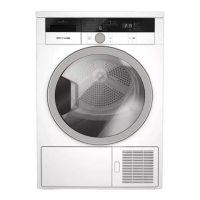
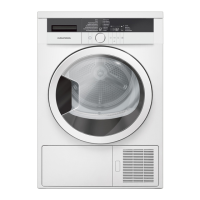
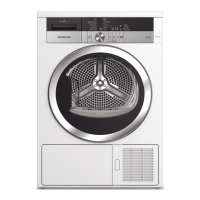
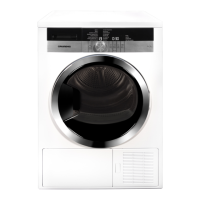
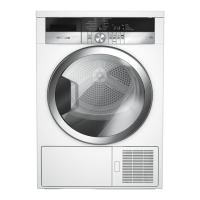
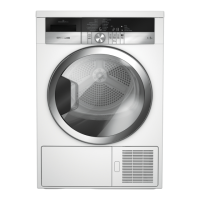
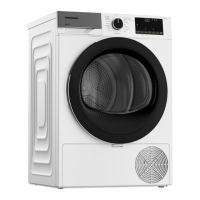
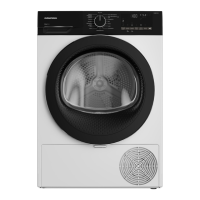
Presents the key technical data, dimensions, capacity, and power ratings of the dryer.
Lists all items included in the dryer's packaging for initial setup.
Guidance on selecting a suitable, stable, and well-ventilated place for dryer installation.
Instructions for removing safety components before the dryer's first use.
Details and considerations for installing the dryer beneath a counter, including space requirements.
Steps for connecting the dryer's water drain hose to a wastewater outlet or washbasin.
How to level the dryer using its adjustable feet for silent and vibration-free operation.
Essential information and safety guidelines for connecting the dryer to the power supply.
Recommendations for safely moving or transporting the dryer, including draining water.
Information on normal operational sounds, such as compressor noise or pumping noise.
Instructions for replacing the internal lamp, noting it requires authorized service.
Guidance on selecting garments appropriate for machine drying based on garment care labels.
Lists items and fabric types (e.g., wool, silk, rubber foam) that should not be machine dried.
Steps for preparing clothes before placing them in the dryer, like sorting and turning garments inside out.
Recommendations for efficient and eco-friendly dryer operation, including spin speed and sorting.
Information on the maximum amount of laundry to load for optimal drying performance and appliance protection.
Description of all buttons, indicators, and the display on the dryer's control panel.
Explanation of the various symbols displayed on the dryer's screen, such as warning indicators.
Steps to prepare the dryer before starting a drying cycle, including plugging in and loading.
Guide on choosing the appropriate drying program for different laundry types and desired dryness levels.
Details on the primary and specialized drying programs available for various fabric types and needs.
A chart detailing programs, capacities, spin speeds, drying times, and energy consumption values.
Explanation of additional features like dryness settings, wrinkle prevention, and menu options.
How to use the Rapi Drying feature to shorten drying times using the "Fast" button.
Meaning of various warning symbols that may appear on the display, like filter cleaning or water tank alerts.
Instructions on starting programs, monitoring progress, and using the child lock feature.
Steps for modifying a running program, adding/removing laundry, or cancelling a program.
What happens when a drying program finishes, including end messages and necessary actions.
Guide to connecting the dryer to your smart device via Wi-Fi and setting up the HomeWhiz app.
Instructions for controlling and monitoring the dryer remotely using the HomeWhiz app.
Solutions for common problems related to remote control and connectivity issues.
Procedure for cleaning the lint filter and the inner surface of the loading door to ensure efficiency.
How to clean the sensors that detect laundry dryness for accurate program termination.
Steps for emptying the water tank, which collects condensed water after each drying cycle.
Instructions for cleaning the lint filter drawer, which captures finer lint particles.
Guide to cleaning the evaporator unit, typically located behind the filter drawer, for optimal performance.