tower, you may insert the sponge into the hole in the platform adjacent to the grinding head. Make sure that sponge
remains moist.
4. Turn on grinder using switch on right side. If you prefer, you may plug grinder into an approved foot switch rated
for 3 amps or more.
5. Press glass, rock or tile to be ground against revolving grinding head with moderate pressure. Shape your material
with smooth lateral strokes, removing a small portion of the unwanted material with each pass. Do not apply
excessive pressure.
6. If you wish to drill a hole, use a grinding pin. Gently bring glass into contact with the top of the pin at a 45° angle
untiltheholeisstarted.Rotatethematerialuntilitisatontopofthegrindingpin.Makesurethatwaterisallowed
to reach the contact point by periodically removing the work and wetting the grinding pin.
7. Add water to coolant tower as required. Never block the drain hole under the worksurface, the drain tube or drain
catchpan.Watermustnotbeallowedtollbeneaththeworksurface,oritcouldoverowintomotor.
8. When done, turn off grinder. Clean grinder between uses.
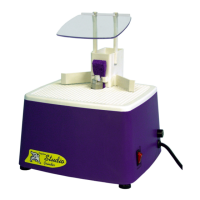
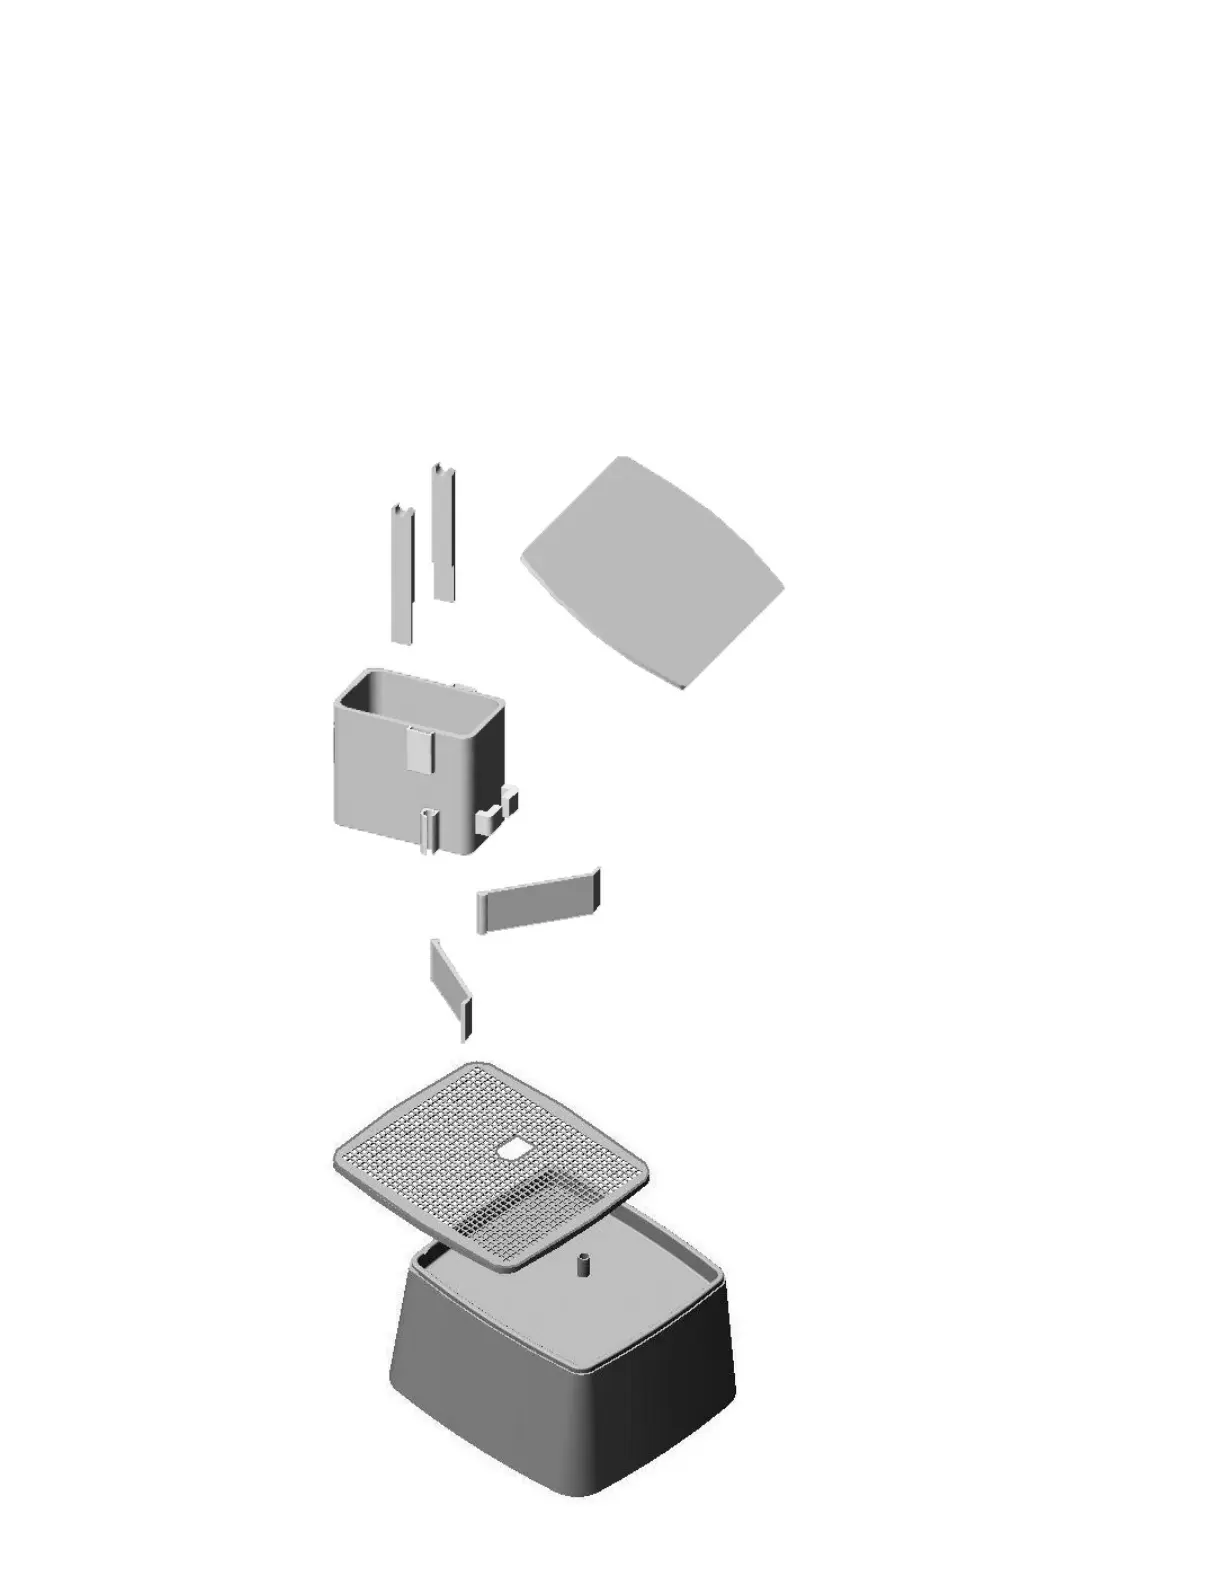
Grinder Base
Work Surface
Wings
Cooling Tower
Face Shield
Face Shield Extensions
 Loading...