Do you have a question about the Guardian 21230L and is the answer not in the manual?
Essential safety practices for installation and operation, including warnings and cautions.
Lists the essential tools needed for the assembly and installation of the garage door opener.
Lists and illustrates all fasteners included in the hardware package for assembly.
Provides important preliminary information before starting the installation process.
Details on attaching the front mounting bracket to the header above the door.
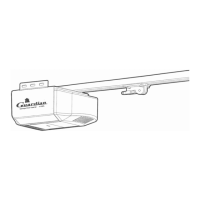
Covers placing the power unit and aligning the rail with the header bracket and hitch pin.
Instructions for securely fastening the power head to the garage ceiling structure.
Guidance on installing the door arm, bracket, and plate for connecting the door to the opener.
Instructions for tying and positioning the emergency release rope and knob.
Details on mounting the push button and running the bell wire to the opener.
Guidance on wiring the opener and installing the light bulb and lens cover.
Procedure for programming remote transmitters to the opener's receiver.
Instructions for positioning and mounting the L brackets for the photoeye system on the door jambs.
Details on running and connecting the interconnect wires for the photoeye system.
Steps to align the photoeyes and test their functionality for safe door operation.
Regulates the distance the door travels during opening and closing cycles.
Adjusts the force required for opening and closing to ensure safe operation.
Verifies the door reverses upon contact with an obstruction within 1-1/2 inches of the floor.
Ensures the photoeyes stop or reverse the door when the beam is broken.
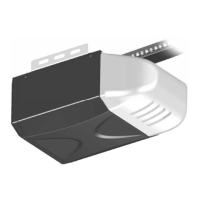
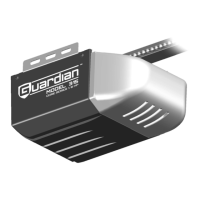
| Horsepower | 1/2 HP |
|---|---|
| Drive Type | Chain Drive |
| Security | Rolling code technology |
| Battery Backup | No |
| Remote Control | Yes |