E-7
E-6
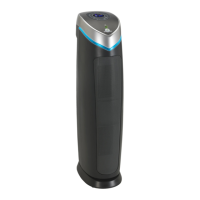
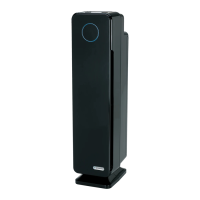
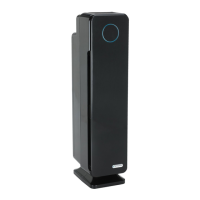
OPERATING INSTRUCTIONS
BEFORE OPERATING THE AIR PURIFIER:
1. Carefully remove your air purier box and bag.
2. Remove rear cover, remove lter from bag, then return lter to unit.
3. Select a rm, level and at location for the air purier.
* For proper air ow, locate the unit at least 1 foot from any wall or furniture.
* Make sure none of the grills are blocked.
4. Plug the power cord into a 120V AC outlet.
IMPORTANT: When moving the air purier, always lift unit by the carrying handle located on back.
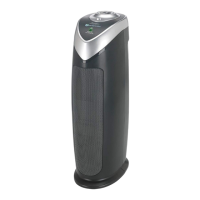
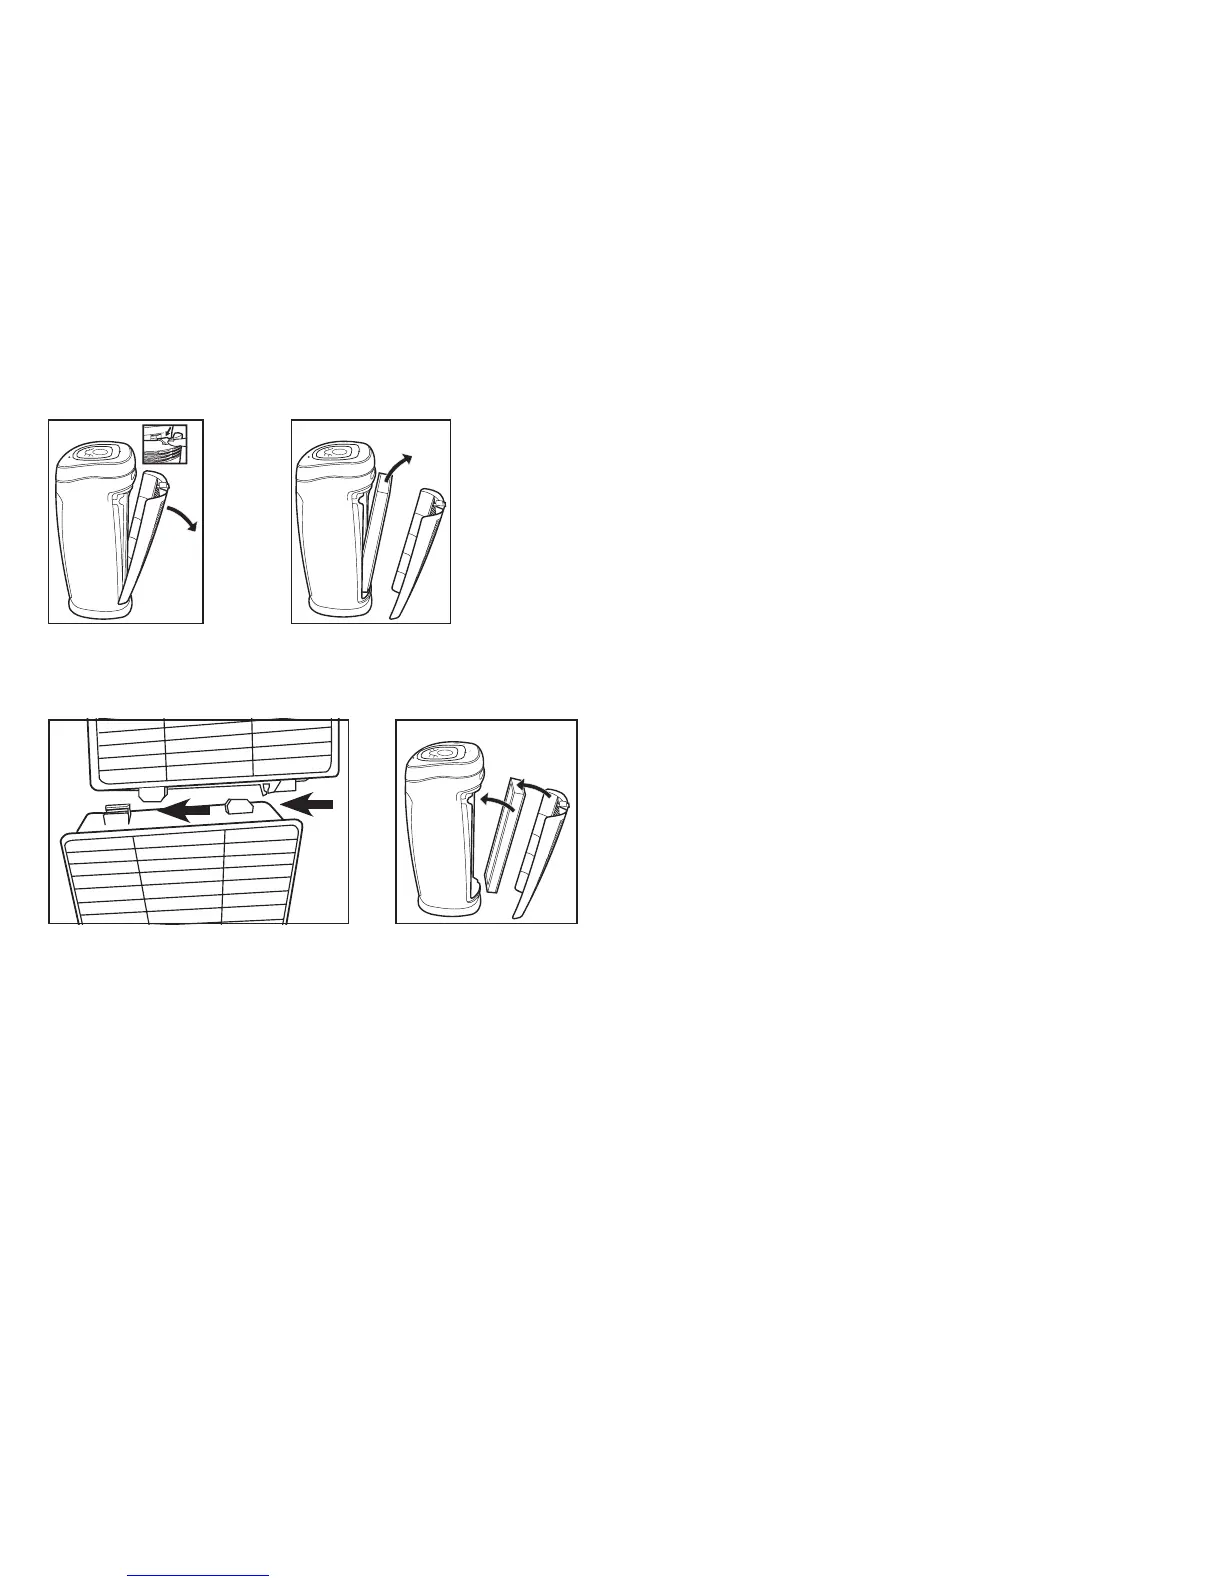
INSTALLING/REMOVING COMBINATION FILTER
2. Press the Lock & Release
Button and remove the
Rear Cover from the unit.
3. Remove the used
Combination Filter (Filter C)
and dispose of it in
the garbage.
5. Insert lter system into the unit.
Consult the arrow on the lter
for correct installation direction.
6. Reattach the Rear Cover of the unit and securely latch into place.
1. Turn unit power ON.
2. Select fan speed MODE 1 - 5
(1 = lowest speed setting; 5 = highest speed setting)
3. Select UV-C ON or OFF using UV-C Power Button.
4. TIMER: If you prefer to run the purier for a specic
number of hours, you can select between
1 and 8 hours on the display.
OPERATING THE AIR PURIFIER:
1. Turn off and unplug the unit.
4. Before inserting new lter,
connect two lter pieces
together. Be sure the white,
pleated side of each lter piece
is facing the same direction,
then slide the plastic tabs
together and lock lter pieces
in place. Your new combination
lter is now ready to be inserted
into air purier.
*Filter Replacement Indicator: The HEPA reset light on the control panel will
illuminate indicating that it is time to replace your lter. Replace the lter according
to directions (E-7) then insert pen tip into HEPA Reset area on control panel to restart
the system. Depending on usage, lter will last approximately 6 months. See
“Cleaning & Maintaining Filter (E-11) for proper care of lter.