Fig I
Slide the camera plaorm onto the
rails .
Lock the height of the plaorm and
its posion on the rails by ghtening
the screws on the plaorm as
shown in Fig. J.
Please note that depending on your
setup, you might not need the cam-
era plaorm.
TMP 1000
7
For more informaon please visit our website: www.glidegear.net
8
9
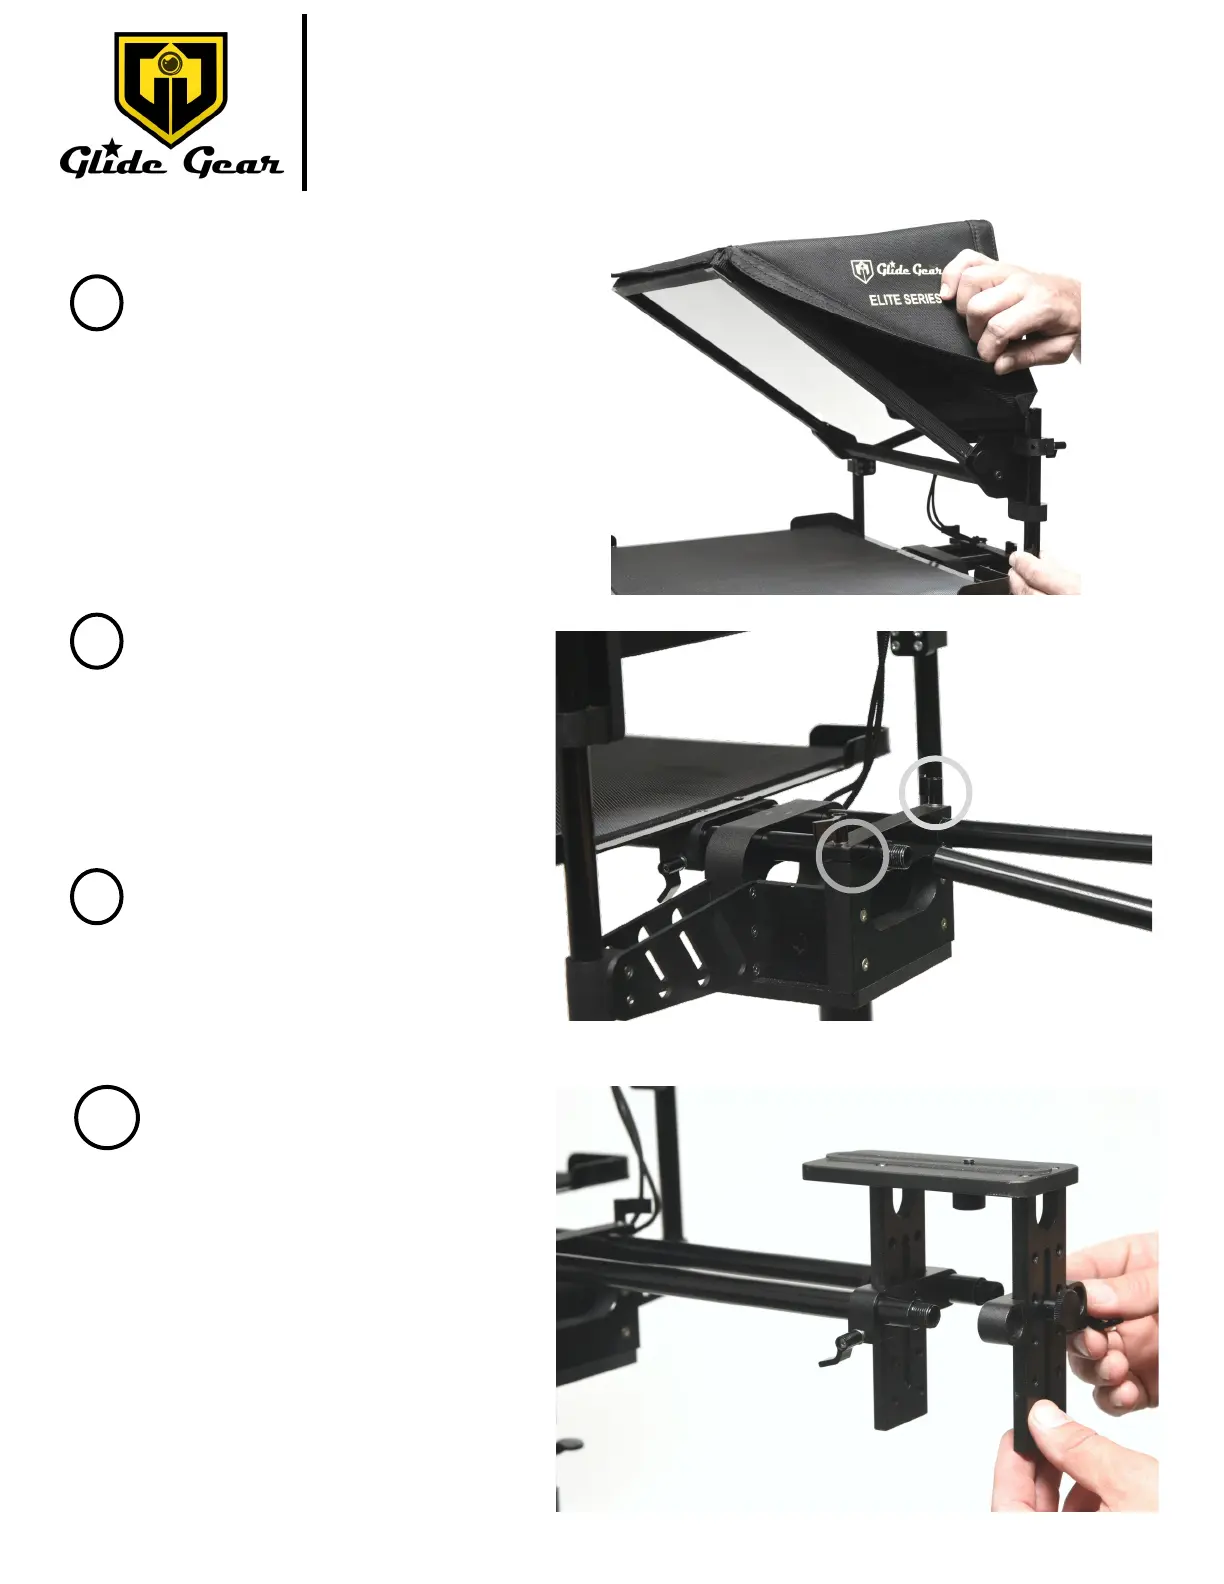
Fig. H
Place the cover around the glass.
The cover should be on the opposite
side of the tray as shown in Fig. H.
You should have 2 remaining rails of the
same length. Screw the rails on the rails
from Step 2 as shown in Fig. I.
Please note that depending on your set-
up, you might not need the rails.
Fig J.
Secure the rails by using the 2 thumb-
screws circled in Fig. I to lock them in
posion.
10