2
PB
1
3
2
11-4
11-3
10-6
11-2
10-6
10-5
10-5
10-6
11-4
KIT 11 IS COMPLETE
The ball joint of
the neck has been
assembled.
KIT 11: THE NECK
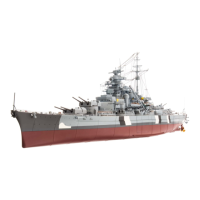
Screw the Cover 11-3 into
Neck 10-6 and tighten with
a large screwdriver. It screws
onto an internal thread inside
part 10-6. The ball joint will
need to be stiff so that it can
hold the head in place when
adjusted.
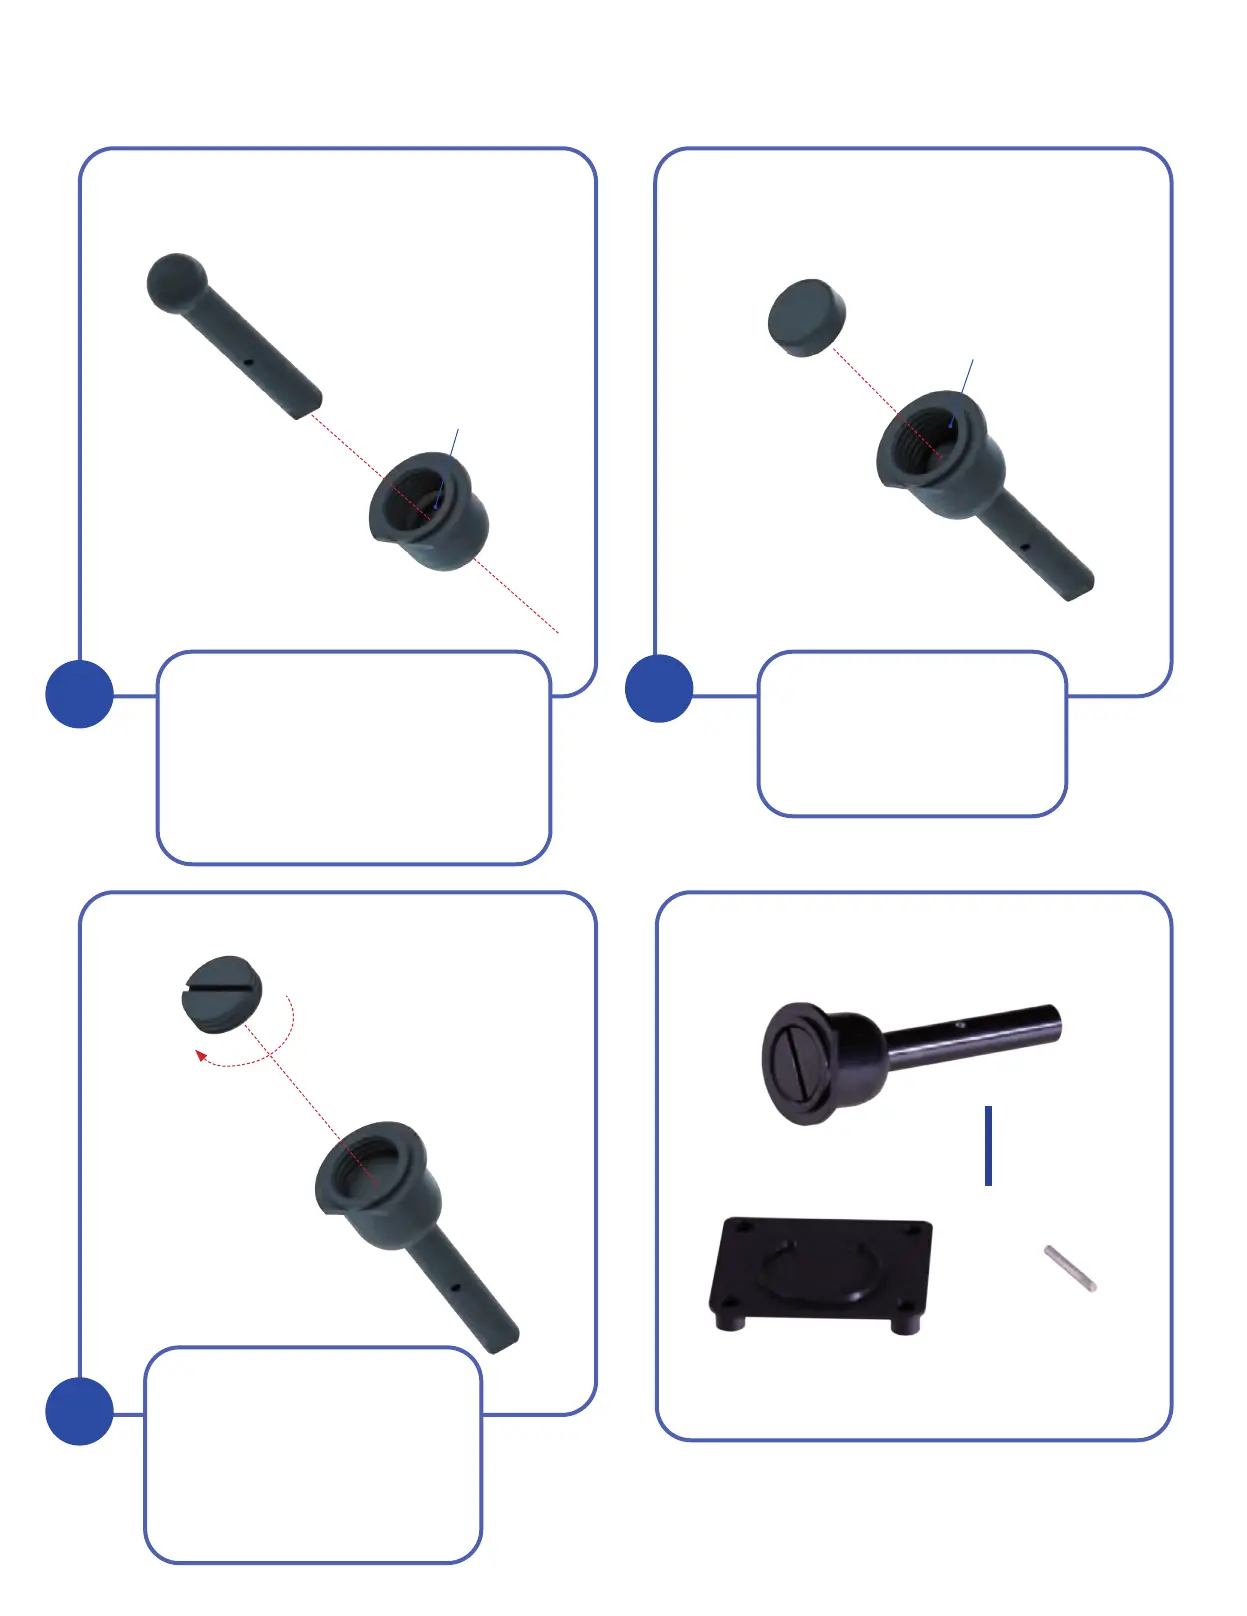
Take Neck parts 10-5 and 10-6
which were prepared in the previous
kit. Insert the thin end of Rod 11-4
into the hole in the assembly 10-
5/10-6, as shown. Observe how the
ball on the Rod 11-4 moves within
the Washer 10-5.
With the ball end of Rod
11-4 inside the assembly
10-5/10-6, fully insert
Cap 11-2 with the flat
side at the top.
! Keep parts 11-1 and 11- 5 safely aside until
they are needed in the next kit.