INSTALLATION INSTRUCTIONS
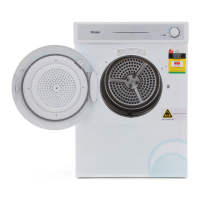
Before a rear venting option is installed the dryer must be changed from the front
venting factory setup. Remove the outlet grille from the front left-hand side and
replace with the outlet cover from the rear left-hand side. These covers should be
gently pried at the sides to prevent damage.
Internal venting
Front venting is the only option for internal venting. The dryer is set up for front
venting when it leaves the factory.
Note: where possible all efforts should be made to vent the dryer externally to avoid
moisture build up around the dryer.
External venting
The dryer can be vented directly through the wall with a flexible hose, in combination
with the hose connector supplied with the dryer.
Tools and parts required:
■ Slotted screwdriver
kit part includes:
■ 1 x Hose connector
■ 1 x Flexible hose
■ 1 x Flexible hose clip
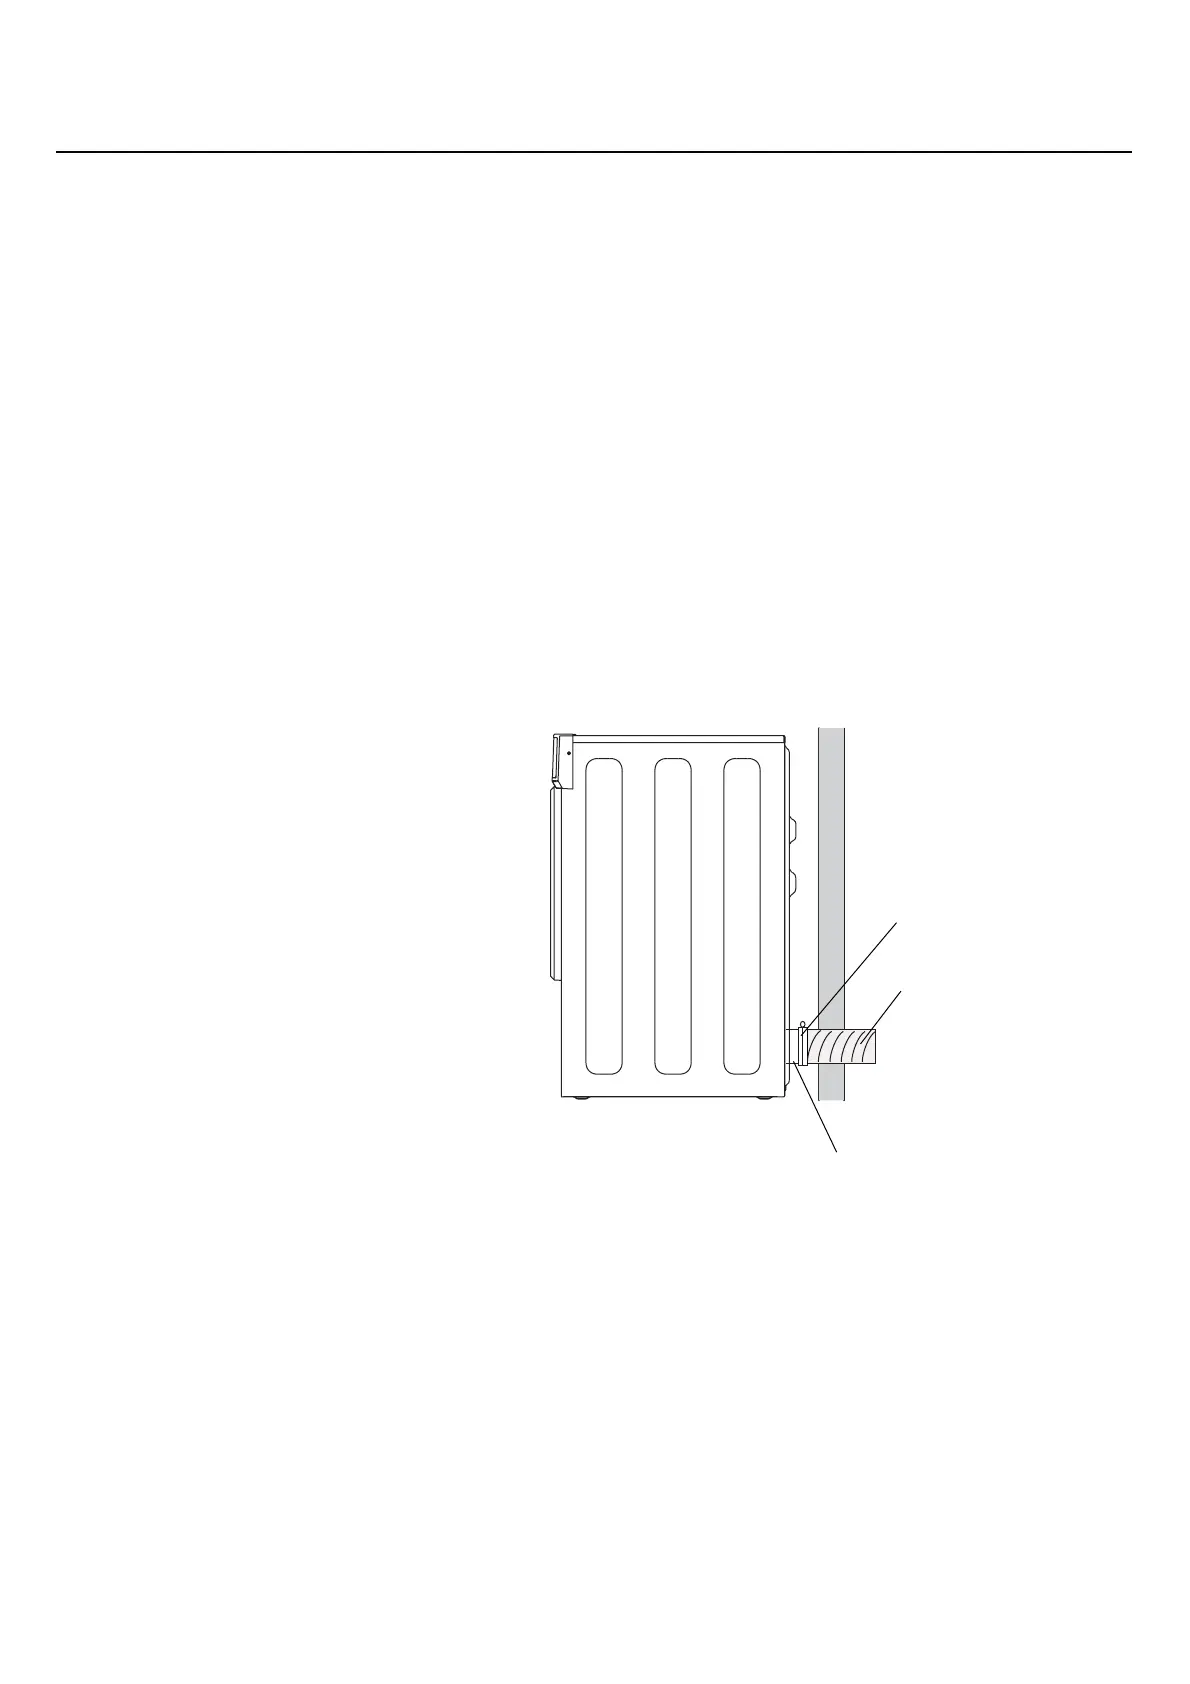
Hose connector
Flexible hose
Flexible hose clip
Connect the narrow end of the connector to the dryer duct pipe mouth at the back of
the dryer. Then connect the flexible hose to the wide end of the connector. Use the
clip to fasten connection point between the flexible hose and connector (fasten clip
with a screwdriver). Extend the flexible hose through the duct hole, make sure the
flexible hose is not twised to allow the air to be vented outside.
Note: The vent system should be a maximum of two metres with no more than three
90° bends.
10
 Loading...