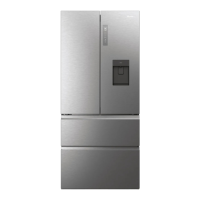
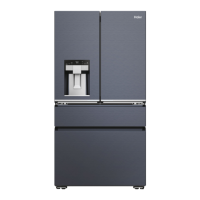
GB
7- Equipment
21
0XOWLDLUƫRZ
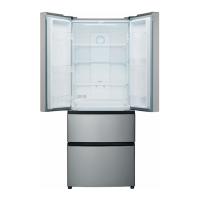
7KHUHIULJHUDWRULVHTXLSSHGZLWKDPXOWLDLUǍRZV\V-
WHP ZLWK ZKLFK FRRO DLU ǍRZV DUH ORFDWHG RQ HYHU\
shelf level (Fig. 7.1). This helps to maintain a uniform
temperature to ensure that your food is kept fresher
for longer.
7.2 Adjustable shelves
7KHKHLJKWRIWKHVKHOYHVFDQEHDGMXVWHGWRnjW\RXU
storage needs.
1. 7R UHORFDWH DVKHOI UHPRYHLW njUVWE\XSOLIWLQJ LWV
hind edge (1) and pulling it out (2) (Fig. 7.2).
2. To reinstall it, put it on the lugs on both sides and
push it to the most rearward position until the rear
RIWKHVKHOILVnj[HGLQVLGHWKHVORWVLQWKHVLGHV
7.2
7.3 Removable door racks
The door racks can be removed for cleaning:
Place hands on each side of the rack, lift it upwards (1)
and pull it out (2) (Fig. 7.3).
In order to insert the door rack, the above steps are
carried out in reverse order.
1
2
1
7.3
7.4 My Zone drawer
For use and setting of the My Zone compartment (Fig.
7.4) please check section USE (My Zone drawer).
7.1
7.4
Notice: Shelves
Ensure that all ends of a shelf are level.
1RWLFH'LƩHUHQFHVGHSHQGLQJRQPRGHO
'XHWRGLNjHUHQWPRGHOV\RXUSURGXFWPD\QRWKDYHDOORIWKHIROORZLQJIHDWXUHV3OHDVH
refer to chapter PRODUCT DESCRIPTION.
 Loading...