4
Warning – Batteries
• Immediately remove and dispose of dead batteries from the product.
• Only use batteries (or rechargeable batteries) that match the specied type.
• Do not mix old and new batteries or batteries of a different type or make.
• When inserting batteries, note the correct polarity (+ and - markings) and insert the batteries
accordingly. Failure to do so could result in the batteries leaking or exploding.
• Do not overcharge batteries.
• Keep batteries out of the reach of children.
• Do not short circuit the batteries/rechargeable batteries and keep them away from uncoated metal
objects.
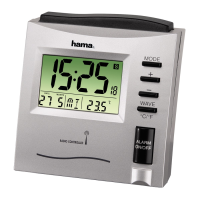
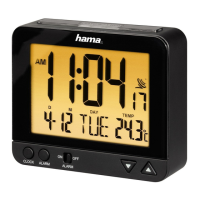
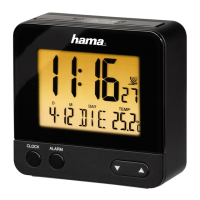
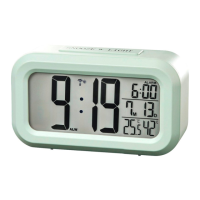
4. Getting Started
4.1. Inserting the batteries
• Open the battery compartment (14) and remove the contact breaker. Replace the battery compartment
cover.
4.2. Replacing the batteries
• Open the battery compartment (14), remove and properly dispose of the dead batteries and insert two new
AAA batteries with the correct polarity. Replace the battery compartment cover.
5. Operation
Note
Hold down the ▲ button (13) or the button (12) to select the values faster.
• Press the MODE button (11) repeatedly to switch between the following displays:
• Temperature
• Alarm mode 1 (ALM1)
• Alarm mode 2 (ALM2)
• Dual Time
5.1. Automatic date/time setting using the DCF signal
• Once you have inserted the batteries, the display is switched on, an acoustic signal sounds and the alarm
clock automatically starts searching for a DCF radio signal. During the search, the radio icon (6) will ash.
This process can take 3 to 5 minutes.
• When the wireless signal is received, the date and time are automatically set.
 Loading...