Do you have a question about the HAMPTON BAY CAMBRIDGE PATIO SWIVEL ROCKER WITH CUSHION and is the answer not in the manual?
| Brand | HAMPTON BAY |
|---|---|
| Model | CAMBRIDGE PATIO SWIVEL ROCKER WITH CUSHION |
| Category | Indoor Furnishing |
| Language | English |
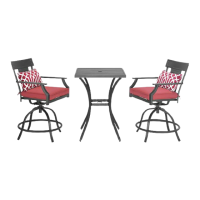
Ensure parts are assembled properly and legs rest on the same surface for stability.
Periodically check for loose parts and retighten as needed for continued safety.
Adhere to specified weight limits for chairs, sofas, tables, etc., to prevent injury.
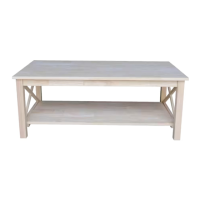
Limited warranty covers frame, weave, and fabric for two years; glass tops for 30 days.
Warranty excludes commercial use, hardware, acts of nature, fire, freezing, and abusive use.
Place parts on a soft surface and remove protective caps before beginning assembly.
Lists all hardware parts with descriptions and quantities for assembly.
Attach the back to the seat using bolts and washers, tightening halfway.
Attach left arm to seat and back using bolts and washers, tightening halfway.
Attach right arm to seat and back using bolts and washers, tightening halfway.
Tighten all bolts, attach caps, adjust leg levelers, and place cushions.
Place chair upside down, ensure horizontal plane, and put base into seat bottom.
Attach base to arms using bolts and washers, tightening halfway.
Half tighten bolts first, then fully tighten all four bolts after aligning.
Place chair upright, add cushions, and enjoy the assembled chair.