EN
31
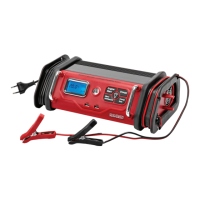
Connection
NOTE: Do not allow the battery clips to touch each other. Connect the clips to the battery and the
chassis� The appliance is only intended for charging/auxiliary starting of 12 V batteries�
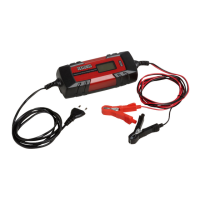
1� Plug the charger into a power point� Icons for voltage, clips and battery are shown on the
display�
2� The terminal clips on the charging cables are colour-coded: RED for positive and BLACK for
negative� Connect the battery clips to the battery terminals as per the instructions� If the clips
are connected with the wrong polarity and Err will be shown on the display and a warning
signal will be heard until the clips are disconnected� Unplug the power cord, release the clips
and connect them with the correct polarity, then plug in the power cord again�
3� When the appliance is connected correctly, press the charging button on the control panel�
The display shows the charging current, icons for the clips, and a battery icon that lls up as
the battery is charged�
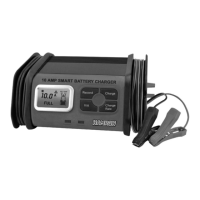
NOTE: The standard charging current is 10 A� You can change the charging current by pressing the
Charge Rate button� The charging current switches cyclically in the sequence 10–20–30–2–5 A�
IMPORTANT: If the appliance overheats the overheat icon will be shown on the display� The
charger automatically reduces the charging current to lower the internal temperature�
4� When battery is fully charged the appliance automatically switches to maintenance charging�
Checking the battery voltage
If the battery voltage is lower than 7�3 V it will not be possible to enable charging mode� LO is shown
on the display and an alarm signal sounds�
Battery reconditioning
Batteries should be reconditioned regularly to maintain optimal performance� During reconditioning
the battery is exposed to electrical pulses that break up the lead sulphate crystals and restore the
battery electrolyte�
Setting up
1� Connect the battery clips correctly and plug in the power cord�
2� Press the A/V/Recond button to enable reconditioning mode�
3� Press the Charge button to start the reconditioning�
NOTE: Reconditioning takes 2 hours, after which the charger switches automatically to normal charging�
IMPORTANT: If you press the Charge button rst normal charging will start and it will not be possible
to enable reconditioning with the A/V/Recond button� Interrupt the charging by pressing the Charge
button again and then press the A/V/Recond button to enable reconditioning mode�
IMPORTANT: If the performance of the battery does not improve after ve reconditioning cycles then
the battery is defective and should be recycled� After 24 hours the charger switches automatically to
normal charging�