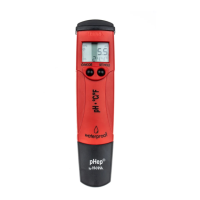
8
Battery life
Measurement
mode
LCD
check up
→ →
→
Electrode
check
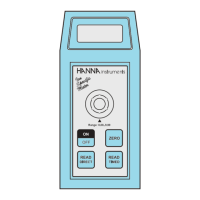
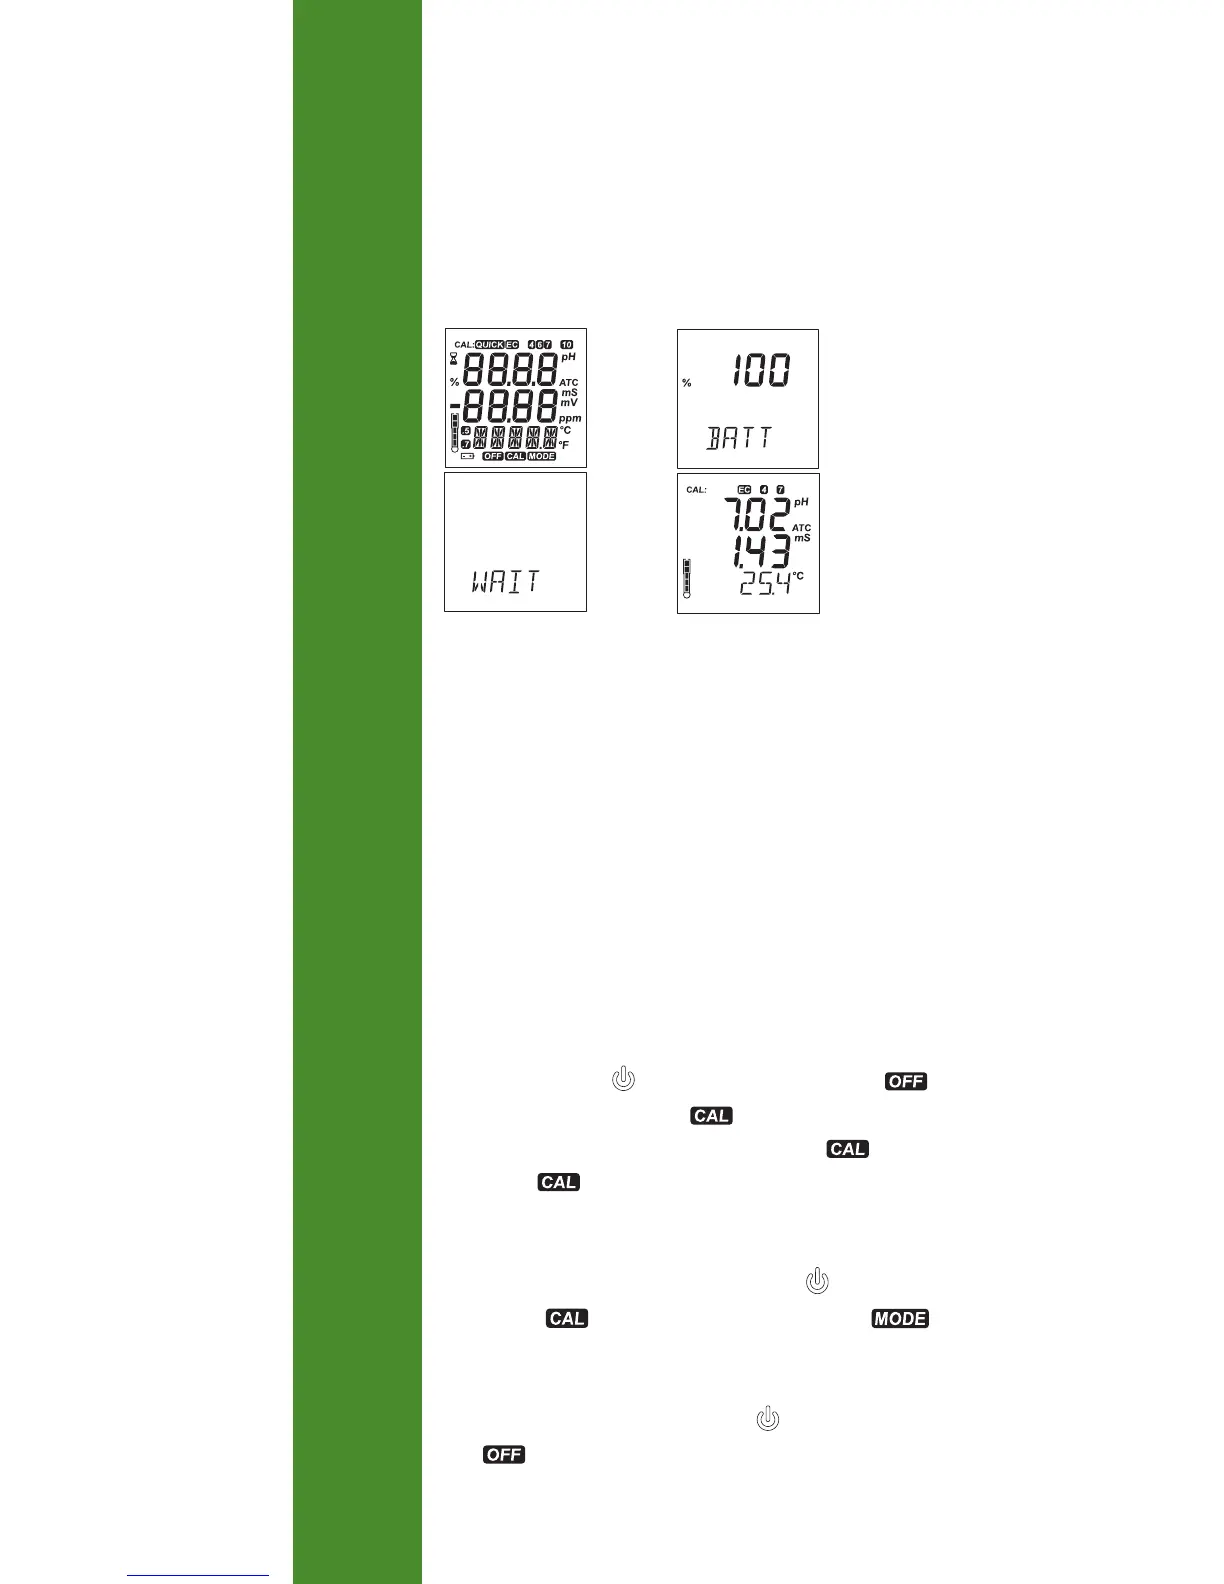
The meter is provided with an active acoustic signal when
a key is pressed.
At start‑up the meter displays all LCD segments for a few
seconds, followed by the percentage indication of the remaining
battery life, displaying “WAIT“ until electrode check is in
process then the meter enters the normal measurement mode.
Note: The meter detects the presence and the type of the
probe at its input.
- If the probe is not connected the message “NO”
”PROBE“ appears alternatively on the third LCD.
- If the probe is not compatible “WRONG” ”PROBE“
message appears alternatively on the third LCD line
with “---“ blinking on the first LCD line.
Note: A HI12943 pH probe may be used on this meter
but conductivity reading will not be displayed. “---“and
“NoEC“ message will be displayed.
- If the readings are out of range, the nearest range
limits are displayed blinking (E.g. -2.00 pH -5.0 °C).
OPERATIONAL GUIDE
To enter calibration mode
Press and hold the button until ”POWER” and
tag is replaced by “QUICK“ tag if quick calibration
is selected from setup menu, or “PH STD“ tag or
“EC STD“ tag if standard calibration is selected from
setup menu. Release the button.
To enter Setup mode
From a measurement screen press and hold button until
“STD“ and tag is replaced by “SETUP“ and
tag. Release the button.
To turn the meter OFF
While in measurement mode, press the button.”POWER”
and tag will appear. Release the button.
 Loading...