DG3 Controller – Installation and Operation
Manual
540846-3 page 15 of 64 25/09/2015
Installation
Fitting the controller
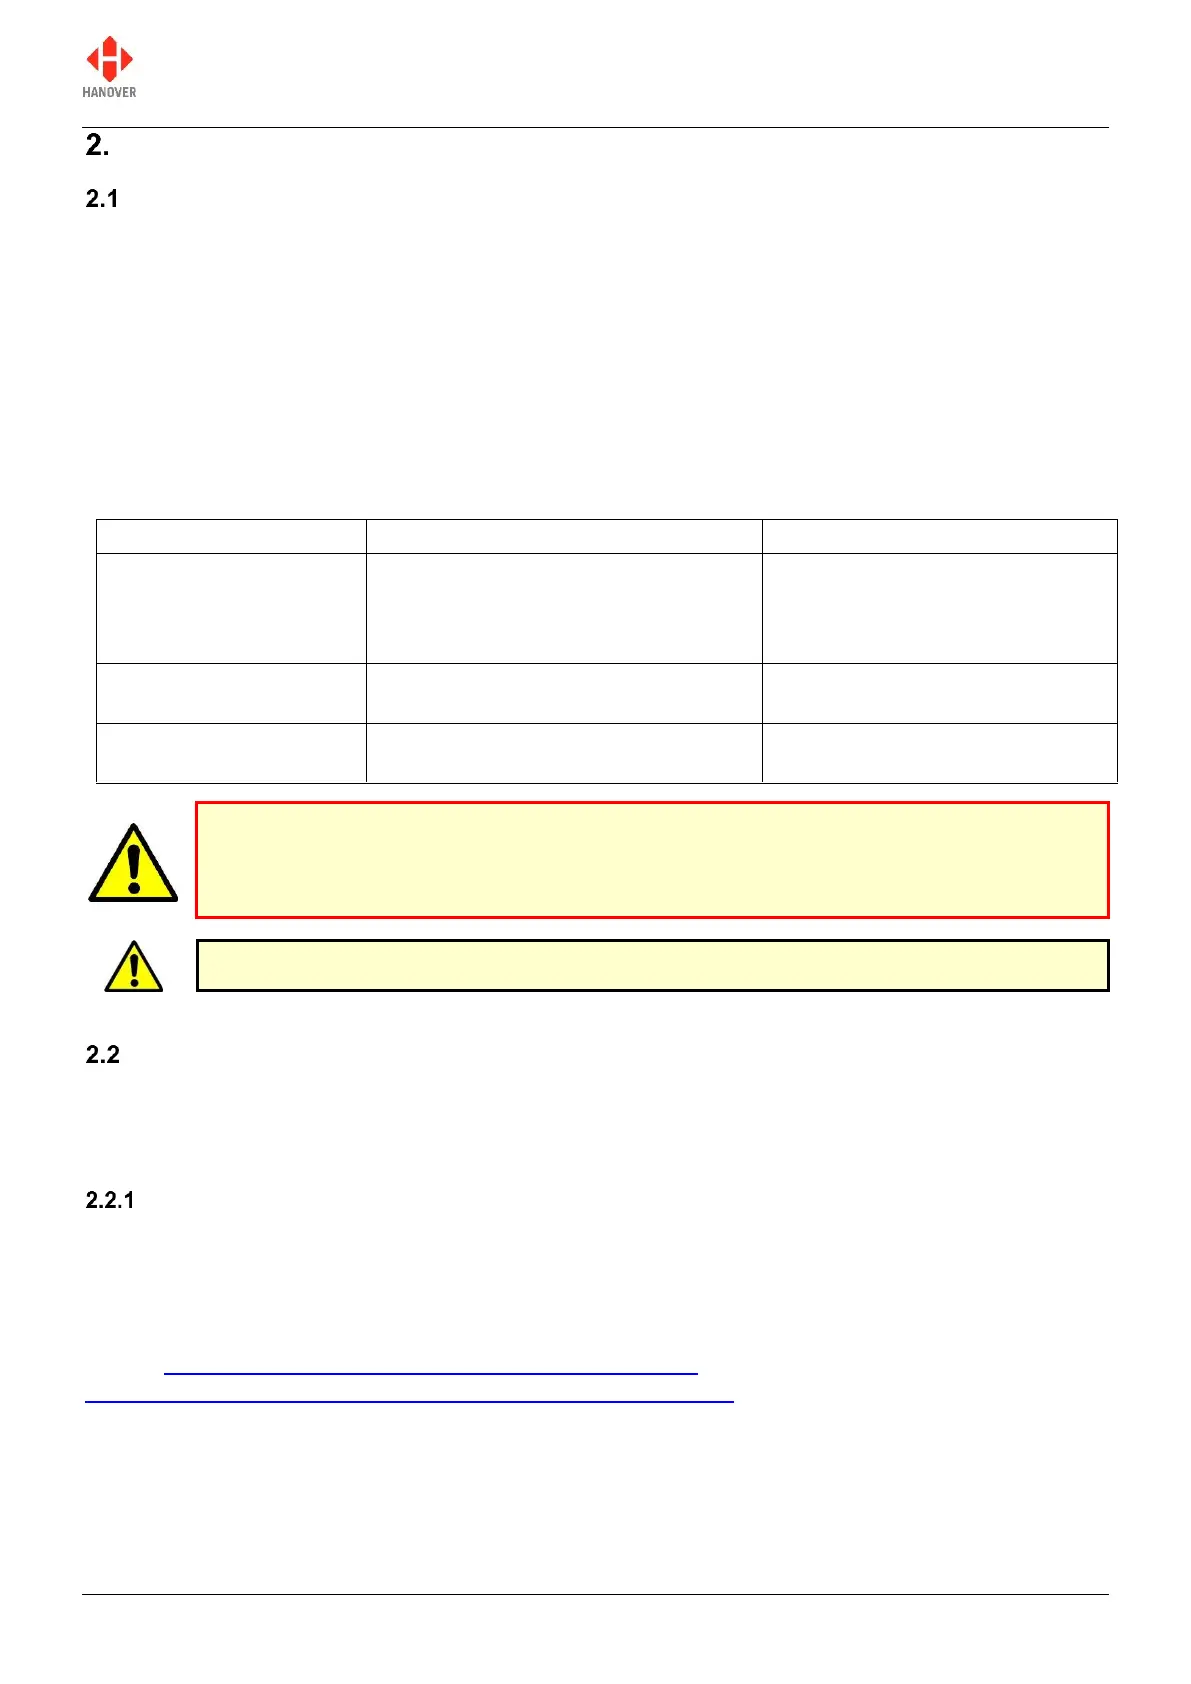
Standard positions for the controller are:
on the dash, to the right or left-hand side
in the sign pod
above or below the driver’s window.
Care must be taken to ensure enough space is provided at the rear of the controller unit for the power and
communication cables.
It is important to mount the controller in a suitable position for the driver for best access and visibility.
Above or below the
driver’s window or above
the windscreen in the
sign pod
This area usually has sufficient space
to accommodate the controller and the
cabling. It also allows easy access for
maintenance.
Awkward for drivers to operate
and difficult for them to view.
Left or right on the dash
Good visibility and access. Wiring and
servicing is normally straightforward.
Difficult to find sufficient depth of
space on modern vehicles.
Below the pod above the
driver’s head
Good visibility and access. Wiring and
servicing are normally straightforward.
Possible water damage if window
is opened.
System wiring
The controller should be connected after the master switch but before the ignition switch such that the
vehicle engine need not be running for the controller to work. However, should the user only need it to be
operative whilst the engine is running, the DG3 can be inserted after the ignition switch.
Power and communication
Power and communication connections to the DG3 controller are by means of an 18-way mini fit connector
found on the rear of the controller. If a DERIC+ or an ERIC++ was fitted before and was to be replaced by
a DG3, an adaptor cable CX330K, CX330X or CX330N can be used. The standard length of the spiral
cable wrap is 200mm. However, it can be customised according to the customer’s needs. Please refer to
section 2.2.2.1 CX330K – For replacing a DERIC+ controller when replacing a DERIC+ or to section
2.2.2.2 CX330X OR CX330N – For replacing an ERIC++ controller when replacing an ERIC++.
The controller is not waterproof. Do not position the unit where it is likely to come into
contact with water / moisture - for example, under an opening window.
Water ingress is not covered by the product warranty.
Warning: Drivers should never attempt to operate the controller whilst driving.
 Loading...