Do you have a question about the Hans Grohe Metris C 31073XX1 and is the answer not in the manual?
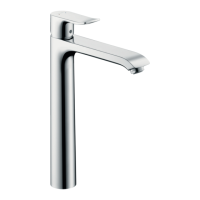
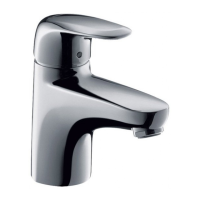
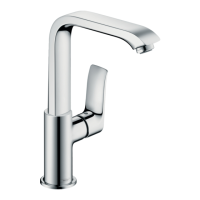
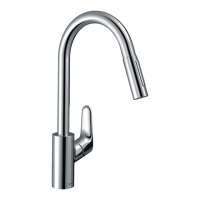
| Model | Metris C 31073XX1 |
|---|---|
| Brand | Hans Grohe |
| Category | Plumbing Product |
| Installation Type | Deck Mounted |
| Material | Brass |
| Finish | Chrome |
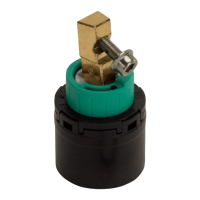
| Cartridge | Ceramic Cartridge |
| Warranty | Limited Lifetime |
| Flow Rate | 1.2 GPM |
| Connection Type | 1/2 inch |
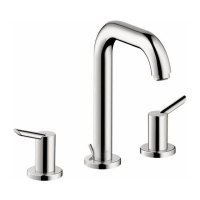
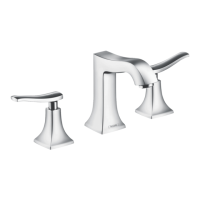
Ensure hot supply is on the left and cold supply is on the right for proper faucet operation.
Place washers, push valve through mounting surface, and install stem extension.
Attach handles by rotating escutcheon clockwise to secure them to the valve.
Inspect handle alignment and adjust by rotating the valve and tightening screws.
Place spout on surface, install washers and nut, then tighten.
Tighten screws and install the drain pull rod for drain operation.
Connect hoses to valves and tighten nuts with wrenches, avoiding twists.
Install 1/2" supply lines on hot and cold valves (not included).
Remove plunger, unscrew/wrap threads, install gaskets, nut, tee, and tailpiece.
Place plunger, install pivot ball seals, install ball rod through plunger loop, tighten nut.
Slide link over pull rod, tighten screw, test drain, and install spring clip.
Aerator uses QuickClean for easy mineral scale removal with finger or sponge.
Illustrates the 'off' and 'on' positions for the aerator handle.
Use recommended cleaners, avoid acids and abrasives, do not mix products.
Follow manufacturer instructions, use correct amount, rinse thoroughly.
Rinse residues, damage to surfaces can worsen with cleaning.
Covers defects in material/workmanship; excludes wear, misuse, improper installation.
Contact retailer or Technical Service with proof of purchase and problem description.
Exclusive remedy is repair/replacement; excludes incidental/consequential damages.