Page 9<&(%$*4.8"4,7%H'*#$"&8#I%/7*,#*%4,77%JKLLLKMLNKNMJL1Item 63793
?@<6AOD@CEA6E@EP6 Q@?CP%R6GSCETR6GSCET%ACU? ?6AFU
S@ET6;
U@;A?%D@O%Q6%@A%R6GSCET%!VGA@T6
AV%U;6!6EA%6G6PA;CP%?BVPY%@ES%S6@AB-
1. Y**/%.,89#%,),>%2(&5%R"(*%<**9%5*4.,8"#51
2. P7&#*%9&&(%+*2&(*%/7'33"83%"8I%
3. ?$,>%47*,(%&2%)"(*%)."7*%2**9"83%)"(*%$.(&'3.%3'81
AV%U;6!6EA%?6;CVF?%CE]F;O-%U(&$*4$"X*%3*,(%5'#$%+*%)&(8%).*8%'#"83%$.*%R*79*(_%5"8"5'5%
shade number 10 full face shield (or welding mask), ear protection, welding gloves, sleeves and apron,
ECV?BK,//(&X*9%(*#/"(,$&(I%,89%2"(*%(*#"#$,8$%)&(W%47&$.*#%)"$.&'$%/&4W*$#%#.&'79%+*%)&(8%).*8%)*79"831%%
G"3.$%2(&5%$.*%,(4%4,8%4,'#*%/*(5,8*8$%9,5,3*%$&%$.*%*>*#%,89%#W"81%%S&%8&$%+(*,$.*%,(4%2'5*#1
8. P7&#*%S&&(%&8%#"9*%&2%R*79*(I%
5,W"83%#'(*%"$%7,$4.*#1
9. Plug either 120 VAC or 240 VAC Power Cord
into Power Input Socket on back of welder.
E&$*- Plug will only fit one way.
10. Plug Welder into properly grounded, GFCI
protected, 120 VAC (20 amp rated) outlet or
240 V outlet. The circuit must be equipped with
delayed action-type circuit breaker or fuses.
11. Turn Power Switch ON.
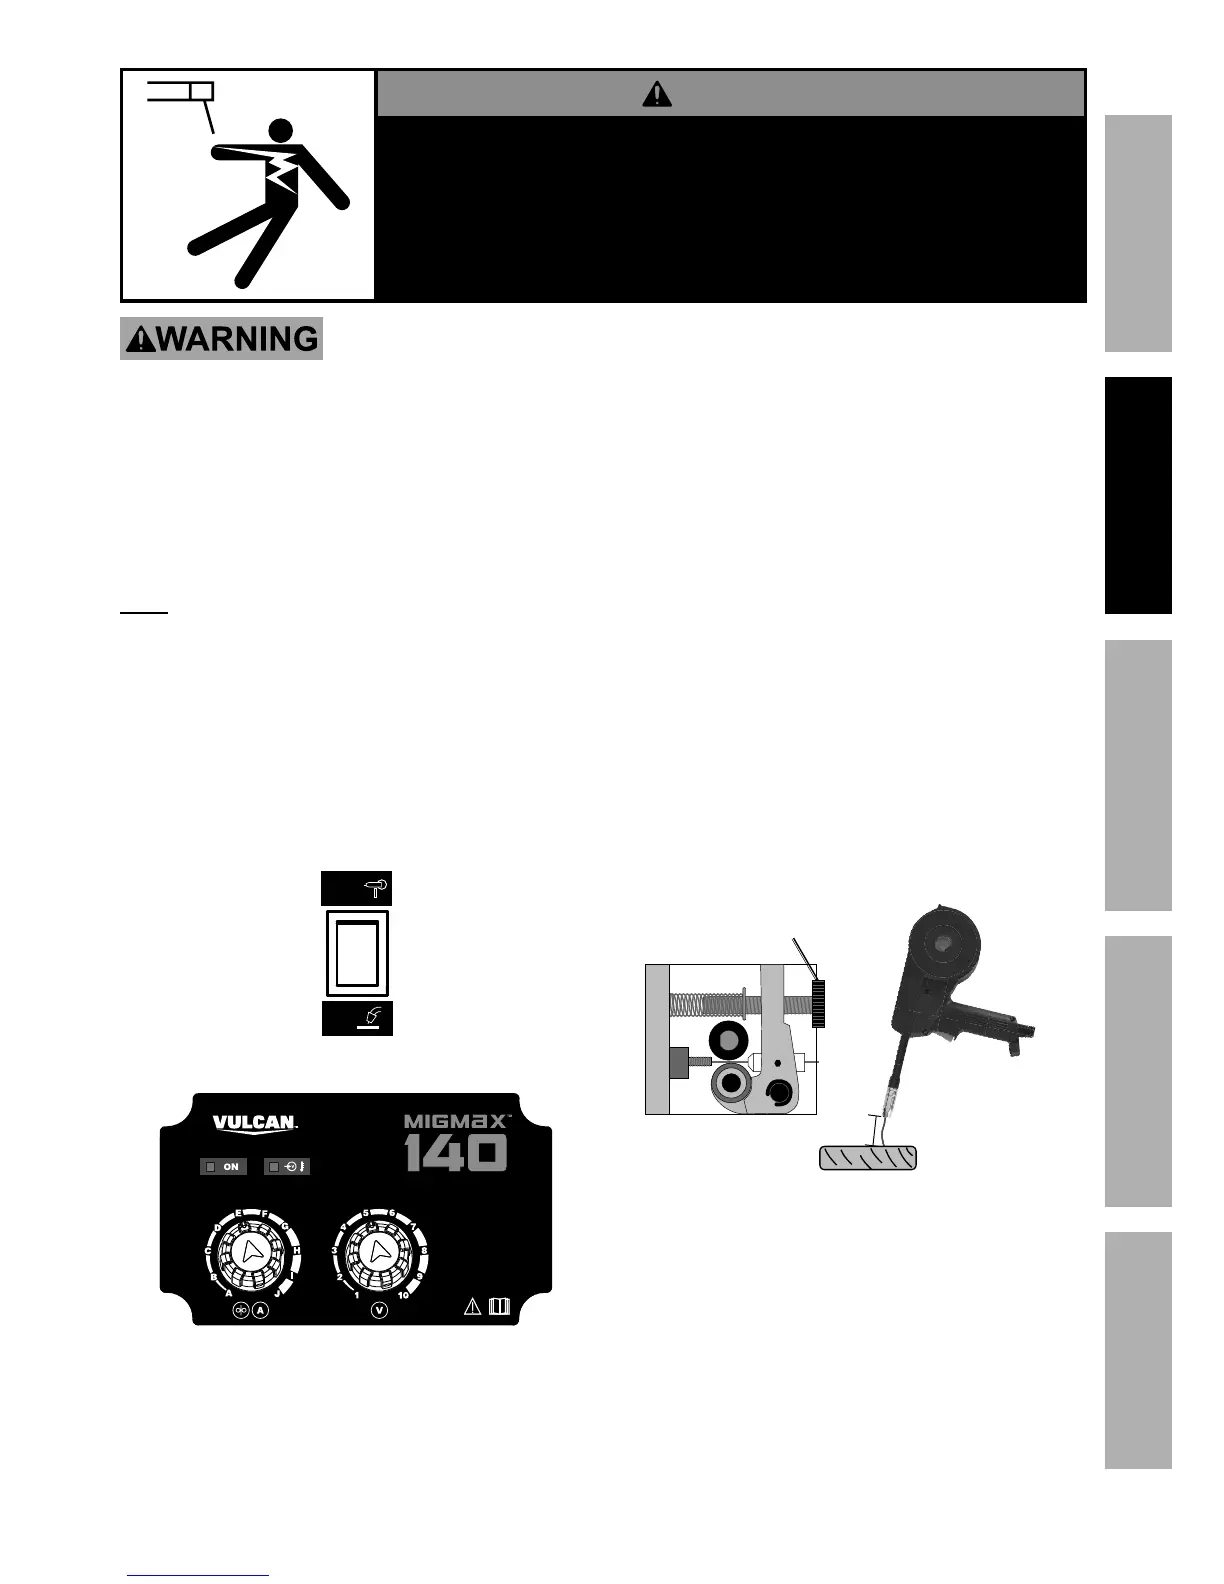
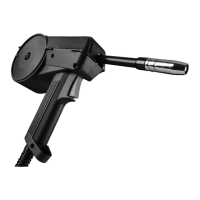
12. On inside of welder,
toggle Spool Gun/MIG Gun switch
to ?/&&7%T'8.
Spool
13. P.*4W%R"(*%S("X*%A*8#"&8-
a. Hold Spool Gun and point it
away from all objects.
b. Press and hold Trigger until at least 2"
of wire sticks out of the Gun. Release
Trigger. Trim wire to 2" as needed.
c. Hold Gun 2 - 3" away from piece of wood.
d. Press Trigger. When Wire touches wood,
it should bend instead of stopping.
• If Wire stops instead of bending,
turn off and unplug welder.
• Slightly tighten Tension Knob.
• Plug welder in and turn power on.
• Repeat steps c. and d. until Wire bends instead
of stopping. Trim wire to 2" as needed.
^KM`
A*8#"&8%
Y8&+
R"(*%?.&'79%
Q*89
14. Turn Power Switch OFF and unplug welder.
15. Choose Contact Tip same size as
Wire. Slide Contact Tip over Wire.
16. Replace Nozzle, trim wire to 1/2".
17. Set Spool Gun down on nonconductive,
nonflammable surface away from
any grounded objects.
18. Go to V/*(,$"&8%&8%/,3*%141


 To Next Page