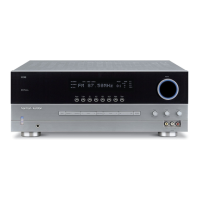
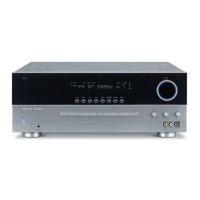
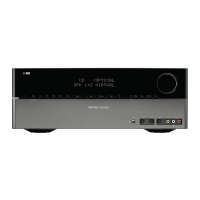
HK3390 DISASSEMBLY PROCEDURE
1 TOP-CABINET (21) REMOVAL
1. Remove 13 screws (S1) and then remove the Top-cabinet.
2 FRONT PANEL ASS’Y REMOVAL
1. Remove the Top-cabinet, referring to the previous step 1.
2. Disconnect the lead wire (BN22-11P) on the Potentiometer PCB (43-4) from connector (CN22) on the
Input PCB (45).
3. Disconnect lead wire (BN13-9P) on the Front PCB (43-1) from connector (CN13) on Main PCB (44-1).
4. Disconnect the connector (CN87-19P) on the Front PCB (43-1) from connector (CN87) on the Main
PCB (44-1).
5. Disconnect the lead wire (BN73-5P) on the Phone PCB (43-3) from connector (CN73) on the Main
PCB (44-1).
6. Disconnect the lead wire (BN84-5P) on the Front input video PCB (43-6) from connector (CN84) on
the Input PCB (45).
7. Remove 1 screw (S6) and then lead wire (JW98,JW99-1P) on the PCB (43-5, 43-3).
8. Remove 1 screw (S6) and then lead wire (JW97-1P) on the Power LED PCB (43-2).
9. Remove 10 screws (S1) and then remove the Front Panel ASS’Y.
3 POTENTIOMETER PCB (43-4) REMOVAL
1. Remove the Top-cabinet, referring to the previous step 1.
2. Remove the Front Panel ASS’Y, referring to the previous step 2.
3. Remove 2 screws (S3) and then remove the Potentiometer PCB (43-4).
4 PHONE PCB (43-3) REMOVAL
1. Remove the Top-cabinet, referring to the previous step 1.
2. Remove the Front Panel ASS’Y, referring to the previous step 2.
3. Remove 2 screws (S4) and then remove the Phone PCB (43-3).
4. Disconnect the lead wire (BN73-5P) from connector (CN73) on the PHONE PCB (43-3).
5 VOLUME PCB (43-5) REMOVAL
1. Remove the Top-cabinet, referring to the previous step 1.
2. Remove the Front Panel ASS’Y, referring to the previous step 2.
3. Pull out the Volume Knob ASS’Y .
4. Remove 4 screws (S3) and then Volume PCB (43-5).
5. Disconnect the lead wire (BN81-5P) from connector (CN81) on the Volume PCB (43-5).
6 POWER LED PCB (43-2) REMOVAL
1. Remove the Top-cabinet, referring to the previous step 1.
2. Remove the Front Panel ASS’Y, referring to the previous step 2.
3. Remove 2 screws (S3) and then remove the Power LED PCB (43-2).
4. Disconnect the lead wire (BN82-5P) from connector (CN82) on the Power LED PCB (43-2).
7 FRONT INPUT VIDEO PCB (43-6) REMOVAL
1. Remove the Top-cabinet, referring to the previous step 1.
2. Remove the Front Panel ASS’Y, referring to the previous step 2.
3. Remove 2 screws (S3) and then remove the Front input video PCB (43-6).
8 FRONT PCB (43-1) REMOVAL
1. Remove the Top-cabinet, referring to the previous step 1.
2. Remove the Front Panel ASS’Y, referring to the previous step 2.
3. Remove the Potentiometer PCB (43-4) , referring to the previous step 3.
4. Remove the PHONE PCB (43-3), referring to the previous step 4.
HK3390 harman/kardon
 Loading...
