12 Front door striker plate -
removal and refitting
1
All models except Van
and Pick-up
Removal
1 Remove the striker plate cover from the
body pillar.
2 Undo and remove the striker plate retaining
screws, lift out the striker lock and remove the
striker plate.
Refitting
3 Refitting is the reverse sequence to
removal. Adjust the striker plate so that as the
door is closed, the striker lock passes through
the door lock without fouling. It should also be
possible to push the door in slightly against
compression of the sealing rubber when the
door is closed.
Van and Pick-up models
Removal
4 To remove the striker on these models,
simply undo and remove the retaining screws
and lift off.
Refitting
5 When refitting the striker plate, adjust it so
that the door sealing rubber is just
compressed and the door is flush with the
adjoining bodywork when closed.
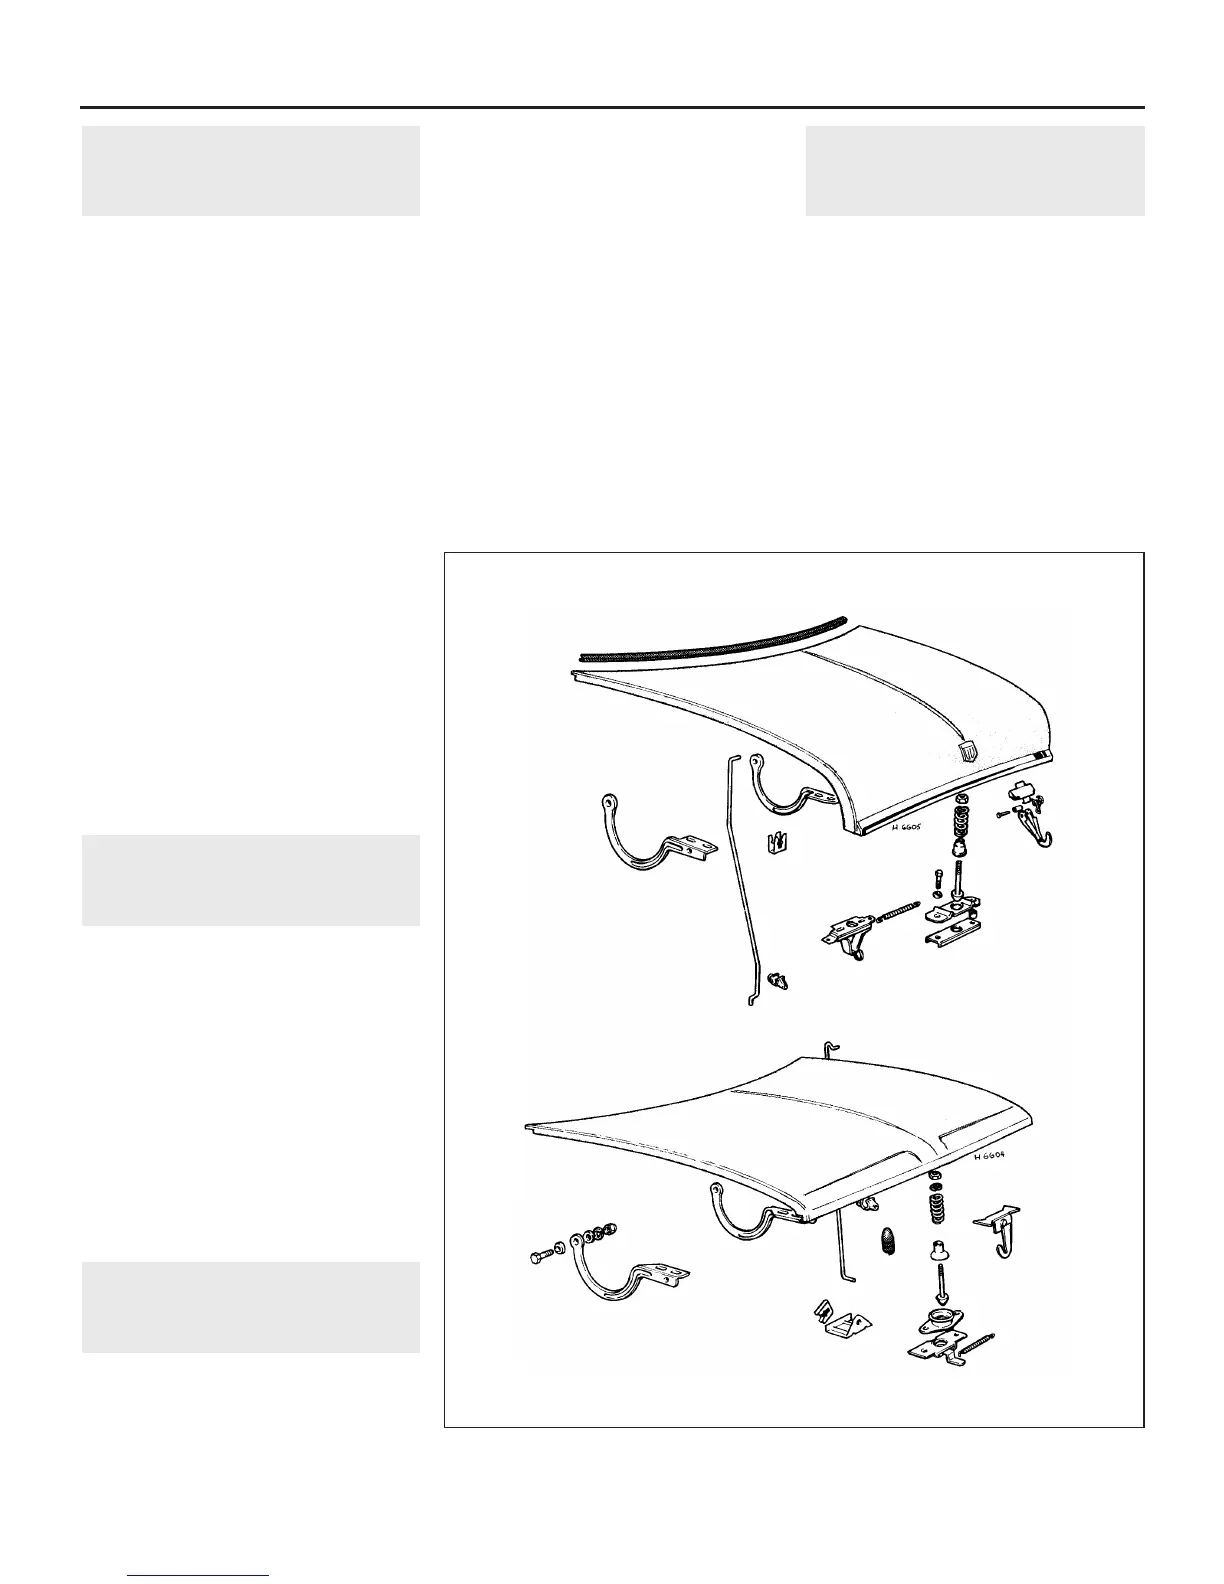
13 Bonnet - removal and refitting
1
Removal
1 Open the bonnet and support on its stay.
2 With a pencil, mark the outline of the hinge
on the bonnet to assist correct refitting.
3 An assistant should now take the weight of
the bonnet. Undo and remove the bonnet-to-
hinge retaining nuts, spring and plain washers
at both hinges (see illustration). Carefully lift
away the bonnet over the front of the car.
Refitting
4 Refitting is the reverse sequence to
removal. Alignment in the body may be made
by leaving the securing nuts slightly loose and
repositioning by trial and error.
14 Bonnet lock release cable -
removal and refitting
2
Removal
1 From inside the car, slacken the retaining
nut, and release the cable and handle
assembly from the bracket under the facia.
2 In the engine compartment, remove the
ignition splash shield, then undo the two bolts
securing the bonnet lock to the front panel.
3 Disconnect the return spring and the
release cable from the bonnet lock, and
remove the lock.
4 Undo the bolt and move the relay located at
the rear of the right-hand inner wing, for
access to the cable-to-bulkhead grommet.
5 Release the cable from the cable clip, push
the cable grommet through the bulkhead, and
withdraw the cable from inside the car.
Refitting
6 Refitting is the reverse sequence to
removal, but adjust the bonnet lock alignment
before finally tightening the two lock retaining
bolts.
15 Bonnet lock - removal and
refitting
1
Removal
1 Open the bonnet and support it on its stay.
2 On models having an ignition splash shield
attached to the body front panel, undo and
remove the retaining screws and withdraw the
shield.
3 Detach the slider catch return spring.
4 Undo and remove the two screws securing
the lock assembly to the front panel and lift off
the lock and guide plate.
Refitting
5 Refitting is the reverse sequence to
removal.
11•8 Bodywork and fittings
13.3 Bonnet hinge and lock assemblies
 Loading...