MED 112679 2016-06-30
9/52
MED 112679 2016-06-30
ENGLISH
Only charge the rechargeable handle with the following HEINE chargers:
NT300: BETA NT and BETA L rechargeable handle
miniNT: mini3000 rechargeable handle
NT4: BETA 4 NT rechargeable handle
E4-USB-power adapter: BETA 4 USB rechargeable handle
Setup and operation of the HEINE chargers are described in separate instruction documents.
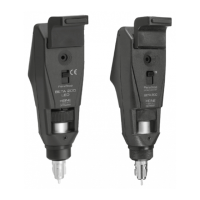
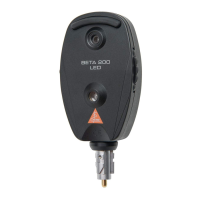
Charging of the Li-ion L battery
The BETA L, BETA 4 NT and BETA 4 USB handles are designed specifically for the use of the Li-ion L
rechargeable battery. To check the battery charge, the bottom inserts are equipped with a charge level
indicator.
- BETA L: The charge level indicator is automatically activated when the instrument is disconnected from the
charging device. With the BETA L, the display activates when it is turned on and goes off automatically after
10 seconds.
Charge status indicators:
Orange/green/green: 66 – 100 %
Orange/green: 33 – 66 %
Orange: 10 – 33 %
Orange flashing: < 10 %
- BETA 4 NT: The charge level indicator shows a constant orange when the battery needs to be recharged.
With a fully discharged battery, the charge level indicator goes out and the instrument head is disabled.
- BETA 4 USB: While charging, the charge level indicator flashes green. After charging is complete, the
battery indicator turns constant green. The charge level indicator shows a constant orange when the battery
needs charging. With a fully discharged battery, the battery level indicator goes out and the instrument head
is disabled.
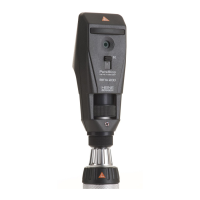
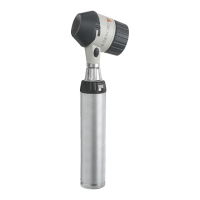
Attaching the instrument heads
HEINE BETA
®
handle and large battery handle
Automatic Connector (AV)
Attach the instrument head onto the handle from above in such a way that the connector fits into the guides
on the handle head. Push the instrument into the handle head until it locks in place with an audible ”click“.
To remove the instrument head turn the Connector (1) on the handle head to the right with the thumb and
forefinger and, using the other hand, pull the instrument head up and out.
Twist-Lock Connector (TL)
To connect an instrument head, hold the handle in one hand, match up its mounting lugs with the recesses in
the head, press in and turn the handle clockwise until securely attached.
Removing the instrument
To remove the head rotate it anti-clockwise and pull it off.
HEINE mini3000
®
handle
The instrument head can be screwed on and off using the internal thread in the handle head.
Operation
HEINE BETA
®
handles and large battery handle
To activate the instruments press the unlock button (2) and turn the rheostat (3) clockwise. The light intensity
is indicated by the bar .
Position ”1“ shows the maximum brightness; you can set any intermediate level as desired. To turn the device
off, turn the rheostat back to position „0“.
HEINE mini3000
®
handles
To turn the instrument on, push the switch (6) down; to turn it off, push it back up.
When the clip (7) is clipped onto a breast pocket the handle turns off automatically.