These safety notes must be complied with in all cases. It is recommended that a fault current
safety plug always be used when working with electrical equipment.
3.2 Charging the Battery
In all cases observe Section 3.1, “Controls and Operating Notes”.
New batteries or those which have not been used for a long time, and/or those at temperatu-
res below 10°C will not yet be at full capacity. This is because of the way the battery functions
and does not indicate a fault. Full working capacity will be reached again after the battery has
been discharged and recharged a few times.
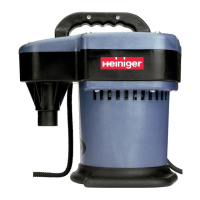
Plug in the mains plug and insert the battery into the charger from above without using any
force (Illustration 3). Check for clean contact surfaces/charging cavity.
If, after clipping, the battery becomes heated by external influences (sunlight, ambient tempe-
rature or the like), it may be that the battery cannot be charged (red charging light will not light
up; (Illustration 3, Item 1). If this happens, first let the battery cool down.
The red control light will be lit during the charging process. If the control light does not light
up, check all contact surfaces and charging apertures for dirt and foreign bodies. If the control
light still does not light up, a malfunction has occurred which can only be rectified by a spe-
cialist.
As soon as the battery is fully charged (charging time approx. 1
1
/2 hr), the green control light
will light up (Illustration 3, Item 2) and the charger will switch to “trickle charge”.
Once charging is complete, hold the charger firmly with one hand and pull the battery out with
the other. Disconnect the charger from the mains.
3.3 Inserting and Removing the Battery
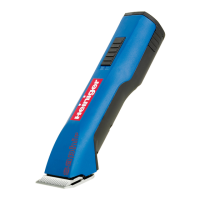
Check the contact points on the machine (Illustration 1, Item 17) and the battery (Illustration 1,
Item 24) for foreign bodies and dirt.
Switch the machine off before inserting or removing the battery (Illustration 2, Item 2).
Fully insert the battery into the shearing machine (Illustration 4) and clamp it tight carefully
with the snap closure (Illustration 5, Item 1). Do not apply force to insert the battery. The batte-
ry should slide easily into the machine; if not, there is a fault.
To remove the battery, unlock the snap closure and pull the battery out of the machine.
Illustr. 3
Illustr.
1/2/4/5
 Loading...