100
2 0 D5
1300
min 1900
A A365
500
J
333 B
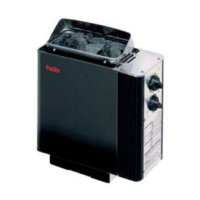
Helo Qlick-Fix heater installation
Install the heater in the sauna in accordance with the safety distances in table on page 4. A thin panel is not enough as a
mounting base, the mounting base must be reinforced with a board behind the panel. Table on page 4 gives the minimum
distances that must be observed, even if the wall material is a non-combustible material.
Walls or ceilings must not be clad with fibre-reinforced plaster board or other light-weight cladding, because they may
cause a fire hazard.
Only one heater may be installed in the sauna.
Sauna heater safety clearances
See table 1 for minimum safety distance to wall B and
floor J. Use mounting paper to locate the holes. Drill a
3.5mm pilot hole in the panel and fasten
6 x 40 mm mounting screws (2 pcs) to the wall. Leave a
gap between the screw head and the wall 1-2 mm. Install
the heater by pushing it into place through the holes and
lowering. The tongues lock the heater, preventing lifting
without a tool.
When performing maintenance, the heater can be
removed from the wall mount if necessary by
unscrewing the 4 screws on the sides.
NOTE! Stones must be removed before the heater is
removed. Slide the heater upward and pull it outward.
Reinstall in the reverse order. Press into the slots, lower
and tighten the screws.
Minimum distances for
the mounting (mm)
 Loading...