Page 9For technical questions, please call 1-888-866-5797.58887
General Instructions for Use
1. Make sure that the Trigger is in the off‑position,
then insert a fully charged Battery Pack
into the base of the Impact Wrench, making
sure that it clicks into place securely.
CAUTION! The tool will restart automatically if stalled.
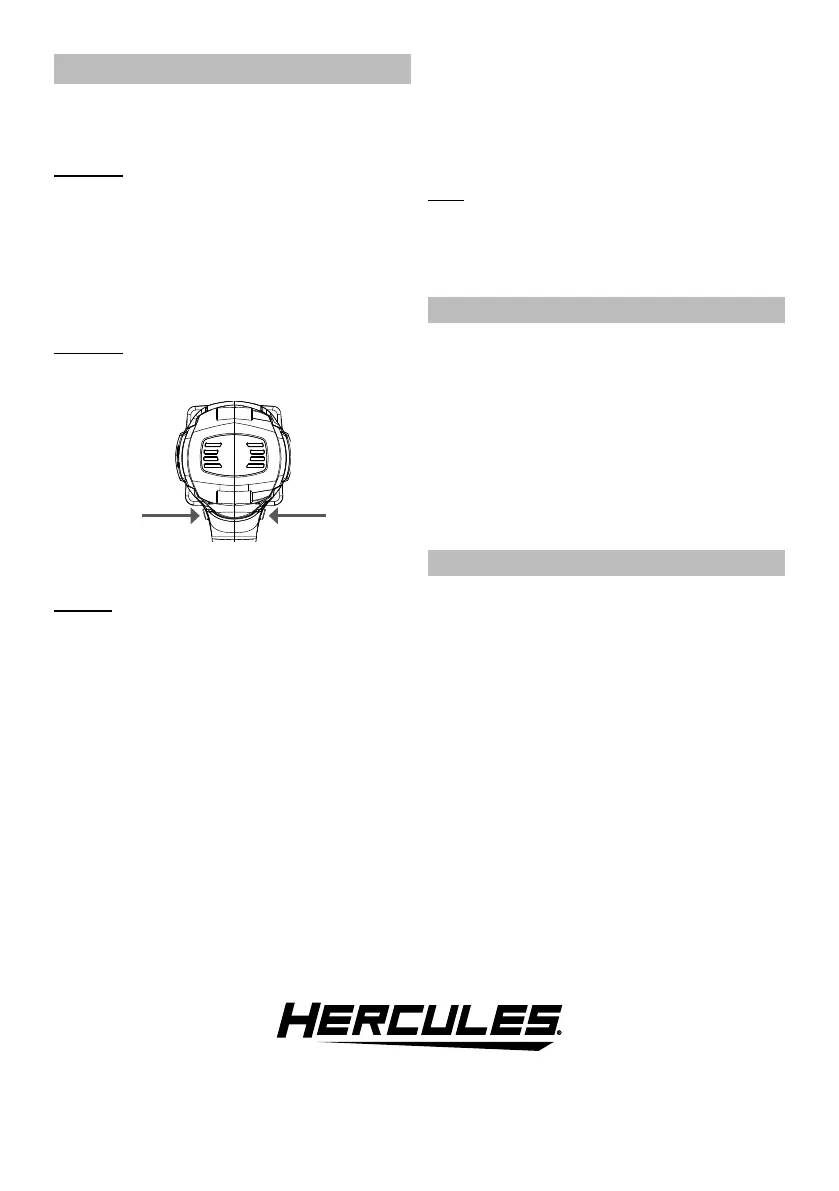
2. Set Direction Switch.
Forward: Push Switch in on right side
(arrow pointing forward) for clockwise rotation.
Reverse: Push Switch in on left
side (arrow pointing backward) for
counter‑clockwise rotation.
Trigger Lock: Push Switch to the
center to lock the Trigger.
CAUTION! Set Direction Switch to center
Trigger Lock position during set up, when
changing sockets or when tool is idle.
Push
for
Forward
Push
for
Reverse
Push to Center to
LOCK TRIGGER
NOTICE: Do not change direction of rotation
while Anvil is rotating. Wait until Anvil has come
to a complete stop before changing direction.
3. Use two hands to hold the tool.
4. Push socket over fastener and
squeeze Trigger slowly.
5. When finished, release and lock Trigger.
6. To prevent accidents, turn off the tool and
remove its Battery Pack after use. Clean, then
store the tool indoors out of children’s reach.
Note: The amount of actual torque will vary depending
on the cleanness and condition of the threads and
other factors. If tightening critical components,
chase threads before assembling components and
check the actual torque applied to the fastener with
a mechanical torque wrench (not supplied).
Changing Mode
1. Tool Mode can be adjusted. Adjusting Mode
changes the RPM and BPM range of the tool.
There are four different modes. Mode 1 is the
slowest, while Mode 3 is the fastest. To see
current mode, pull and release Trigger to turn
on tool. The Mode Indicator will light up.
2. To adjust the mode, press the Speed Selector
Button to cycle through different modes.
3. Mode 4 in forward, runs tool and shuts off
when torque is reached. Mode 4 in reverse,
runs tool at full RPM until nut breaks free.
Then tool slows RPM down to remove nut.
Changing Speed
1. Speed of the switched‑on tool depends on
how far the Trigger is pressed down.
2. Light Pressure on the Trigger results in a low speed.
Use more pressure on the Trigger to increase speed.