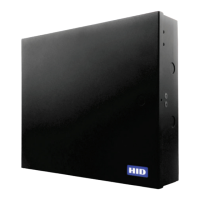
1. Mount the ACW2-XN to the desired location. Use the Drilling
template to aid in marking the mounting holes.
2. Wire the readers to the AW2.
3. Wire the desired inputs to the AW2.
4. Wire the locks to the AW2 relay terminals.
5. Connect the Ethernet cable to the Controller (AC).
6. Place the AC and AW2 labels in the correct location on the back
page of this quick guide. This will be used during door setup.
7. Unplug the power mains cable then wire it to the Power Terminal
Block.
8. Check all wiring then, if everything is satisfactory, plug in the
mains cable to power up the
It is recommended that a 3
rd
party 12VDC battery be added to
the system.
Please see the Installation Guide for details and advanced
1. Set the controller(AC) dip switch #1 ON
2. Reboot the controller and wait until the
status LED is constantly RED (~30 sec).
3. Set the controller(AC) dip switch #1
OFF
Caution:
Factory default will erase all data stored within the controller!
Factory Default (Last Resort Only)
© 2018 HID Global Corporation/ASSA ABLOY AB. All rights reserved.
This document may not be reproduced, disseminated or republished in any form without the prior written
permission of HID Global Corporation.

 Loading...