Hardware Installation
Kit Contents
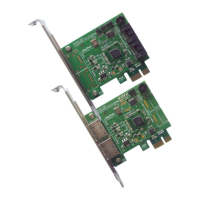
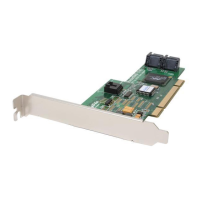
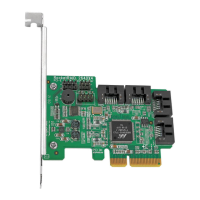
RocketRAID 62x controller
2 SATA cables (RR620)
HighPoint Software CD
Low-profile bracket
Quick Installation Guide
Installing the RR62x Host Adapter
Note: Make sure the system is powered-off before installing the RocketRAID 62x
host adapter.
1) Open the system chassis and locate an unused PCI-E (2.0 or 1.0) x1, x4, x8 or x16 slot.
2) Remove the PCI slot cover.
3) Gently insert the RocketRAID 62x into the PCI-E slot, and secure the bracket to the system chassis.
4) After installing the adapter, attach the hard disks or disk enclosure to the RocketRAID card using the SATA or
eSATA cables.
5) Close and secure the system chassis.
Driver Installation (Windows 7, Vista, 2008)
1) After installing the RR62x host adapter, boot to the Windows operating system.
2) Windows should automatically detect the card, and displays the “Found New Hardware Wizard”. Select “Locate
and install driver software”. When Windows asks: “Windows needs your permission to continue”, select
3) “Continue”.
4) When asked to search online select “Don’t Search Online”.
5) Select “I don’t have disc, show me other options”.
6) and then select “Browse my computer for driver software”.
7) Browse to the location of the driver and click “Next”.
8) When asked: “Would you like to install this driver software?” select “Install”.
9) Reboot the system when prompted. The RocketRAID host adapter will be ready for use after Windows reboots.
Note: Consult the software copy of the RocketRAID 62x User’s Guide for in-depth installation procedures.