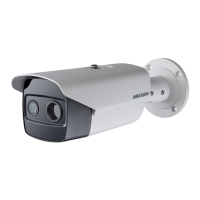
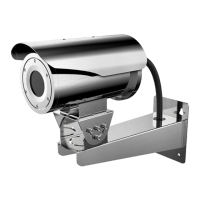
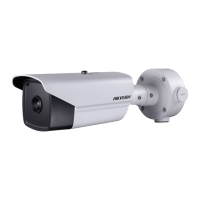
DS-2TD2xxx-xx/xx Thermal and Optical Bi-Spectrum Network Bullet Camera Quick Start Guide
QSG DS-2TD2xxx-xx/xx 071720NA 23
Latches
Latch Holes
Figure 29, Take Apart Junction Box
Attach the drill template (supplied) to where you want to affix the camera, and then drill four screw
holes (recommended depth: 40 mm) in the ceiling/wall according to the drill template.
Drill a cable hole according to the
A
mark
of the drill template.
Ф 10 mm
(0.39'')
Ф 24 mm
(0.94'')
Figure 30, Drill Template
Align the drill template hole with the junction box base screw hole to place the junction box onto the
wall.
Route the screw through the sealing ring, and fix the junction box base on the wall with the screws.
 Loading...