1
Installing the stand
CAUTION
Be sure to disconnect the AC power cord before installing a stand or wall mount
brackets.
The display on your TV is fragile. Make sure the TV screen is not scratched or
damaged by hard objects or from pressure.
After the installation is completed, make sure the TV is steady on a table or firmly
attached to a wall mount, before removing all protective film, if any.
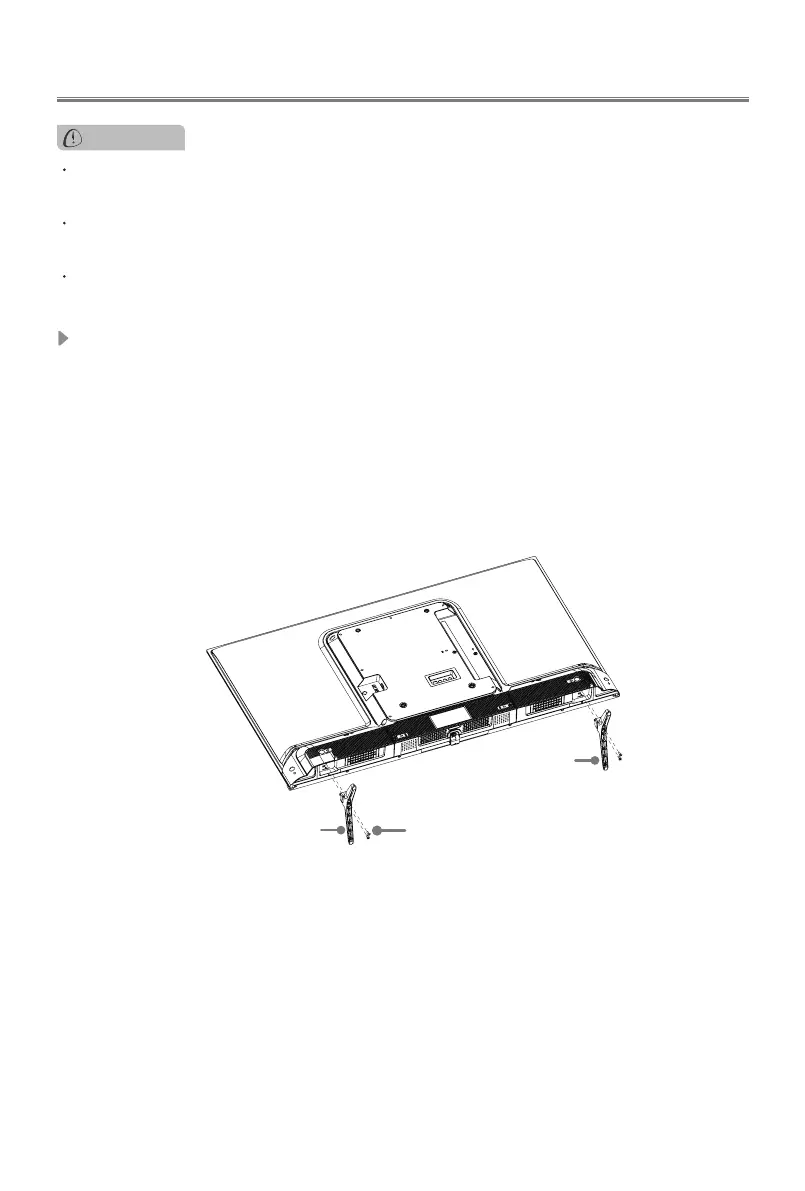
1. Carefully place your TV face-down on a soft, flat surface to prevent damage to the
TV or scratching to the screen.
2. Take out the 2 stands from the accessory bag and then insert the stands into the
bottom slots of the TV.
3. Secure the stands to the TV with the 4 screws in accessory tightly.
Follow the illustrations and textual instructions below to complete the installation steps:
Note: If your table is long enough to place the TV on top of, then insert the base stands into
the screw holes ‘A’ that are shown in the illustration. If your table is NOT long enough, then
insert the base stand into the screw holes ‘B’ that are shown in the illustration. Note that
these two installation methods types cannot be mixed.
Installing the Stand or Wall mount bracket
43"/58"
Base Stand
Screws: M4×16 (43")
M5×12 (58")
Base Stand
1. Carefully place your TV face-down on a soft, flat surface to prevent damage to the
TV or scratching to the screen.
2. Take out the 2 stands from the accessory bag and then insert the stands into the
bottom slots of the TV.
3. Secure the stands to the TV with the 4 screws in accessory tightly.
Follow the illustrations and textual instructions below to complete the installation steps:
65"/70"/75"