1. Measure the height of the stud above the
surface.
2. Thread the stud removal tool onto the stud and
tighten it, or thread two nuts onto the stud.
3. Remove the stud by turning the stud remover or
the lower nut.
4. Remove any thread locking compound from the
threaded hole. Clean the threads with an
aerosol parts cleaner.
5. Install the stud removal tool onto the new stud
or thread two nuts onto the stud.
6. Apply thread locking compound to the threads of
the stud.
7. Install the stud and tighten with the stud removal
tool or the top nut.
8. Install the stud to the height noted in Step 1 or
its torque specification.
9. Remove the stud removal tool or the two nuts.
Removing Hoses
When removing stubborn hoses, do not exert excessive force on the hose or fitting.
Remove the hose, do not exert excessive force on the hose or fitting. Remove the hose
clamp and carefully insert a small screwdriver or pick tool between the fitting and hose.
Apply a spray lubricant under the hose and carefully twist the hose off the fitting. Clean
the fitting of any corrosion or rubber hose material with a wire brush Clean the inside of
the hose thoroughly. Do not use any lubricant when installing the hose (new or old).
The lubricant may allow the hose to come off the fitting, even with the clamp secure.
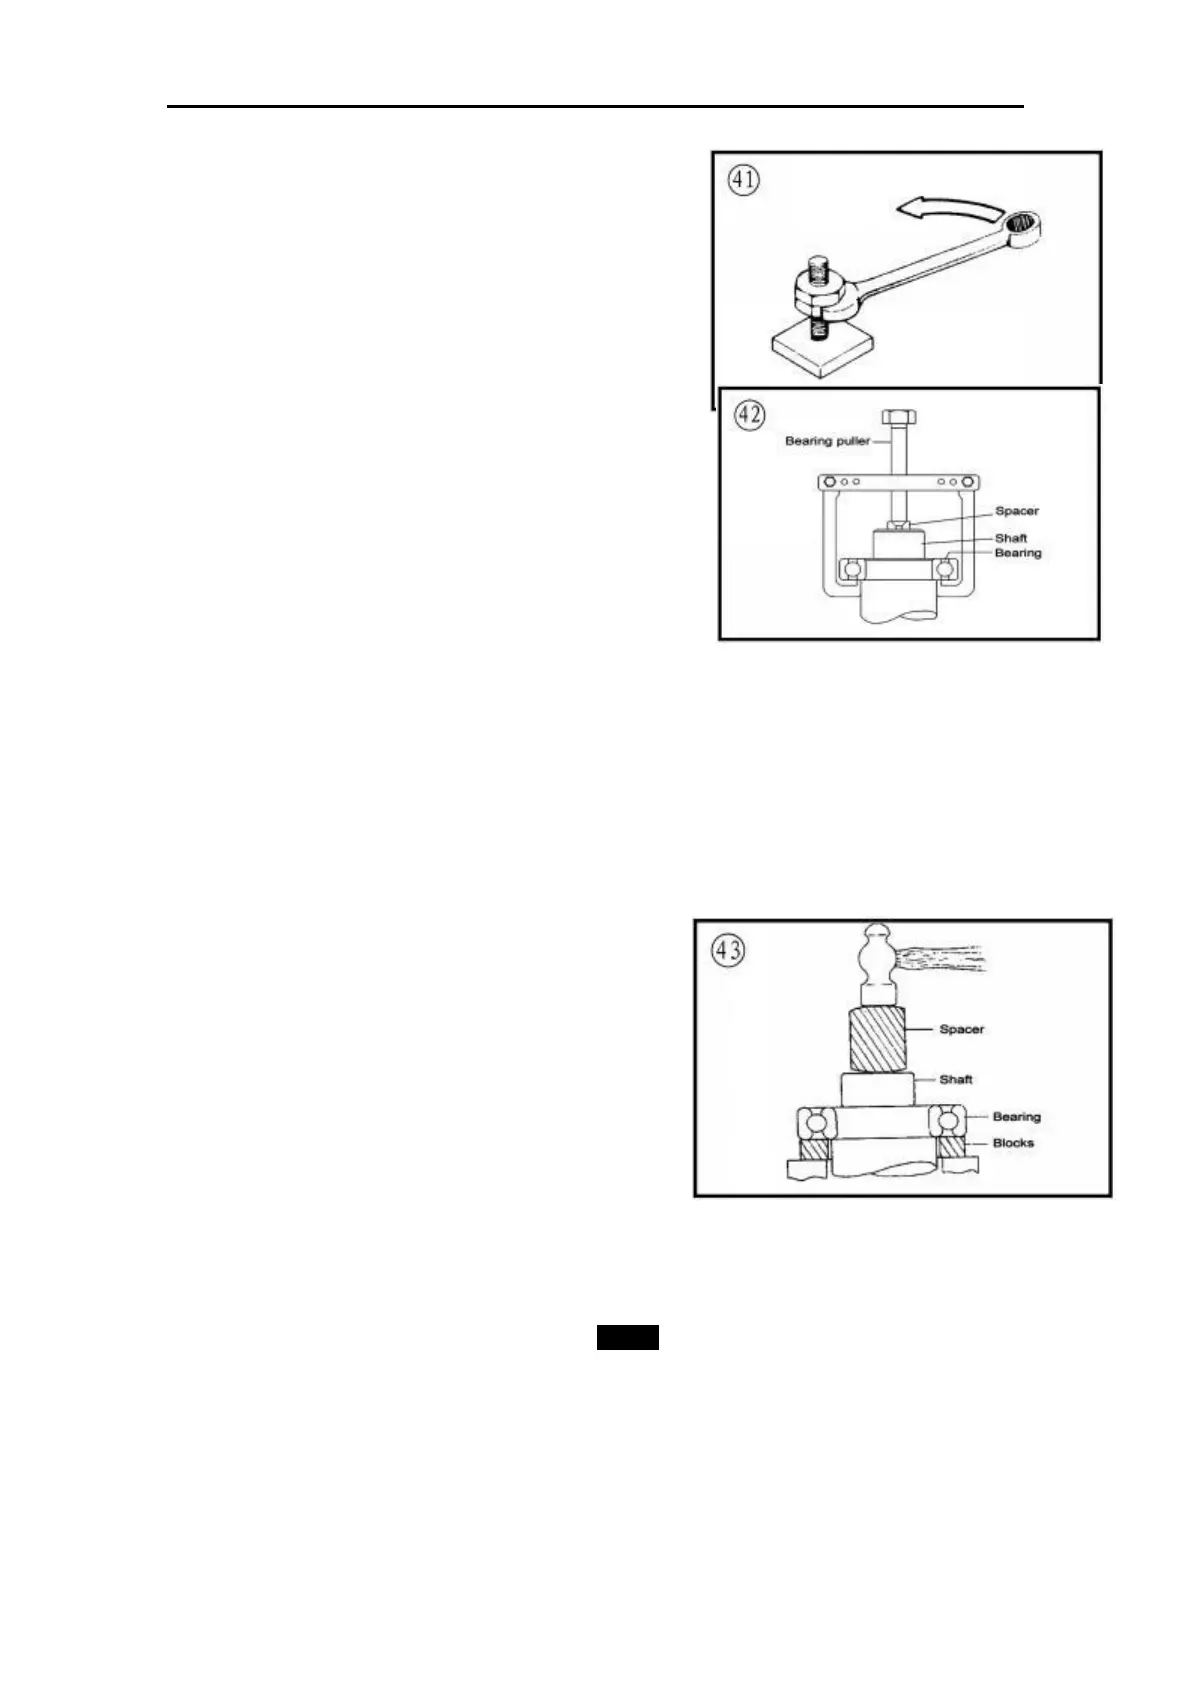
Bearings
Bearings are used in the engine and
transmission assembly to reduce power loss, heat
and noise resulting from friction. Because bearings
are precision parts, they must be maintained with
proper lubrication and maintenance. If a bearing is
damaged, replace it immediately. When installing a
new bearing, take care to prevent damaging it.
Bearing replacement procedures are included in
the individual chapters where applicable; however. Use the following sections as a
guideline.
NOTE
Unless otherwise specified, install
bearings with the manufacturer’s mark
or number facing outward.
 Loading...