29
1.7 Configuring the network settings manually (continued)
1. Connection to the network
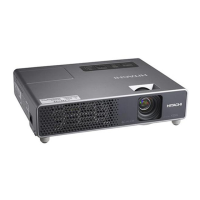
If the entered IP address and projector's IP
address are the same, a warning dialog shown
to the right will be displayed.
Click the [OK], and then enter a different IP
address from the projector's one in the dialog
for changing Network configuration.
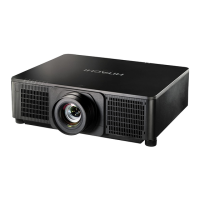
If the connection is not available with the
entered Network configuration, a warning
dialog shown to the right will be displayed.
Click the [OK] to return to the dialog for
changing the Network configuration, and then
enter appropriate configuration.
• If a Network configuration to connect to the projector has been added
on the computer, the added Network configuration will be erased once the
application software is closed.
NOTE
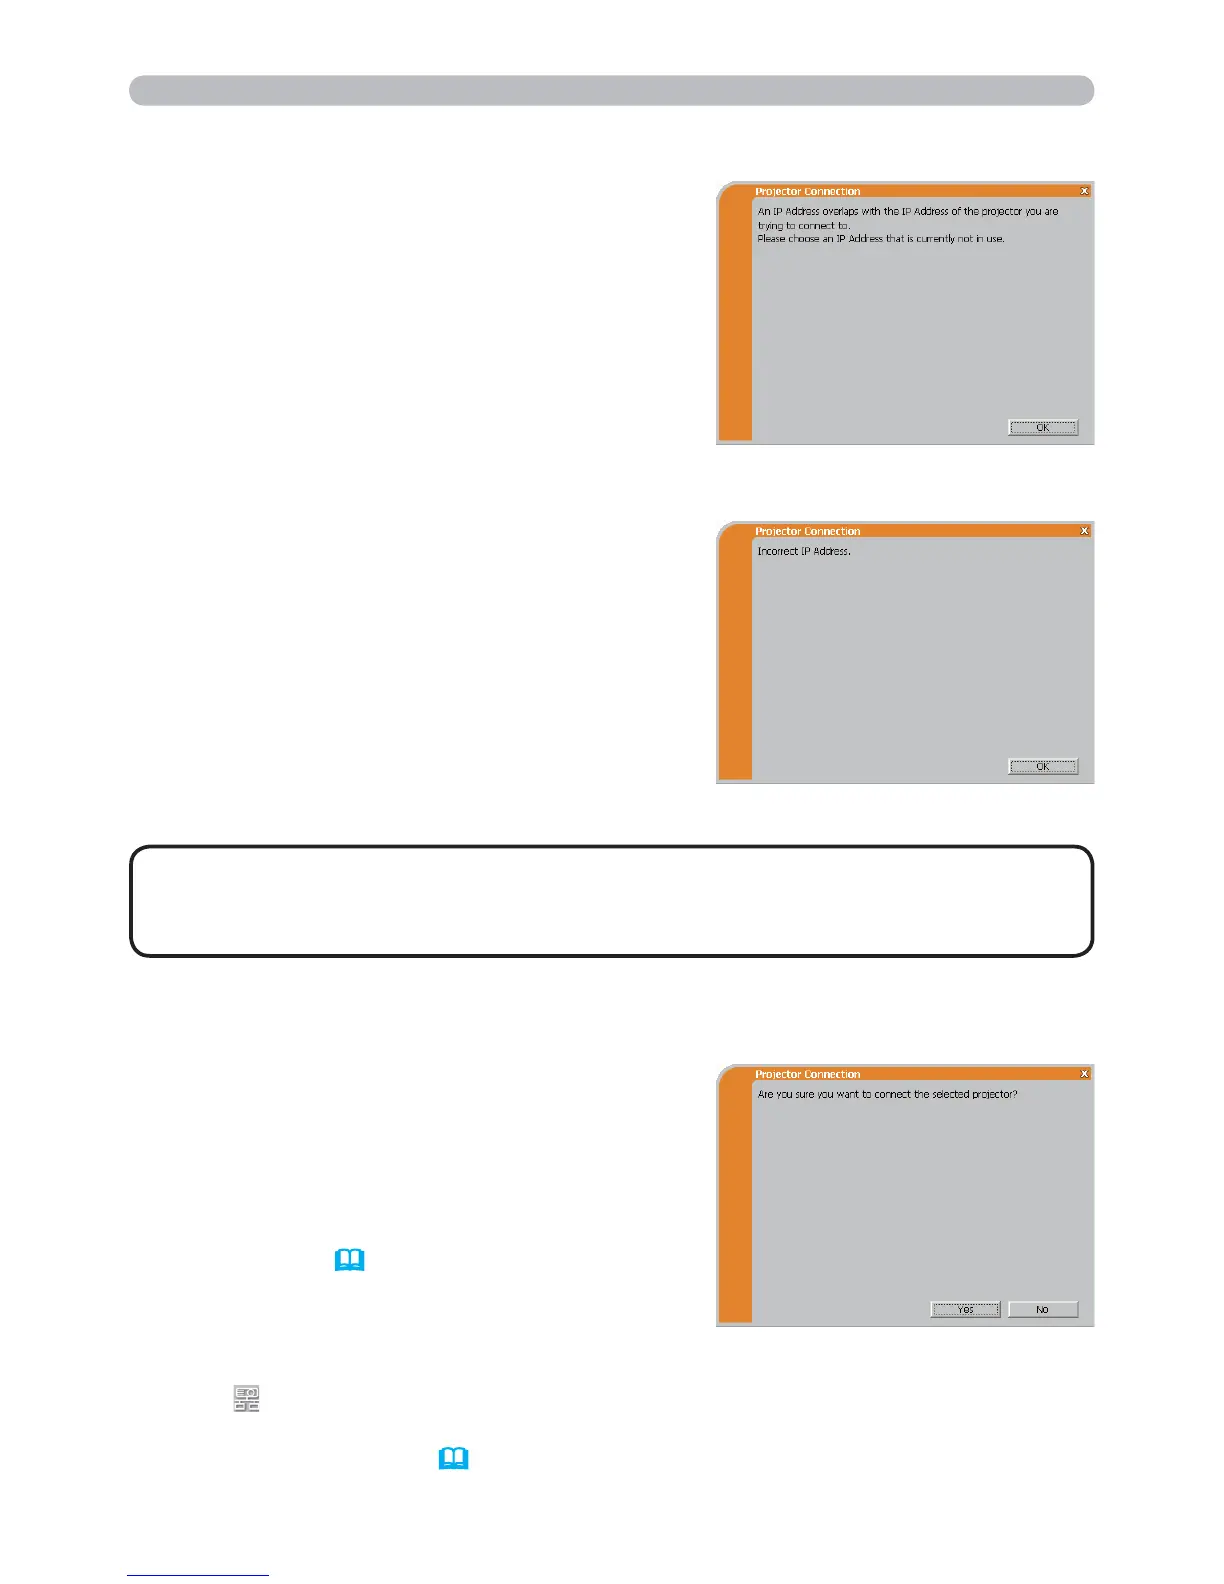
The message is appeared when the wireless
adapter you selected is already used for
another network connection.
• To connect, click the [Yes]. Proceed to item
1.8 Confirming the connection to your
destination. (
30)
• Not to connect, click the [No] then the
“LiveViewer” main menu is displayed even
though the network is not established.
Click
on the main menu to go back
to item 1.5 Selecting the network
connection method. (
14)
Are you sure you want to connect the selected projector?

 Loading...