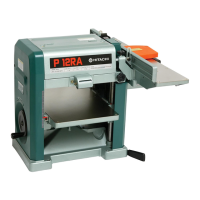
– 12 –
English
To avoid injury from an accidental start-up, make sure
the switch is in the OFF position and the plug is not
connected to the power source.
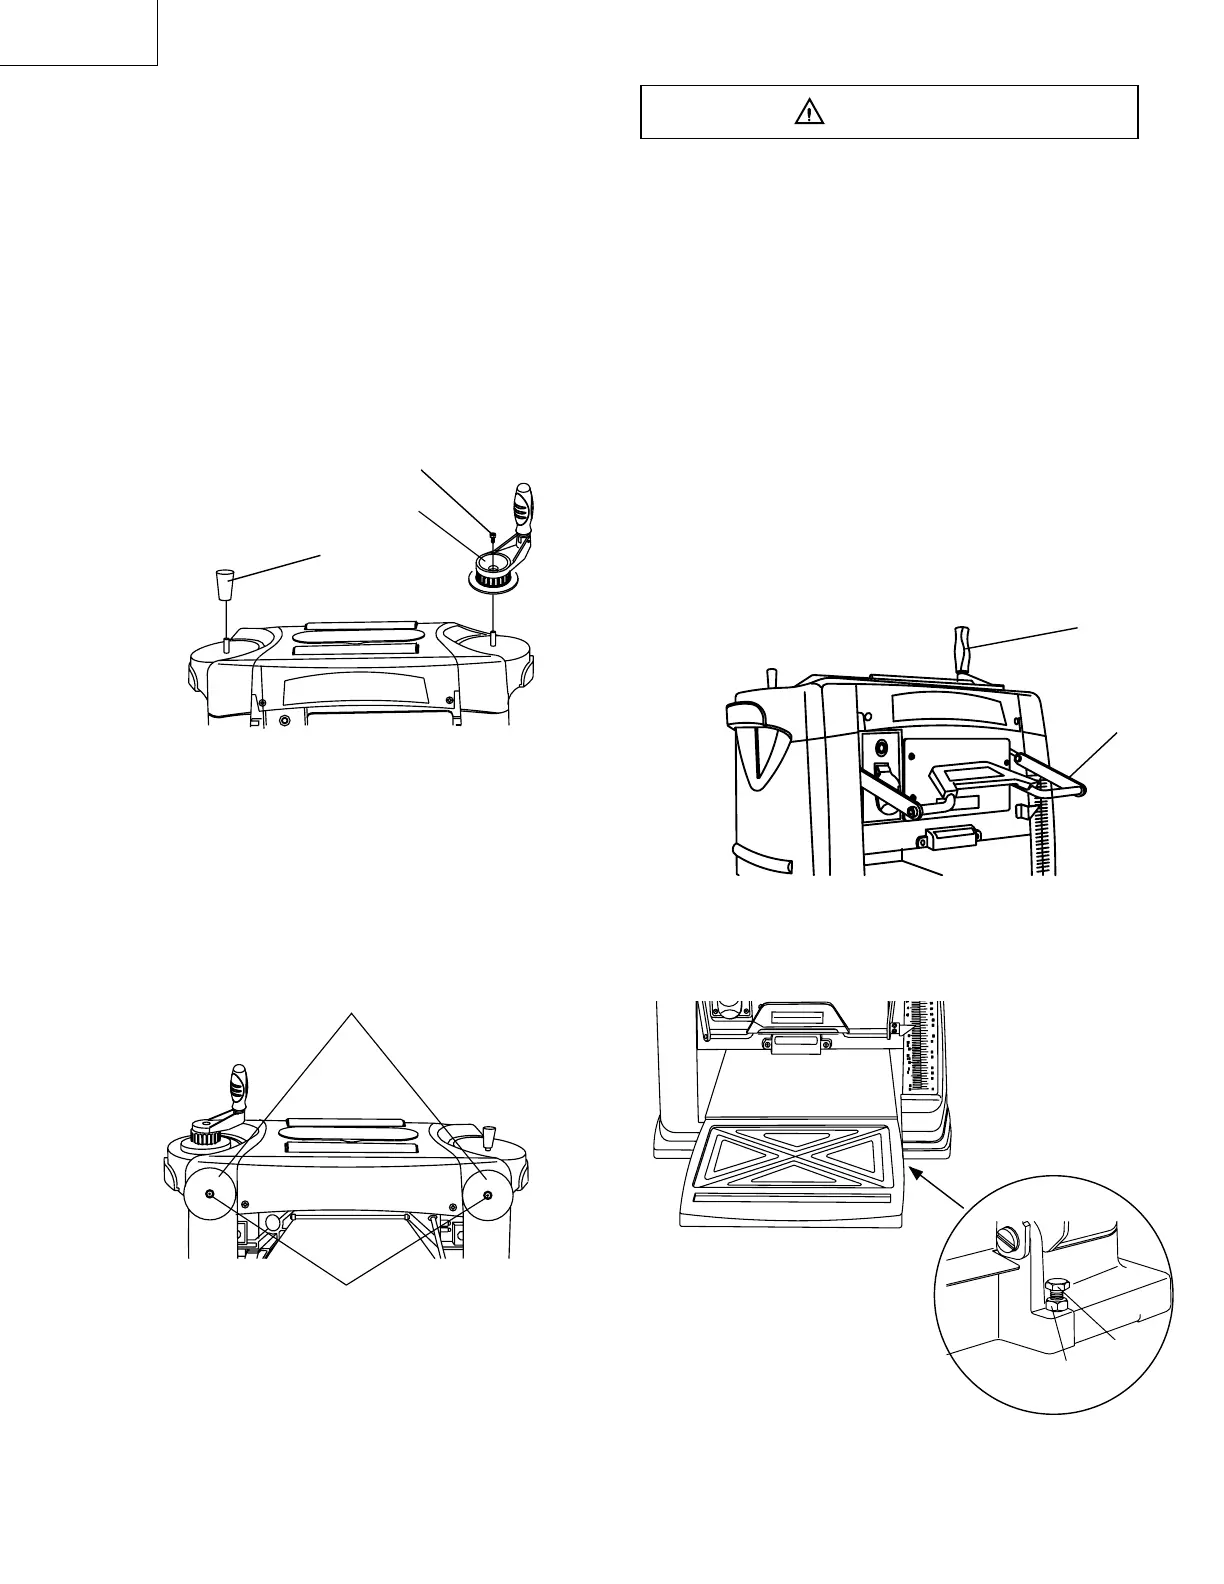
ADJUSTING THE EXTENSION TABLE (FIG. D, E)
1. Pull out the cutterhead lock lever (1).
2. Unlock the head.
3. Turn the depth adjustment handle (2) to raise the
head.
4. Place a straight edge over the extension tables and
the main table.
5. Press down the straight edge against the table
extensions to remove any play.
6. If adjustment is required, fold up the extension table
and loosen the lock nut (3) and adjust the adjustment
bolt (4) until the tables are level.
Fig. D
Fig. E
WARNING
INSTALLING THE DEPTH ADJUSTMENT HANDLE
(FIG. B)
1. Place the depth adjustment handle (1) on the right
hand side, on top of the machine.
2. Insert the hex socket screw (2) into the handle.
Tighten.
3. Press the cap (3) on the left hand side.
NOTE: The depth adjustment handle can be installed on
either the right-hand side or left-hand side. The
illustration shows the crank handle on the right-hand
side.
Fig. B
INSTALL POWER CORD BRACKETS (FIG. C)
Power cord brackets (1) are provided for convenient
cord storage.
1. Attach the power cord brackets to the back of the tool
body, as shown, with two screws (2).
2. Tighten the screws (2).
Fig. C
ADJUSTMENT
NOTE: This tool was accurately adjusted before
shipping from the factory. Check the following accuracy
and readjust them if necessary in order to obtain the
best results in operation.
1
2
1
2
1
2
3
3
4

 Loading...