2
STANDARD ACCESSORIES
1. Box Wrench (for securing cutter blade) ............. 1
2. Set Gauge (for adjusting cutter height) .............. 1
3. Guide (with set screw) ........................................... 1
4. Blade Sharpening Ass'y .......................................... 1
Standard accessories are subject to change without notice.
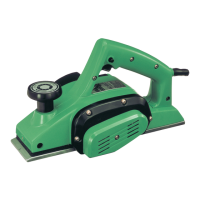
APPLICATIONS
䡬 Planing various wooden planks and panels.
PRIOR TO OPERATION
1. Power source
Ensure that the power source to be utilized conforms
to the power requirements specified on the product
nameplate.
Voltage (by areas)* (110V, 115V, 120V, 127V, 220V, 230V, 240V)
Power Input 500W*
Cutting Width 82mm
Max. Cutting Depth 1mm
Weight (without cord) 2.5kg
No-Load Speed 15000 / min
* Be sure to check the nameplate on product as it is subject to change by areas.
PRECAUTION
Keep children and infirm persons away.
When not in use, tools should be stored out of
reach of children and infirm persons.
Planer Safety Rules
Wait for the cutter to stop before setting the tool
down.
An exposed cutter may engage the surface leading
to possible loss of control and serious injury.
PRECAUTIONS ON USING PLANER
䡬 Do not use the Planer with the blades facing upward
(as stationary type planer).
䡬 Use dust collection adapter if need to reduce dust
related hazards.
(1) Unscrew the left side screw on bearing cover
(Item no. 23 show in assembly drawing) on
housing.
(2) Mount dust collection adapter on housing with
screws.
Dust collection adapter (Code no. 313928)
(3) Connect the dust extraction and collection
facilities with the tube of dust collection adapter
firmly.
(4) Wear dust mask additionally, if available.
2. Power switch
Ensure that the power switch is in the OFF position.
If the plug is connected to a receptacle while the
power switch is in the ON position, the power tool
will start operating immediately, which could cause
a serious accident.
3. Extension cord
When the work area is removed from the power
source, use an extension cord of sufficient thickness
and rated capacity. The extension cord should be
kept as short as practicable.
4. Prepare a stable wooden workbench suitable for
planing operation. As a poorly balanced workbench
creates a hazard, ensure it is securely positioned
on firm, level ground.
PLANING PROCEDURES
1. Adjusting the cutter depth:
(1) Turn the knob in the direction indicated by the
arrow in Fig. 1 (clockwise), until the triangular mark
is aligned with the desired cutting depth on the
scale. The scale unit is graduated in millimeters.
(2) The cutting depth can be adjusted within a range
of 0-1mm.
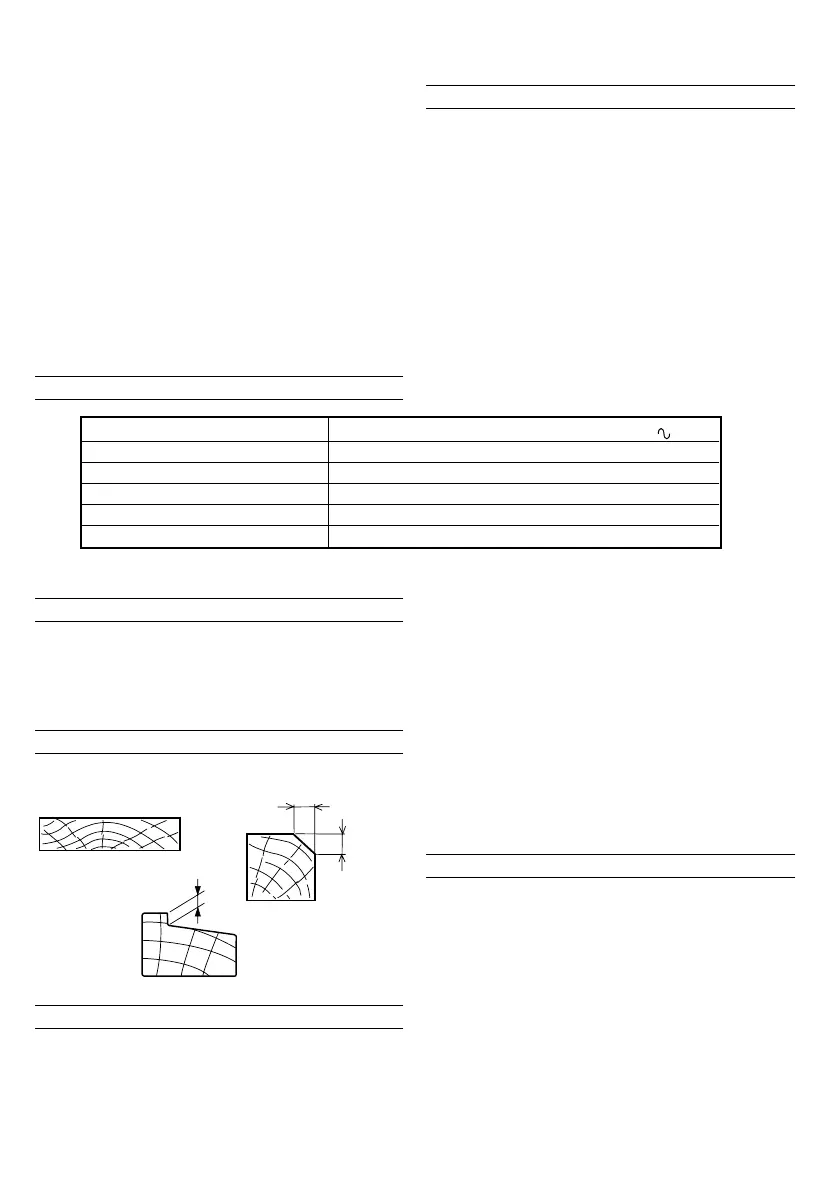
SPECIFICATIONS
Planing
Beveling
Rabbeting
Max. 12mm
Max. 12mm
Max. 6mm
01Eng_P20SB_Eng 2/5/09, 18:432

 Loading...