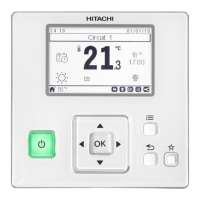
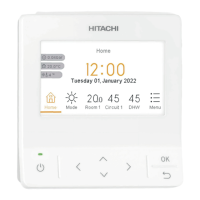
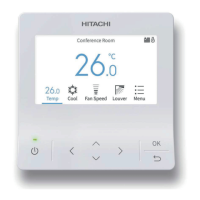
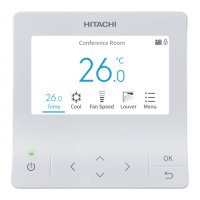
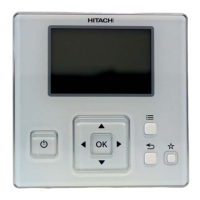
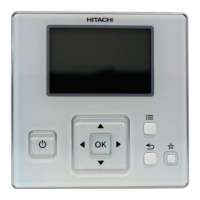
OPERATION & INSTALLATION MANUAL FOR PC-LH3A
1
ENGLISH
1 SAFETY SUMMARY
Õ
DANGER:
DO NOT pour water into the remote control switch (hereafter called "controller"). This product
is equipped with electrical parts.
If poured, it will cause a serious electrical shock.
Ô
WARNING:
DO NOT perform installation work and electrical wiring connection by yourself. Contact your
distributor or dealer of HITACHI and ask them for installation work and electrical wiring by
service person.
CAUTION:
DO NOT install the indoor unit, outdoor unit, at such places as:
- Where there is oil vapor and the oil is dispersed.
- Where the hot springs are near (in a sulfuric environment).
- Where generation, flowing, staying or leaking of flammable gas is detected
- Where the sea is near ( in the salty, acid or alkaline environment).
- DO NOT install the indoor unit, outdoor unit, within approximately 3 meters from strong
electromagnetic wave radiators such as medical equipment.
- In case that there is electric noise at the power source for the indoor unit, provide a noise
filter.
- Do not turn ON the power source, unless the preparation for test running is completed.
- Read this manual carefully before installation work for correct performance.
2 BEFORE INSTALLATION AND OPERATION
The packing contains the following parts. Check the contents and the number of the parts.
Name Q'ty Remark
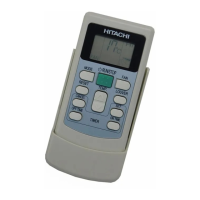
Wireless Remote Control
Switch (Controller)
1 For Operation Control
Holding Bracket 1 For Controller
Batery (AAA/1.5 Dry Cell) 2 For Power Source Controller
Screw 4 For fixing "Holding Bracket" onto Wall
3 SETTING BATTERIES
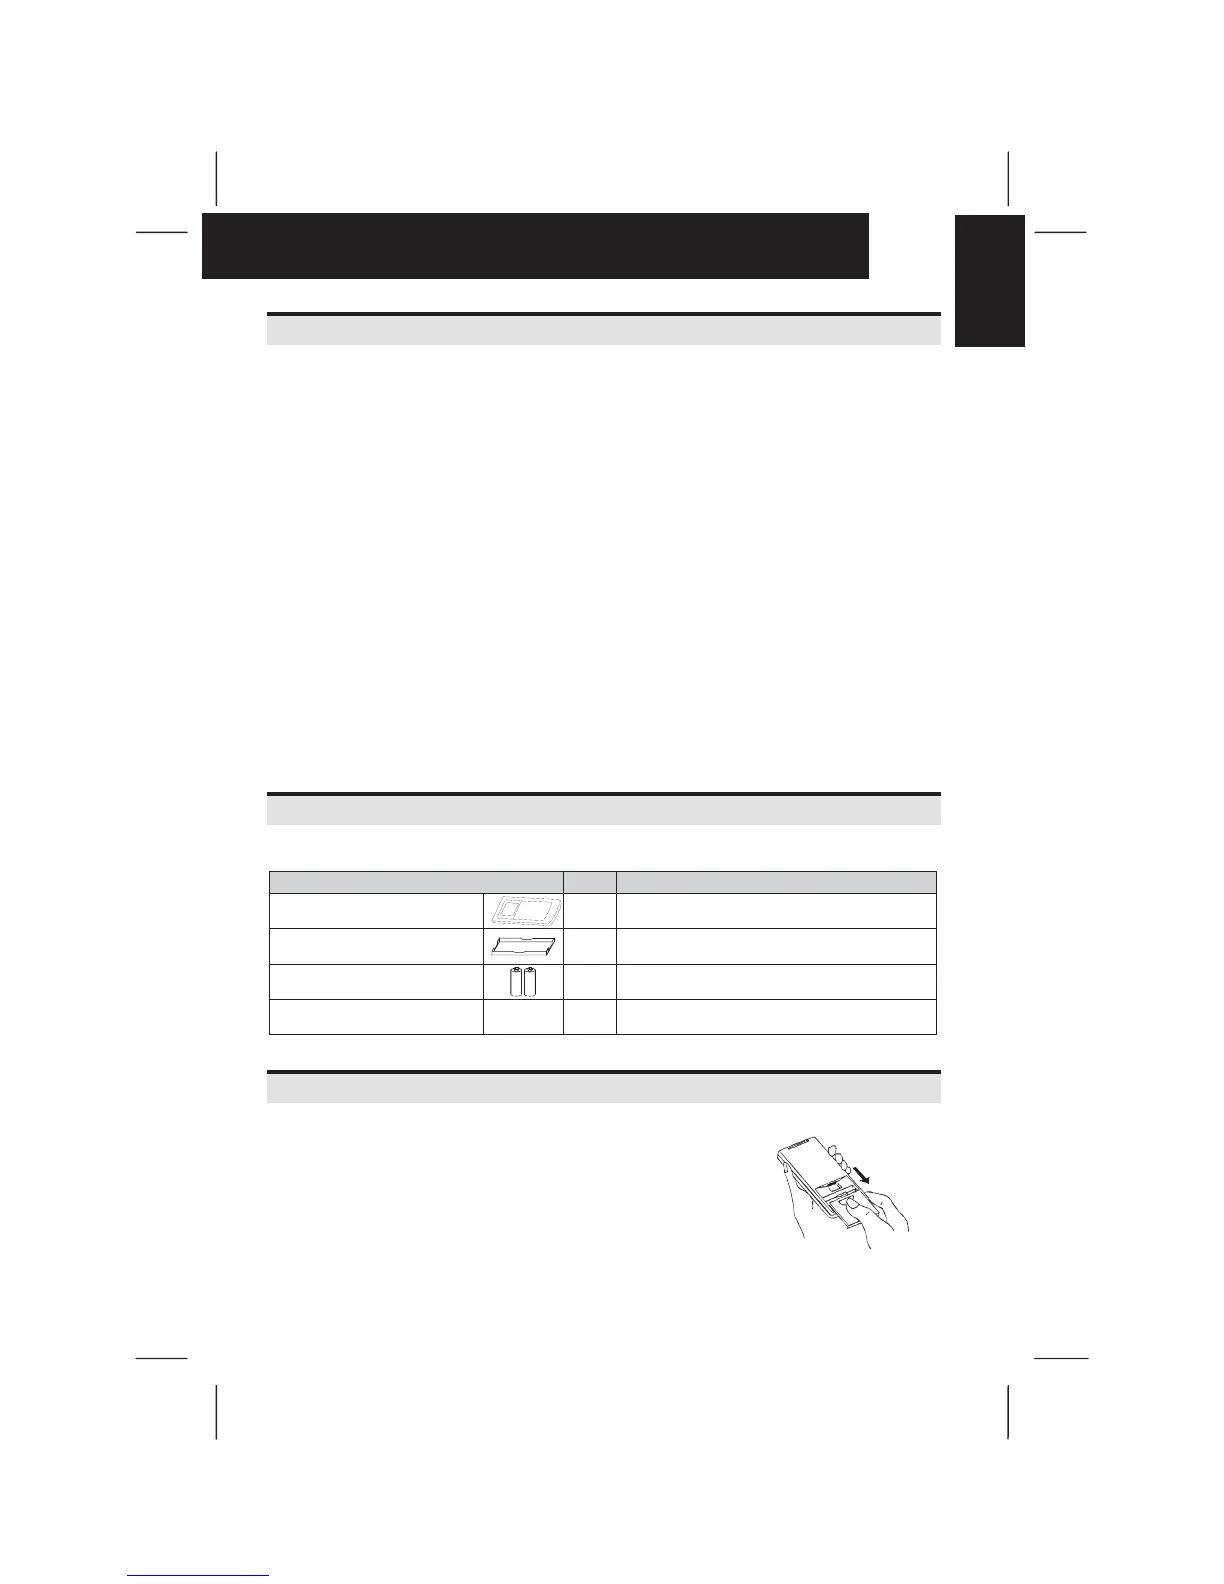
Set the batteries (AAA/1.5Vx2) for the controller as follows.
1 Remove the battery cover by sliding toward the arrow direction by
pushing the part of the cover as shown in the figure below.
2 Set the batteries.
(Insert the batteries according to the marks of + and - on the
case.)


 To Next Page