Do you have a question about the Hitron CDA3-20 and is the answer not in the manual?
Connect the coaxial cable from the wall outlet to the cable port on the modem securely.
Plug the modem power adapter into the modem and then into a power outlet; check for a solid blue Power LED.
Wait for the modem's Power LED to turn solid green, which may take up to 10 minutes.
Connect the Ethernet cable from the modem's yellow port to your router's Internet or WAN port.
Download the Flash Tech Help App to test network connectivity.
This document provides a Quick Installation Guide for the Hitron CDA3-20 Internet Modem, designed for use with Flash Services. It outlines a step-by-step process for connecting the cable modem and, if applicable, a Wi-Fi router, to establish an internet connection. The guide is presented in English and includes visual aids to assist users.
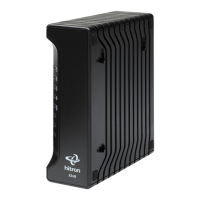
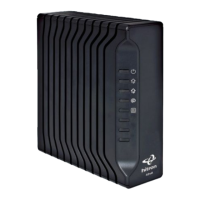
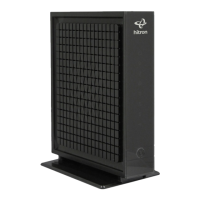
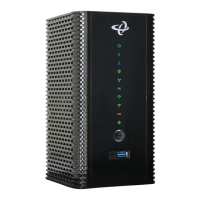
The Hitron CDA3-20 is an internet modem that serves as the primary device for connecting a home or office to Flash Services' cable internet network. Its main function is to modulate and demodulate signals, converting digital data from your devices into signals suitable for transmission over the cable network, and vice versa. This enables internet access for connected devices. The modem is designed for straightforward installation by the end-user, with clear instructions provided to ensure a smooth setup process. It acts as the gateway between your internal network and the Internet Service Provider (ISP).
* **Prerequisite:** Users are advised to wait until their internet installation/activation date and time before following the steps.
* **Coaxial Cable Connection:**
* Locate the coaxial cable connected to the cable outlet in your home.
* Connect this cable to the cable port on the back of the modem. The guide specifies using "3 clockwise rotations or until securely fastened" to ensure a secure connection.
* *Note:* The coaxial cable itself is not included in the modem box, implying it should already be present in the user's home or provided by the ISP separately.
* **Power Connection:**
* Plug the modem power adapter into the back of the modem.
* Connect the other end of the power adapter into the nearest power outlet.
* **Power On Confirmation:**
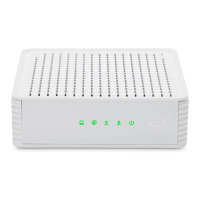
* Once powered, the "Power" LED on the front of the modem should turn blue.
*   After connecting the power, the modem will begin the process of connecting to the internet network.
*   Users need to wait until the "Power" LED on the front of the modem turns solid green. This indicates that the modem is online and has successfully established a connection with the Flash Services network.
*   *Note:* This process can take up to 10 minutes.
*   The guide explicitly states: "You must have a Wi-Fi router if you want to set up a wireless network in your home."
*   If a Wi-Fi router was purchased from Flash Services, users should refer to the separate Modem & Wi-Fi Router Combo Quick Installation Guide.
*   For general Wi-Fi router connection:
    *   Connect one end of the included Ethernet cable to the yellow port on the modem.
    *   Connect the other end of the Ethernet cable to the "Internet" or "WAN" port on the Wi-Fi router.
    *   Users are instructed to reference their router's manufacturer guide to complete the router setup, as this guide focuses primarily on the modem.
*   Upon successful connection, the Wi-Fi router should now be connected to the internet.
*   Flash Services offers a "Flash Tech Help App" to test network connectivity.
*   Users can download this free app by scanning a QR code or visiting `www.myflashservices.com/flash-tech-help/`. This app provides a convenient way to verify the internet connection and potentially troubleshoot minor issues.
* If Flash Home Phone service was purchased, users are directed to refer to the manual included with their Phone Adapter to complete its setup. This indicates the modem is part of a broader ecosystem of Flash Services products.
In summary, the Hitron CDA3-20 modem is a user-friendly device designed for reliable internet connectivity through Flash Services. Its installation is guided by clear, sequential steps and visual aids, making it accessible even for users with limited technical experience. The emphasis on LED indicators and external support resources highlights a focus on ease of use and problem resolution.