OM-2098C / Operation and Maintenance Manual
60CU24 / Series 500060C / 400 Hz. Generator Set
April 01, 2005 Chapter 3-3
Page 1
Section 3 Generator Assembly
1) General
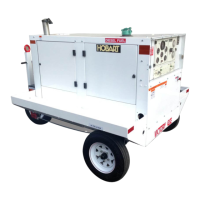
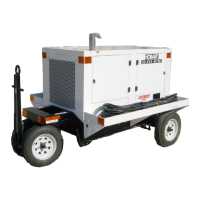
This section provides information and instructions for removal and installation of the generator set.
2)
Generator Assembly Removal
a) Procedure for Gaining Access to the Generator
WARNING
Before starting removal of the generator assembly, position the front section of the
generator set under a hoist, which is capable of lifting at least 940 pounds (426 kg),
which is the weight of the generator assembly.
When removing generator assembly, refer to the Connection Diagram in Chapter 5 and proceed as
follows:
(1) Disconnect battery leads from the generator set.
(2) If a transformer-rectifier (T-R) assembly is mounted on the generator set, remove T-R assembly.
(3) Disconnect clearance light wires from the top canopy (if installed).
(4) Remove top canopy panel.
(5) Remove all four doors, and panels below door.
(6) Remove the control box.
(7) Remove the air cleaner and the pipe/hoses connecting it to the engine.
Note: Cover the turbo inlet while the air cleaner is removed.
(8) Disconnect generator leads from contactor and CT wires from power module.
(9) Remove the power module.
(10) Remove (if applicable) the DC components and the tray supporting them.
(11) Remove generator housing cover.
b) Removing the generator Assembly
(1) Remove the four 5/8 - 11 x 4-1/2 bolts that mount the generator assembly to the frame of the
generator set.
(2) Support the engine at the flywheel housing with wooden blocks, or second hoist if available.
(3) Using the hoist, support the generator assembly. For lifting convenience, a ½ - 13 threaded hole
is drilled in the top of the generator housing. Insert a ½ - 13 lifting eye in the hole and attach the
hoist chain to the eyebolt as shown in Figure 1.
 Loading...