3
33
Store the device in a safe place.
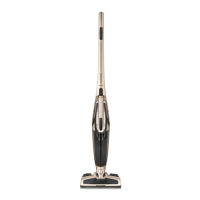
6. Remove both round components of the internal lter: the cotton one with the
gasket and the sponge one. Shake the dust out of them.
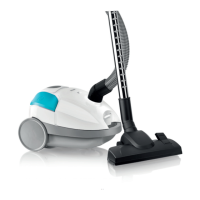
7. Then open the dust container bottom lid by pressing the lock release button
under the tube connection outlet and remove the steel-and-plastic separator by
twisting it counter-clockwise.
8. You may rinse the dust container and the separator with lukewarm running
water, wipe it with a dry paper towel and leave to dry completely.
CAUTION! Do not use the device if the lters and the separator have not been
reinstalled.
9. To install the separator, insert it from the bottom into the dust container and
twist clockwise, then lock the bottom lid by engaging the lock.
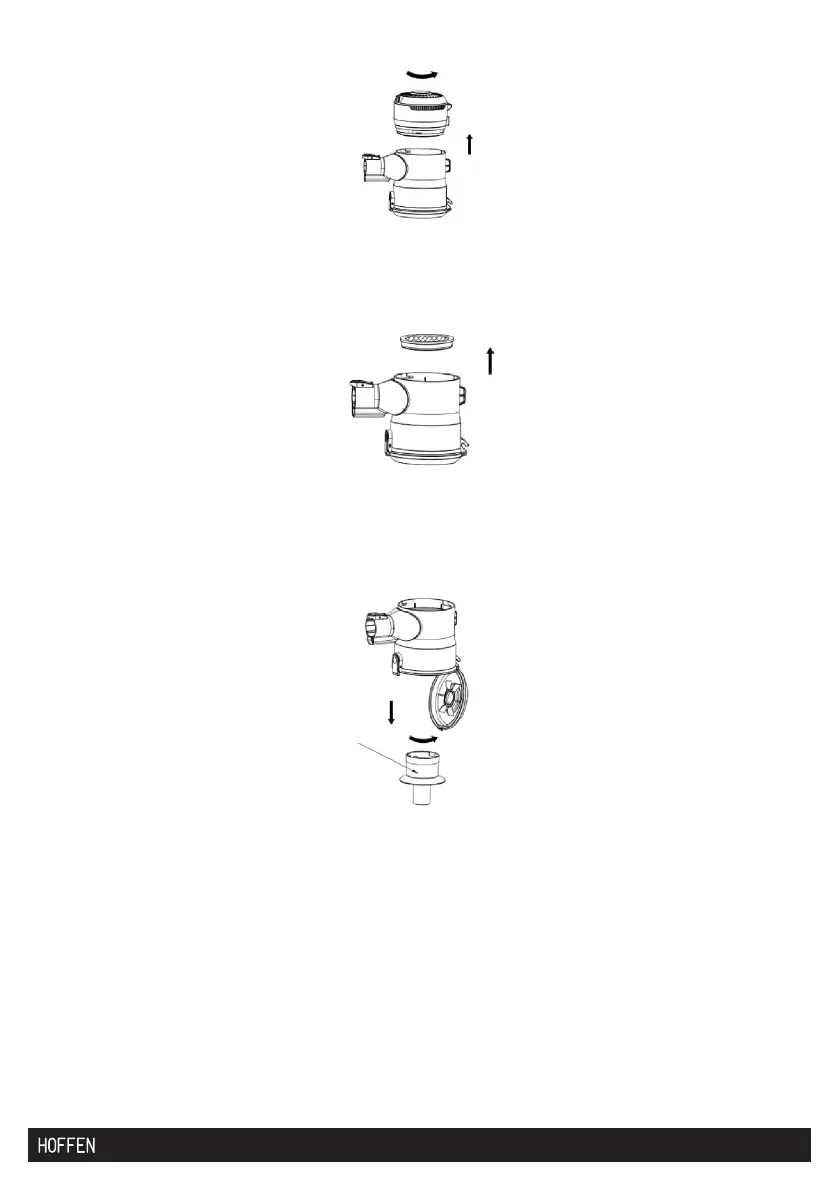
10. From the top, insert the round sponge lter, then the cotton ler with the
gasket. Put the device back on the container by aligning the tabs on the device
with the notches inside the container (the arrow on the device is above the open
padlock symbol). Twist to correctly lock the device in the container (the arrow