19
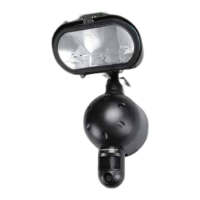
4. Setting the data and time
The Security Light uses the 24hr time format. Please slide the
Camera switch to the CAM position.
a. After mounting your Security Light (with SD card already
inserted if required), connect the camera to the AC power.
The camera will turn on automatically and will begin to
count down and is ready to arm.
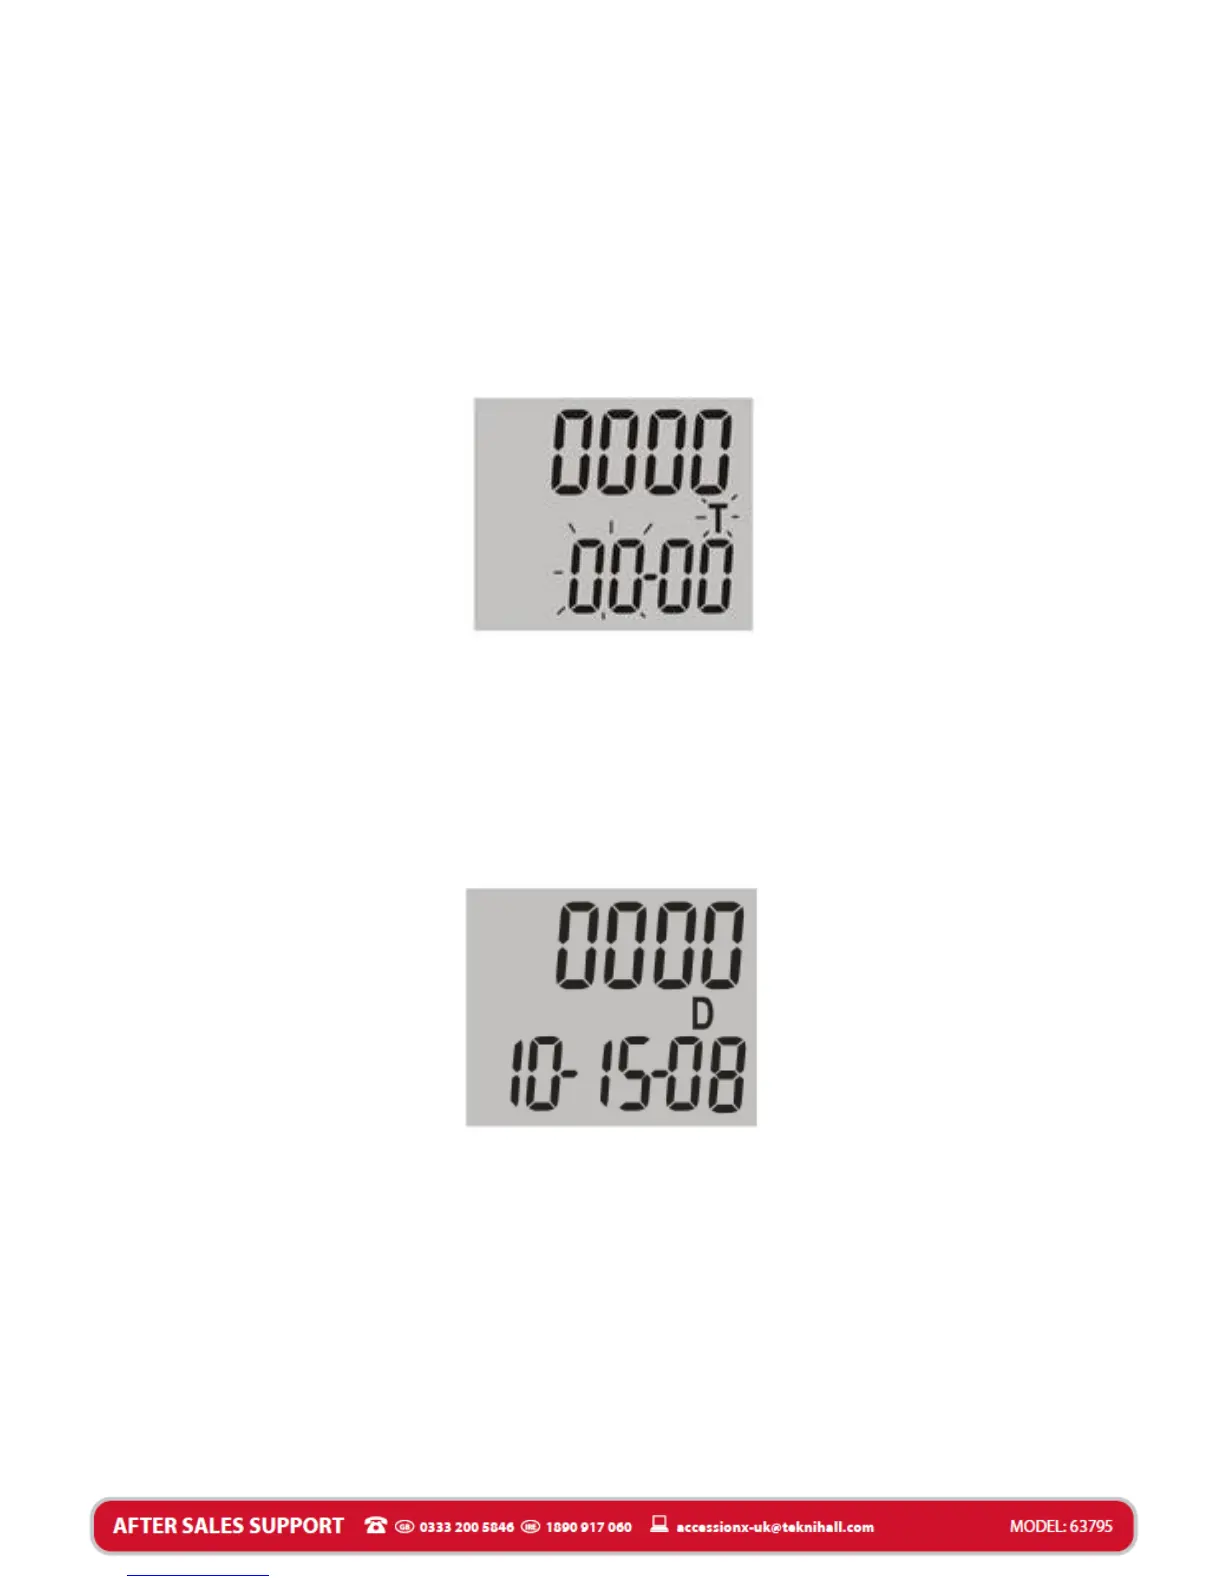
b. Press and hold the SET button until the display shows T.
c. Press the UP or DN button to adjust HOURS.
d. Press the SET button again to confirm the HOURS. The
camera will automatically go to MINUTES setting.
e. Press the UP or DN button to adjust MINUTES.
f. Press the SET button again to confirm the MINUTES. The
camera will automatically go to DATE setting. The display
will show D.
g. Press the UP and DN button to adjust the MONTH setting.
h. Press the SET button again to confirm the MONTH. The
camera will automatically go to DAY setting.
i. Press the UP or DN button to adjust the DAY setting.
j. Press the SET button again to confirm the DAY. The camera
will automatically go to YEAR setting.
k. Press the UP or DN button to adjust the YEAR setting.
l. Once you have completed the TIME and DATE settings,
press and hold the SET button for 2 seconds to exit the
TIME and DATE settings.