2 of 8 AII 25876 (0308) © 2003 American Honda Motor Co., Inc - All Rights Reserved.
TOOLS AND SUPPLIES REQUIRED
#2 Phillips screwdriver
Flat-tip screwdriver
Stubby Phillips screwdriver
8 mm, 10 mm, and 14 mm Combination wrenches
8 mm, 10 mm, and 14 mm Sockets
Felt-tip pen
Awl
Drill
3 mm drill bit
Isopropyl alcohol
Tape measure
Center punch
Ratchet
Torque wrench
Shop towel
Diagonal cutters
Utility knife
13/16” (20 mm) Hole saw
Available through the Honda tool and equipment
program at (888) 424-6857
Hole saw 13/16” (20 mm) P/N: LHS26D
Arbor P/N: LHS1C
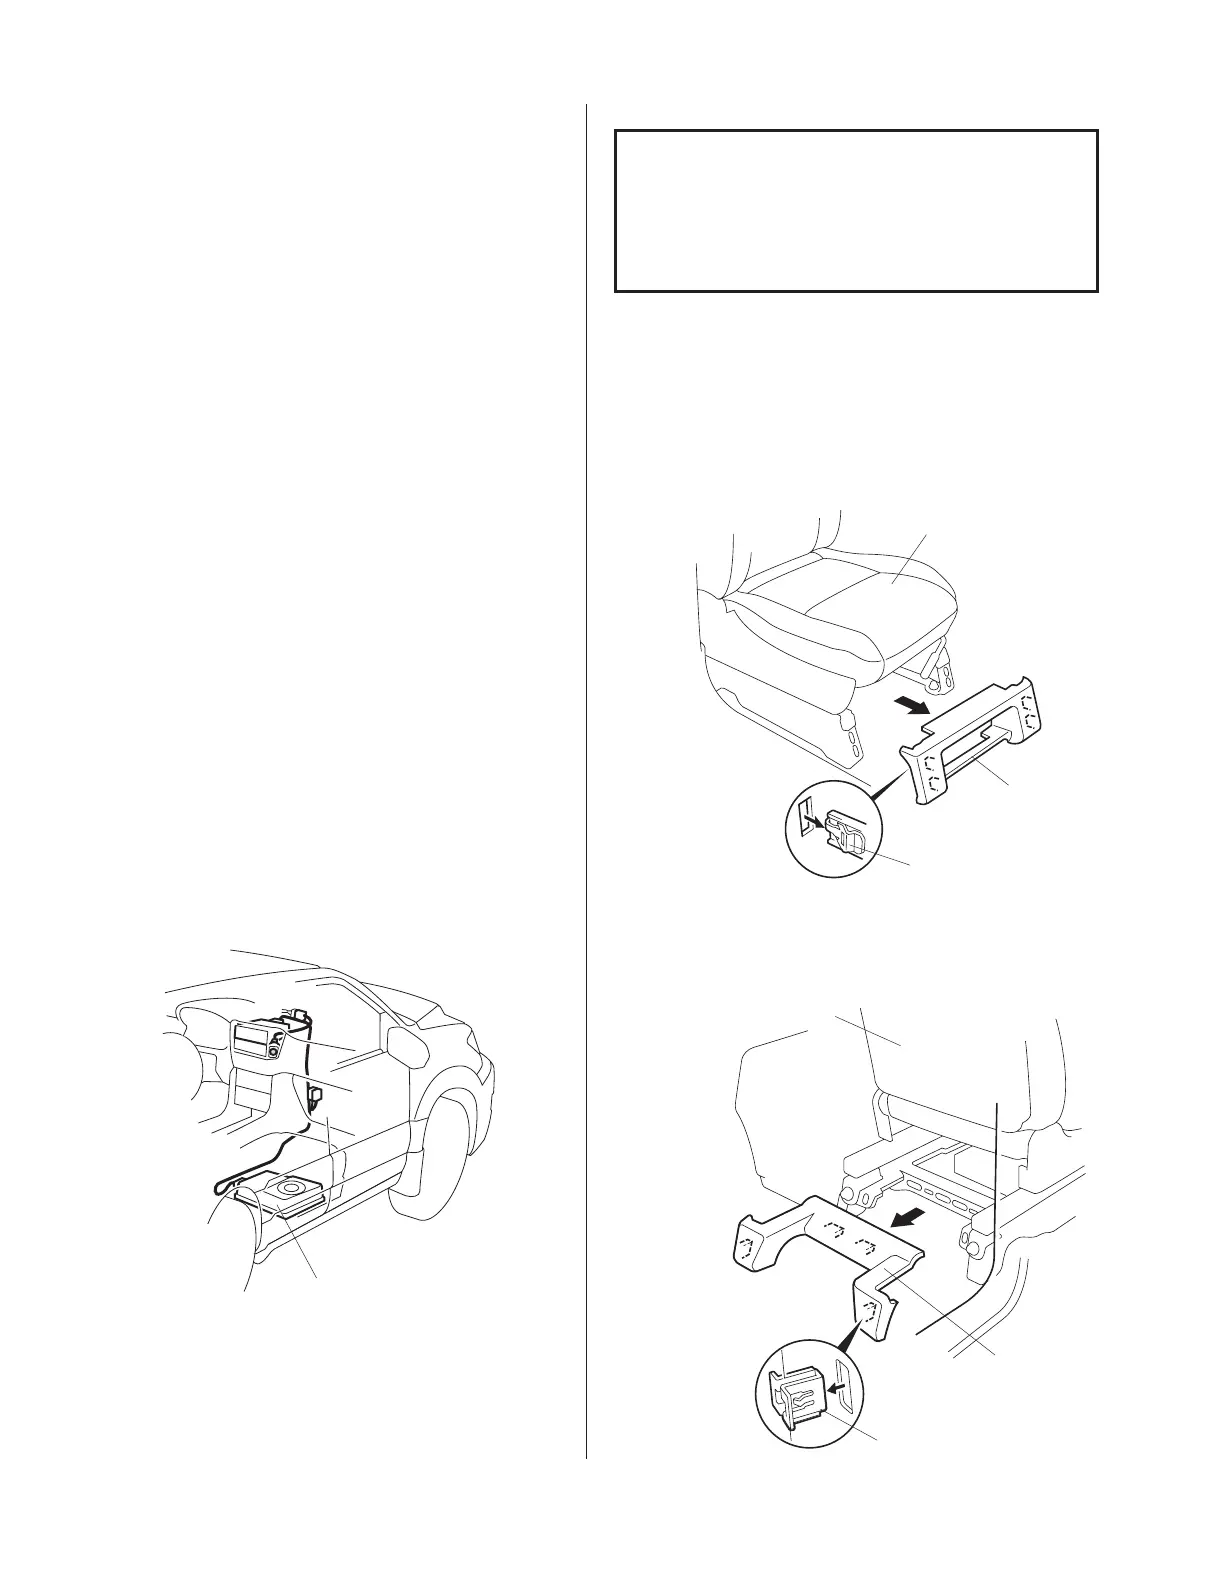
3. Remove the passenger’s seat front cover (pull to
release the four clips).
4. Remove the passenger’s seat rear cover (pull to
release the four clips).
PASSENGER’S
SEAT REAR
COVER
PASSENGER’S SEAT
CLIPS (4)
SUBWOOFER
3404080M
INSTALLATION
Customer Information: The information in this
installation instruction is intended for use only by
skilled technicians who have the proper tools,
equipment, and training to correctly and safely add
equipment to your vehicle. These procedures should
not be attempted by “do-it-yourselfers.”
1. Make sure you have the anti-theft code for the
radio, then write down the frequencies for the
preset buttons.
2. Disconnect the negative cable from the battery.
PASSENGER’S SEAT
PASSENGER’S
SEAT FRONT
COVER
CLIPS (4)
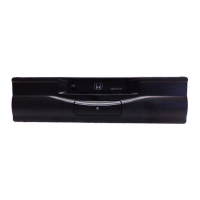
Illustration of the Subwoofer Installed on the
Vehicle
www.collegehillshonda.com