9
FINAL INSTALLATION
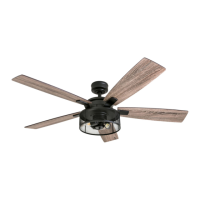
10. Install E26-base bulbs into the sockets of the light kit. Important: When replacing the bulb, allow bulb and light kit to cool
before touching (Figure 5.10).
11. Lift the glass bowl into the light kit and twist in a clockwise direction to secure (Figure 5.11).
12. Batteries were preinstalled in the battery compartment of the remote. Pull the plastic film in the direction of the arrow to
remove which will activate the batteres (Figure 5.12).
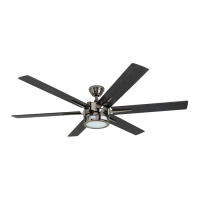
13. Turn on power to fan at breaker box and the wall switch. Assembly is complete (Figure 5.13).
Figure 5.11Figure 5.10
Figure 5.13
Figure 5.12
Plastic Film
Remote
Bulb
Glass Bowl
 Loading...