Do you have a question about the Honeywell CT87 and is the answer not in the manual?
Ensure the heating/cooling system power is turned off before proceeding with installation.
Disconnect and label wires from the old thermostat using terminal letters, not wire colors.
Secure the optional cover ring and wallplate to the wall using a level for proper alignment.
Connect system wires to the corresponding screw terminals based on the labels from the previous step.
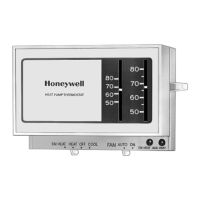
Adjust the heat anticipator indicator to the correct setting, typically 1.2 or as per your heating system.
Attach the thermostat to the wallplate and remove the red plastic insert from the mercury switch.
Secure the thermostat cover to the installed unit.
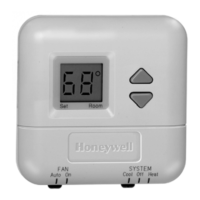
Once installed, set the thermostat to your preferred temperature setting.
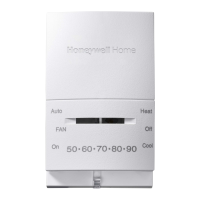
| Stages | 1 Heat / 1 Cool |
|---|---|
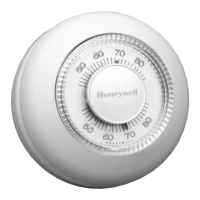
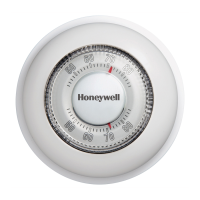
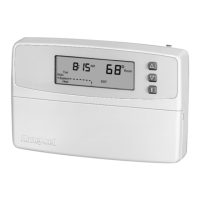
| Display | Analog dial |
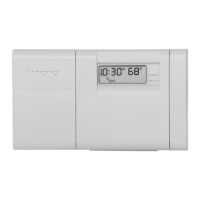
| Mounting | Wall-mounted |
| Color | White |
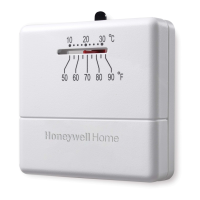
| Temperature Range | 50°F to 90°F |
| Compatibility | Single-stage heating and cooling systems |
| Accuracy | ±1°F |
| Weight | 0.5 lbs |
| Power Source | 24VAC (Heating and Cooling Systems) |