69-1150—2
5
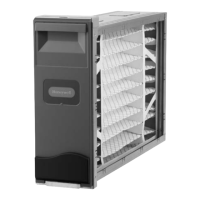
F50F DUCT MOUNTED ELECTRONIC AIR CLEANER
M6047A
ROTATE 90
DEGREES
FOLD TAB
TO LOCK
HANDLE
IN PLACE
INSTALL HANDLE ON END OF CELL
CLOSEST TO ACCESS DOOR.
PREFILTER GUIDES
CELL KEY
M5639
CELL
KEY
ALTERNATE
HOLES FOR
KEY
CELL KEY
SCREW
DOWNSTREAM
AIRFLOW
Fig. 7. Position of cell key determines orientation
of cell (arrow on key must point downstream).
3. Turn the key around and place it over the opposite
holes. The tab on the bottom fits into the larger hole,
and the screw into the smaller hole. Make sure the
arrow on the key points in the direction of the air
flow (downstream).
4. Tighten the screw into the new hole.
5. Insert the electronic cell. The ionizer section will now
be on the air-entering (upstream) side of the
cabinet.
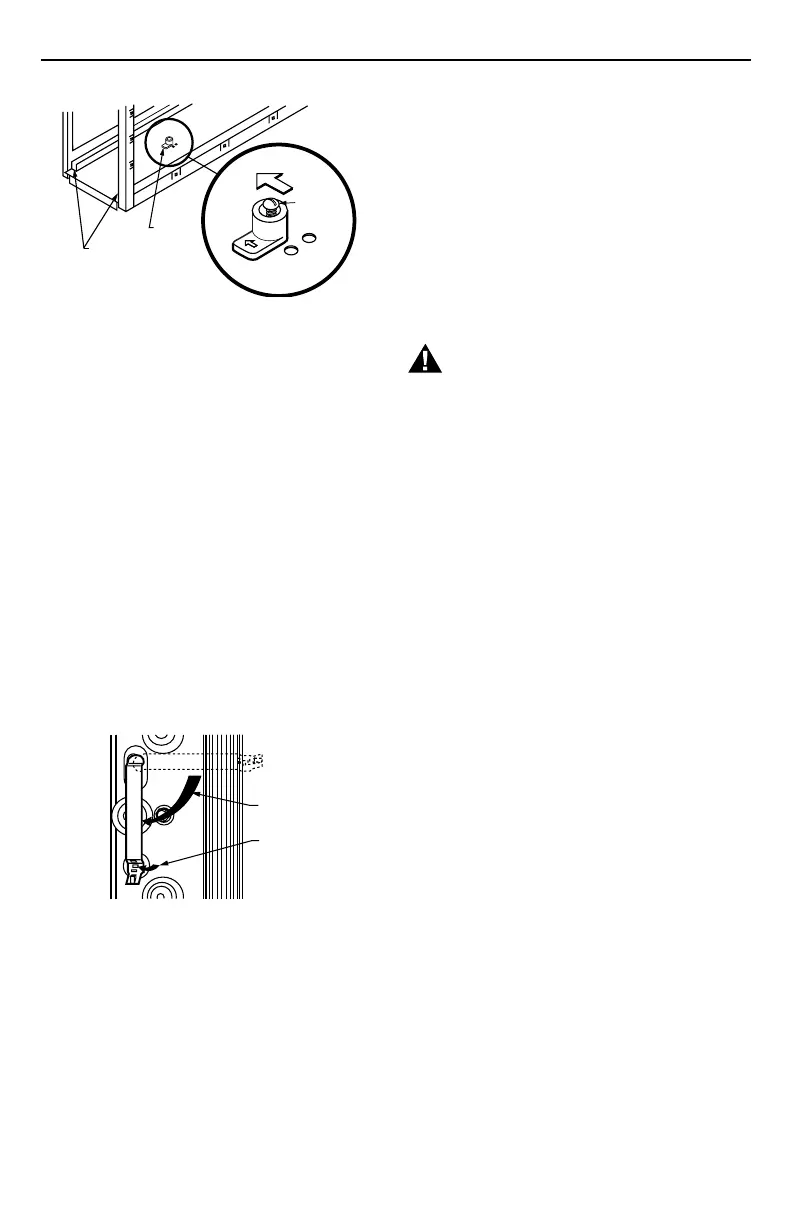
Attach Cell Handles
The cell handles are packed in the installers bag assem-
bly. They must be installed on the end of the cell closest to
the access door. To install:
1. Orient the cell as it will be when installed. The gray
contact board must be up and the airflow arrow
stamped into the cell must point downstream.
2. Hold the handle sideways and insert the solid tab on
the back of the handle into the slot in the cell. Turn
the handle 90 degrees clockwise to align the divided
tab with the square hole. See Fig. 8.
Fig. 8. Install handle on end of
cell closest to access door.
3. Insert the divided tab into the square hole.
4. Fold up the wedge and insert it into the divided tab
to lock the handle in place. If necessary, press with
the end of a pliers, or other blunt instrument.
Reassemble Air Cleaner
■■ Insert the electronic cell with the gray contact board up
and the airflow arrow pointing downstream. If the cell
does not slide easily into the cabinet, check the
orientation of the cell key.
■■ Insert the prefilter on the upstream side of the cabinet in
the guide provided.
■■ Replace the access door. Insert the tab on the bottom
of the door into the slot in the cabinet, then swing it
closed and press into place. The door must be firmly in
place or the air cleaner will not operate.
WIRING
WARNING
Electric Shock Hazard.
Can cause personal injury.
Do
not
use an extension cord.
All wiring must comply with local codes and ordinances.
The line voltage power source must match the voltage and
frequency printed on the label inside the access door.
For air cleaners installed within European countries, see
Figs. 11 and 12 for internal schematics.
For air cleaners installed outside European countries
including the U.S.:
■■ Plug the F50F directly into the correct voltage and
frequency outlet. See Figs. 9 and 10 for internal
schematics. The F50F will operate properly at any fan
speed on a multispeed or modulated speed system
wired with conduit or plugged in.
NOTE: To reduce the risk of electric shock, this product
has a grounding type plug that has a third
(grounding) pin. This plug will only fit into a
grounding type power outlet. If the plug does not
fit into the outlet, contact a qualified electrician to
install the proper outlet. Do
not
change the plug
in any way.
■■ Alternatively, the F50F can be wired with conduit.
1. Open access door.
2. Remove and retain the (2) screws from the front of
the power box and the (2) screws from the sides of
the power box. See Fig. 13.
3. In the power box, remove and retain (2) wire nuts
that connect the line cord leads to the power box
wiring.
4. Remove the green lead from the green grounding
screw on the wiring compartment barrier.
5. Remove the power cord and the strain relief.
6. Install plug (provided in bag assembly) in the hole
left by the power cord.
7. Attach conduit through a power box side knockout.
8. Wire the air cleaner directly to line voltage using wire
nuts. See Fig. 14. Secure ground connection to the
green ground screw on the wiring compartment
barrier.
9. Replace power supply cover and access door.

 Loading...