

T
Timothy SextonJul 26, 2025
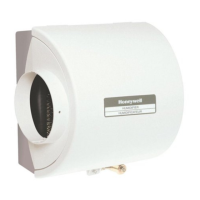
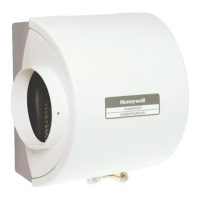
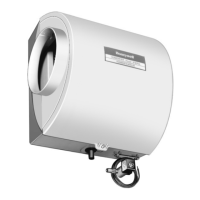
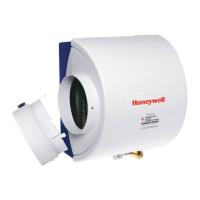
What to do if my Honeywell HE240 is leaking water?
- OofryeJul 26, 2025
If your Honeywell Humidifier is leaking water, the issue could be leaking joints. Shut off the water supply and tighten the connections. Also, verify that brass tubing inserts are used. Another potential cause is a leaking saddle valve; ensure the rubber pad is installed on the saddle valve.