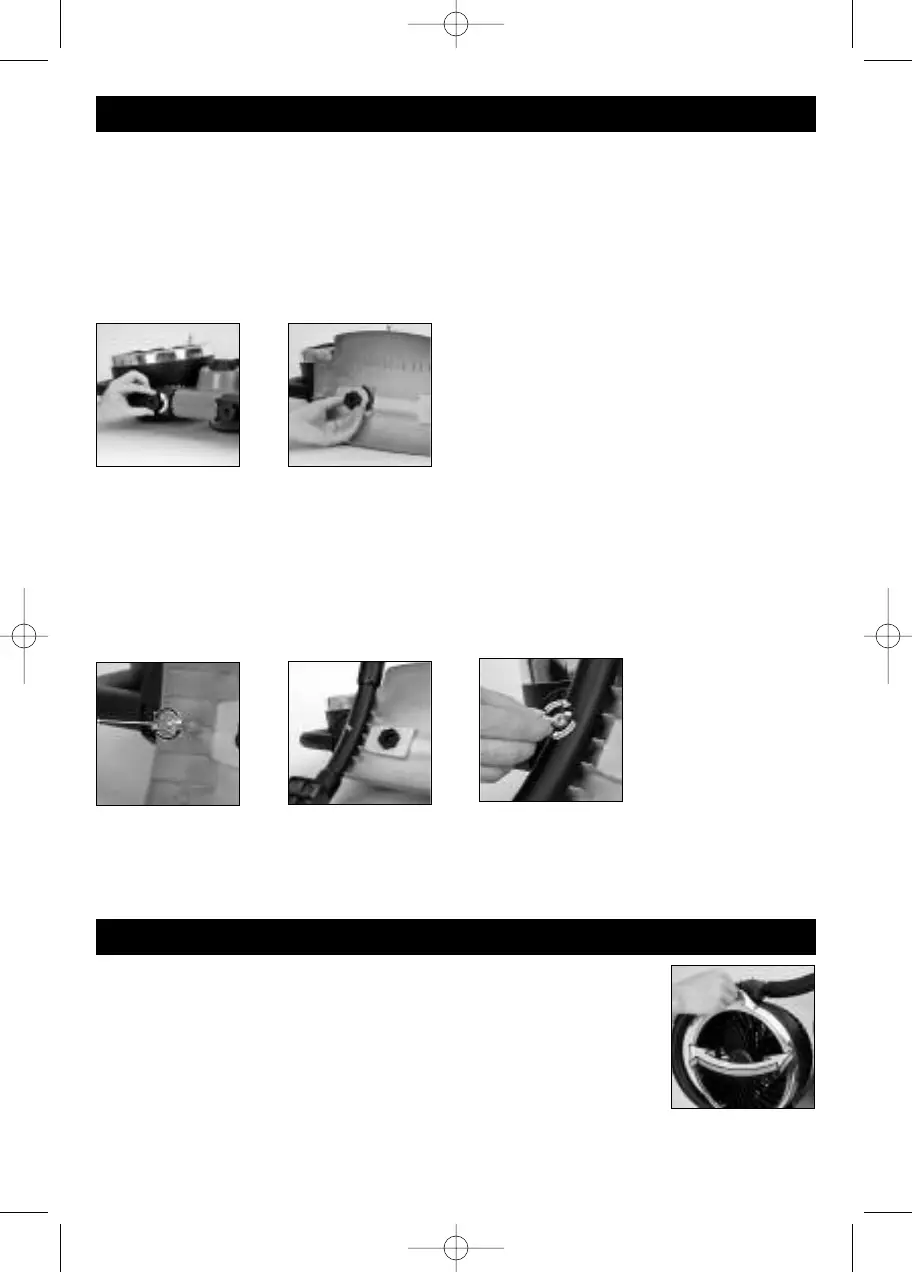
• Remove the fan motor assembly, the base plate and the two feet from the package.
• Lay the fan motor assembly on its back
• Remove the plastic hand screws from the bottom of the fan motor assembly by turning them counter
clockwise (Fig. 1 ).
• Holding the base plate, line up the threaded screws with the holes in the base, push base plate in.
• Tighten the hand screws onto the threaded screws protruding from the bottom of the base by turning
clockwise (Fig. 2).
Feet Assembly
• Unscrew metal hand nuts counter clockwise from the base plate (Fig. 3).
• Align center holes of feet to the threaded rod on base plate (Fig. 4).
• Push feet into base plate and tighten hand nut clockwise until feet are secure. Please be careful not to
over-tighten the hand screw (Fig. 5).
ASSEMBLY
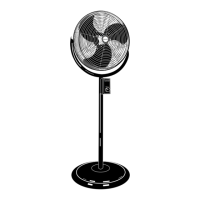
• Place your fan on a dry, level surface
• Plug the power cord into a polarized 120 volt AC wall outlet
•
Each fan is independently opera
ted.
T
o operate the fans, turn the control
knobs to the desired speeds - High (lll),
Medium (ll),
Low (l).
• Adjust the individual fans left to right by using the small grip at the top of
each fan (6).
OPERATION
Fig. 1 Fig. 2
Fig. 3
Fig. 5
Fig. 6
Fig. 4
HV-120 series OM.qxd 10/12/06 12:39 PM Page 2
 Loading...