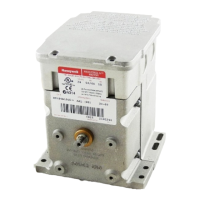
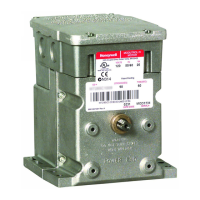
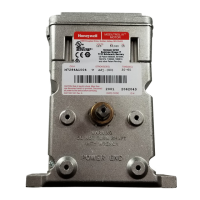
SERIES 90 MODUTROL IV
™
MOTORS
13 63-2631—07
CHECKOUT
After the installation and linkage adjustment, check the entire
motor and control hookup. Proper checkout ensures that:
• The motor operates the load (damper or valve) properly.
• The motor responds properly to the controller as the input
varies (See Table 12).
• The auxiliary switch, if used, operates at the desired point of
motor rotation.
1. Inspect motor, linkage, and valve or damper to ensure all
mechanical connections are correct and secure.
NOTE: In damper installations, the pushrod should not
extend more than a few inches past the ball
joints.
2. Ensure that there is adequate clearance for the linkage
throughout the entire motor stroke without binding or
striking other objects.
3. Ensure the motor transformer is properly sized.
NOTE: If a common transformer is used to power multi-
ple motors, ensure the power input is in phase
with all motors.
4. Drive the motor fully open and fully closed
(See Table 12).
NOTE: Refer to controller or system instructions for
additional checkout procedures.
5. For spring return motors, ensure that the valve or
damper returns to normal position upon power interrup-
tion.
6. Return the controller to the desired setting before leaving
the job.
REPLACEMENT
Damper Application
1. Turn off power and remove wiring from the old motor.
2. Remove the crank arm from shaft of old motor and
remove the old motor.
3. Determine necessity of the mounting bracket. If the link-
age can reach the new motor shaft position and the
crank arm has clearance for the necessary rotation, the
bracket is not required. Use the 220738A Adapter
Bracket or the 221455A Crank Arm if the crank arm must
rotate through the bottom plane of the motor.
a. If no bracket is required, mount the new motor
directly to the equipment and refer to the Installation,
Settings and Adjustments, and the Operation and
Checkout sections of these instructions.
b. If the bracket is required, refer to the Adapter Bracket
section and Fig. 3 in addition to the Installation, Set-
tings and Adjustments, and the Operation and
Checkout sections of these instructions.
4. Use No. 12 or 1/4 inch machine screws or bolts to mount
the new motor.
5. Mount damper crank arm and linkage to the new motor
shaft.
6. Use the Checkout procedures to test the crank arm and
linkage adjustment.
Valve Application
When replacing a motor in a valve application, the linkage
determines the necessity of the 220738A Adapter Bracket.
With Q100, Q601 or Q618 Linkages, it is necessary to use the
220738A to raise the motor shaft to the appropriate height.
Valve applications with a Q5001 Linkage do not require the
220738A Adapter Bracket. To operate Honeywell V5011
two-way or V5013 three-way valves through full stroke, use a
160° stroke motor or make sure the stroke is adjusted to 160
degrees.
 Loading...