(vii) Only qualified installers are allowed to install, test
and disassemble the camera.
(viii) The camera is a low voltage product. If installed
outdoors, proper safety and lightening grounding
are required.
4. Wiring Connections
(i) Connect the power supply's DC plug to the
camera's power outlet.
(ii) Connect the camera to the DVR with a 75Ω coaxial
video cable.
(iii) Connect power supply's AC plug to a suitable AC
power outlet.
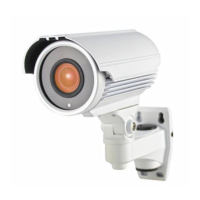
(iv) Adjust the lens direction according to the required
surveillance area and environment.
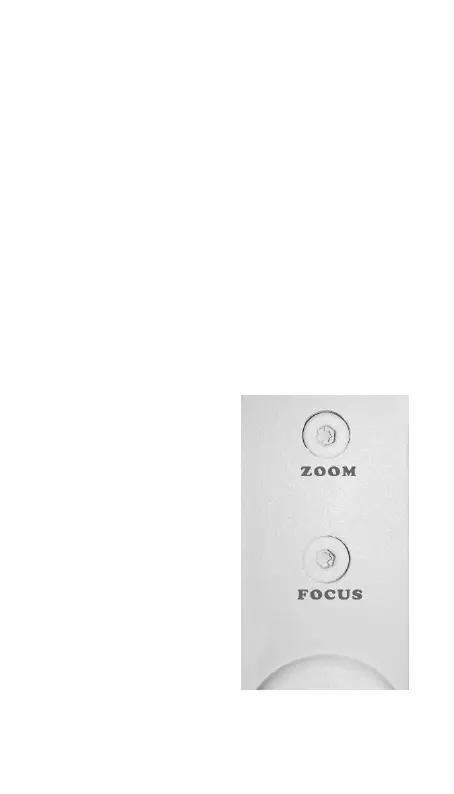
5. Adjusting Zoom and Focus
This cameras will come
from the factory set for the
wide field of view, meaning
that it has the low
magnification. Turn the
Zoom screw (near the
lens) anticlockwise to
increase the magnification
and then adjust the Focus
until the image is clear.
 Loading...